7 Vital Steps to Harvest Ripe Tomatoes
The afternoon sun warms a tomato in your palm, its skin tight and glossy, the stem still releasing that unmistakable green scent of lycopene and volatiles. Knowing the precise steps to harvest ripe tomatoes transforms a backyard crop into a reliable, high-yield system. Each fruit represents weeks of photosynthetic investment, and the final act—the harvest—demands as much precision as transplanting or fertilization.
Materials
Successful tomato harvest begins long before the picking basket appears. Soil pH between 6.0 and 6.8 maximizes nutrient availability, particularly calcium uptake that prevents blossom-end rot. A balanced organic fertilizer rated 4-4-4 or 5-5-5 supplies nitrogen for foliage, phosphorus for root development, and potassium for fruit quality. Amend beds with 2 inches of finished compost six weeks before transplanting to boost cation exchange capacity.
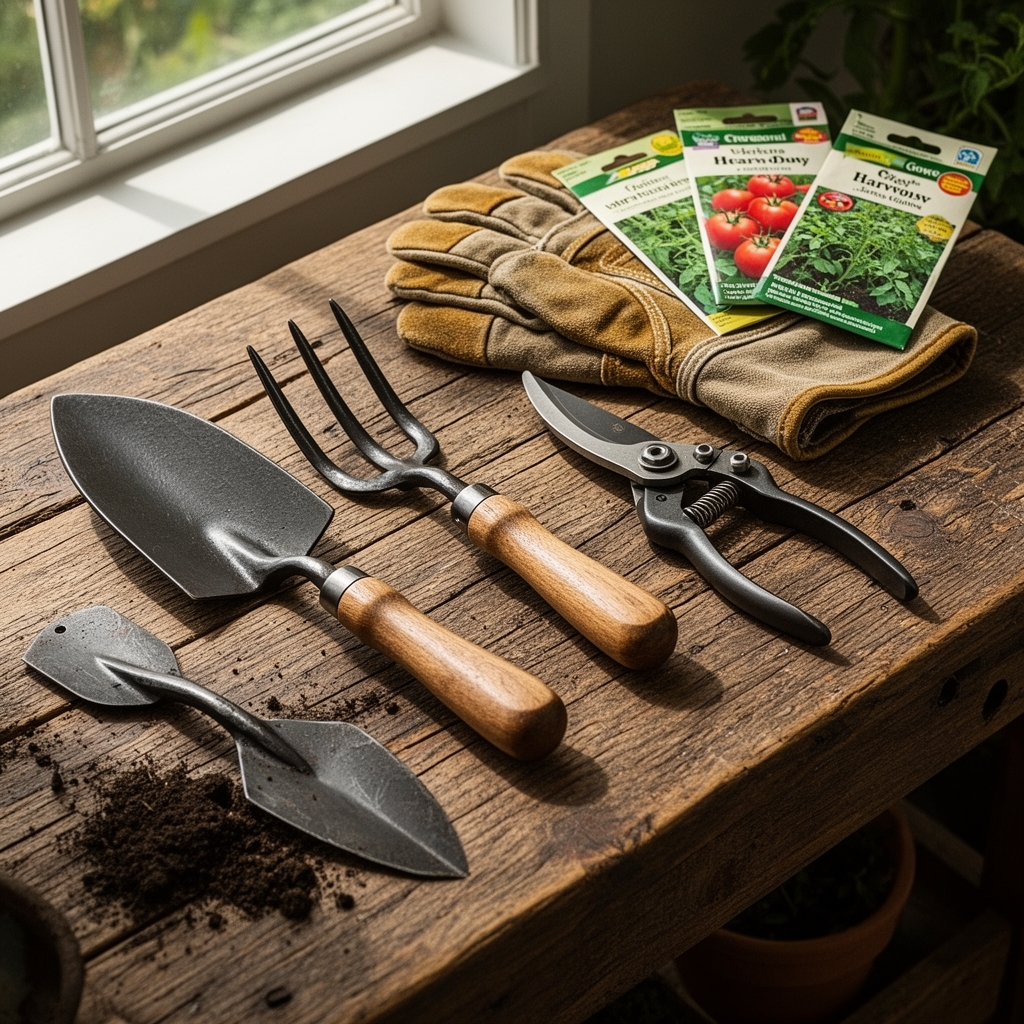
Mycorrhizal fungi inoculant applied at transplant improves phosphorus uptake by 30 to 40 percent. Calcium nitrate side-dressings at first fruit set deliver ionic calcium directly to developing tissue. Keep a refractometer on hand to measure Brix levels; readings above 6 indicate sufficient sugar content for peak flavor. Sharp bypass pruners sanitized with 10-percent bleach solution prevent disease transmission between plants. A harvest basket lined with soft cloth protects fruit epidermis from bruising.
Timing
Tomato cultivars mature according to determinate or indeterminate growth patterns and regional frost windows. In USDA Hardiness Zone 5, transplant seedlings outdoors May 15 to June 1, after soil temperatures stabilize above 60°F. Zone 7 gardeners gain a six-week advantage, transplanting as early as April 1. First harvests occur 60 to 85 days post-transplant depending on cultivar.
Monitor fruit color change carefully. Breaker stage—when 10 percent of the surface shifts from green to yellow—signals the ethylene cascade. Full ripe stage arrives when 90 percent of the epidermis displays cultivar-specific color, whether red, orange, or purple. Harvest before first frost date; even a brief exposure to 32°F damages cell membranes and creates water-soaked lesions. In Zone 6, this deadline falls between October 1 and October 15.
Phases

Sowing: Start seeds indoors 6 to 8 weeks before last frost. Sow 1/4 inch deep in sterile seed-starting mix at 75 to 80°F. Germination occurs in 5 to 7 days. Provide 14 to 16 hours of light daily using full-spectrum LEDs positioned 2 inches above cotyledons. Transplant into 4-inch pots when first true leaves fully expand.
Pro-Tip: Brush seedling stems gently with your palm twice daily. This mechanical stimulation triggers thigmomorphogenesis, producing stems 20 percent thicker than unbrushed controls.
Transplanting: Harden off seedlings over 7 days by gradually exposing them to outdoor conditions. Dig planting holes 12 inches deep. Strip lower leaves and bury stems horizontally up to the top two leaf nodes. Adventitious roots form along buried stem tissue, increasing root mass by 40 percent. Space determinate types 24 inches apart; indeterminate varieties require 36-inch spacing.
Pro-Tip: Apply 1 tablespoon of mycorrhizal inoculant directly into the planting hole. Root colonization improves drought tolerance and phosphorus acquisition throughout the season.
Establishing: Install supports immediately after transplanting. Determinate cages should stand 4 feet tall; indeterminate plants require 6-foot stakes or Florida weave trellising. Prune suckers that emerge between main stem and leaf axils on indeterminate varieties. Remove suckers when they reach 2 to 4 inches, directing auxin distribution toward fruit production rather than vegetative growth.
Pro-Tip: Prune at a 45-degree angle 1/4 inch above the branch collar. This angle sheds moisture and reduces fungal entry points compared to flat cuts.
Troubleshooting
Symptom: Concentric brown rings on fruit shoulders.
Solution: Early blight caused by Alternaria solani. Apply copper fungicide at 7-day intervals. Mulch with 3 inches of straw to prevent soil splash onto lower foliage.
Symptom: Dark, water-soaked lesion on blossom end.
Solution: Blossom-end rot reflects calcium deficiency or inconsistent watering. Apply calcium nitrate foliar spray at 1 tablespoon per gallon weekly. Maintain consistent soil moisture at 1 inch per week.
Symptom: Fruit cracking in concentric or radial patterns.
Solution: Rapid water uptake after drought stress. Mulch to stabilize soil moisture. Harvest at breaker stage during periods of heavy rain.
Symptom: Small, white moth larvae inside fruit.
Solution: Tomato fruitworm (Helicoverpa zea). Apply Bacillus thuringiensis var. kurstaki every 5 days once bloom begins. Handpick larvae at dawn.
Symptom: Yellowing lower leaves with brown veins.
Solution: Fusarium wilt. No cure exists. Remove infected plants immediately. Rotate tomatoes to a different bed for 3 years. Plant resistant cultivars marked VFN.
Maintenance
Water deeply once weekly, delivering 1 to 1.5 inches measured with a rain gauge. Drip irrigation or soaker hoses applied at soil level reduce foliar disease by 60 percent compared to overhead sprinklers. Side-dress with 1/4 cup of 5-10-10 fertilizer per plant when first fruits reach golf-ball size. Repeat every 3 weeks until 4 weeks before first frost.
Mulch maintains soil temperature between 65 and 75°F and suppresses weeds that compete for nitrogen. Prune lower leaves up to the first fruit cluster once plants reach 3 feet tall. This improves air circulation and reduces Septoria leaf spot incidence.
FAQ
When should I pick tomatoes?
Harvest when fruit reaches full color and yields slightly to gentle pressure. Stems should separate easily from the calyx with a slight twist.
Can I ripen green tomatoes indoors?
Yes. Store at 65 to 70°F away from direct sunlight. Ethylene gas triggers ripening in 1 to 2 weeks.
Why do my tomatoes lack flavor?
Excess nitrogen or insufficient sunlight reduces sugar accumulation. Ensure 8 hours of direct sun and avoid nitrogen fertilization after fruit set.
Should I refrigerate fresh tomatoes?
No. Temperatures below 55°F degrade volatile compounds responsible for flavor. Store at room temperature stem-side down.
How do I extend harvest season?
Plant succession crops every 2 weeks through midsummer. Use row covers when nighttime temperatures drop below 50°F to prolong production 2 to 3 weeks.