8 Artistic Steps to Place Standing Stones
The smell of damp earth and the sharp, metallic scent of a steel pry bar define the work of a stone setter. Success in the garden relies on turgor pressure within plant cells; however, the structural integrity of a landscape depends on the gravitational stability of its features. Mastering the steps to place standing stones requires an understanding of soil compaction and mechanical leverage. You must account for the Cation Exchange Capacity (CEC) of the surrounding soil to ensure that the heavy disturbance of the earth does not lead to nutrient leaching. A standing stone is not merely a decorative element. It is a focal point that alters the microclimate by providing thermal mass and wind protection for delicate understory species. Proper installation ensures the stone remains plumb through decades of freeze-thaw cycles. This process begins with a deep analysis of the substrate and the physiological needs of the surrounding flora.
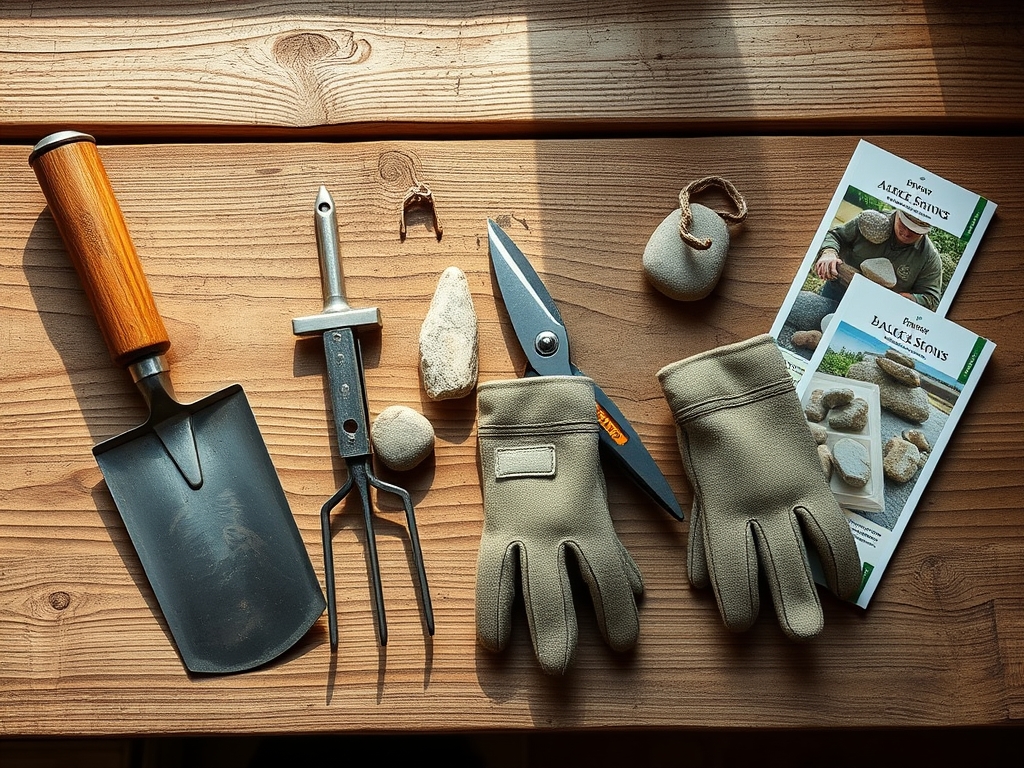
Materials:
The foundation of any standing stone project is the soil. You require a **friable loam** with a **pH between 6.0 and 7.0** to support the surrounding vegetation. If the soil is excessively acidic or alkaline, the structural integrity of certain sedimentary stones may degrade over time due to chemical weathering. For the backfill, utilize a mixture of crushed **3/4-inch angular gravel** and coarse sand to facilitate drainage and prevent frost heave.
To support the rhizosphere of nearby plants, integrate a slow-release fertilizer with an NPK ratio of 5-10-5. High phosphorus levels encourage root development in the disturbed area. Ensure the soil has a high CEC (above 15 meq/100g) to retain essential cations like calcium and magnesium. You will also need a heavy-duty digging bar, a level, and a tamper to achieve a compaction rate of 95 percent Proctor density at the base of the stone.
Timing:
The biological clock of the garden dictates the schedule. Installation should occur during the dormant season or in early spring before the vegetative stage begins. In Hardiness Zones 4 through 7, the ideal window is late autumn after the first hard frost but before the ground freezes solid. This timing prevents excessive soil compaction while the soil is saturated.
Installing stones during the reproductive stage of nearby perennials can cause severe stress and premature senescence due to root disturbance. By working when the plants are dormant, you minimize the risk of damaging the meristematic tissue. Aim for a period when the soil temperature is between 40 and 50 degrees Fahrenheit to ensure the microbial activity in the rhizosphere remains stable during the transition.
Phases:

Sowing the Foundation
The first of the steps to place standing stones involves excavating a pit that is at least one-third the total height of the stone. For a six-foot monolith, two feet must reside below the grade. Remove all organic matter and loose topsoil until you reach the subsoil layer. Line the bottom with four inches of compacted gravel.
Pro-Tip: Proper compaction prevents anaerobic conditions. If the soil is too loose, water pockets form; this leads to root rot in nearby plants because oxygen cannot reach the root hairs.
Transplanting the Monolith
Use a heavy-duty strap and a mechanical hoist or a team of laborers to move the stone into the pit. The "face" of the stone should be oriented to account for photoperiodism. Placing the widest face toward the south can create a heat sink, which radiates warmth to nearby plants during the night.
Pro-Tip: Be mindful of auxin suppression. If the stone shades the terminal buds of nearby shrubs, the lack of light will trigger a hormonal shift, causing the plant to grow leggy as it seeks a light source.
Establishing Stability
Backfill the cavity in three-inch lifts, tamping each layer firmly. As you reach the top six inches, transition from gravel to a high-quality soil mix. This allows for the integration of groundcovers. Use a hori-hori knife to slice through any circling roots of nearby plants to encourage outward growth into the new soil.
Pro-Tip: Encourage mycorrhizal symbiosis by inoculating the backfill soil with beneficial fungi. This symbiotic relationship increases the surface area of the roots, allowing for better water uptake near the stone.
The Clinic:
Physiological disorders in the surrounding landscape often follow a major installation. Monitor the area for these specific symptoms.
Symptom: Nitrogen Chlorosis.
Leaves near the stone turn pale yellow while veins remain green. This occurs when high-carbon organic matter in the backfill "ties up" available nitrogen.
Solution: Apply a liquid fertilizer with an NPK of 20-0-0 to provide an immediate nitrogen boost.
Symptom: Leaf Scorch.
Edges of leaves appear burnt or brown. This is often caused by reflected heat from the stone surface increasing the transpiration rate beyond what the roots can supply.
Solution: Increase irrigation frequency and apply a two-inch layer of organic mulch at the base of the stone to cool the soil.
Symptom: Iron Deficiency.
New growth is yellow or white. This happens if the stone is limestone-based, which can raise the soil pH above 7.5, making iron unavailable.
Solution: Apply chelated iron to the soil and use elemental sulfur to lower the pH back to the 6.5 range.
Maintenance:
A standing stone requires minimal upkeep, but the surrounding ecology needs precision. Use a soil moisture meter to check the hydration levels at the stone's base. The stone can act as an umbrella, creating a "rain shadow" on one side. Ensure the plants in this zone receive 1.5 inches of water per week delivered directly to the drip line.
Use bypass pruners to maintain a two-inch gap between any foliage and the stone surface. This prevents trapped moisture from causing fungal pathogens or lichen overgrowth that might degrade the stone. Every spring, check the plumb of the stone using a level. If the stone has shifted more than two degrees, use a digging bar to re-level and re-compact the base.
The Yield:
If you have placed stones within a cutting garden or an edible landscape, the "yield" is the improved microclimate. Stones placed on the north side of a plot can extend the growing season by two weeks in the autumn. When harvesting flowers or herbs near the stone, do so in the early morning when turgor pressure is at its peak. Use a sharp knife to make clean cuts, then immediately plunge the stems into 40-degree water to maintain "day-one" freshness and prevent vascular clogging.
FAQ:
How deep should I bury a standing stone?
Bury at least one-third of the stone's total length below the ground. This depth ensures the center of gravity remains low enough to resist wind pressure and soil movement during heavy rain or frost cycles.
What is the best soil for backfilling stones?
Use a mix of crushed angular gravel for the bottom two-thirds and a friable loam for the top third. The gravel provides structural drainage; the loam supports the rhizosphere of surrounding ornamental plants and groundcovers.
Can standing stones damage nearby tree roots?
Yes, if you cut major lateral roots during excavation. Always maintain a distance from the trunk equal to one foot for every inch of trunk diameter. Use a hori-hori knife to cleanly prune small roots.
How do I prevent the stone from leaning over time?
Achieve 95 percent compaction of the subsoil and gravel base. Use angular stone rather than rounded river rock for the foundation. Angular edges interlock under pressure, creating a stable platform that resists the lubrication of wet soil.