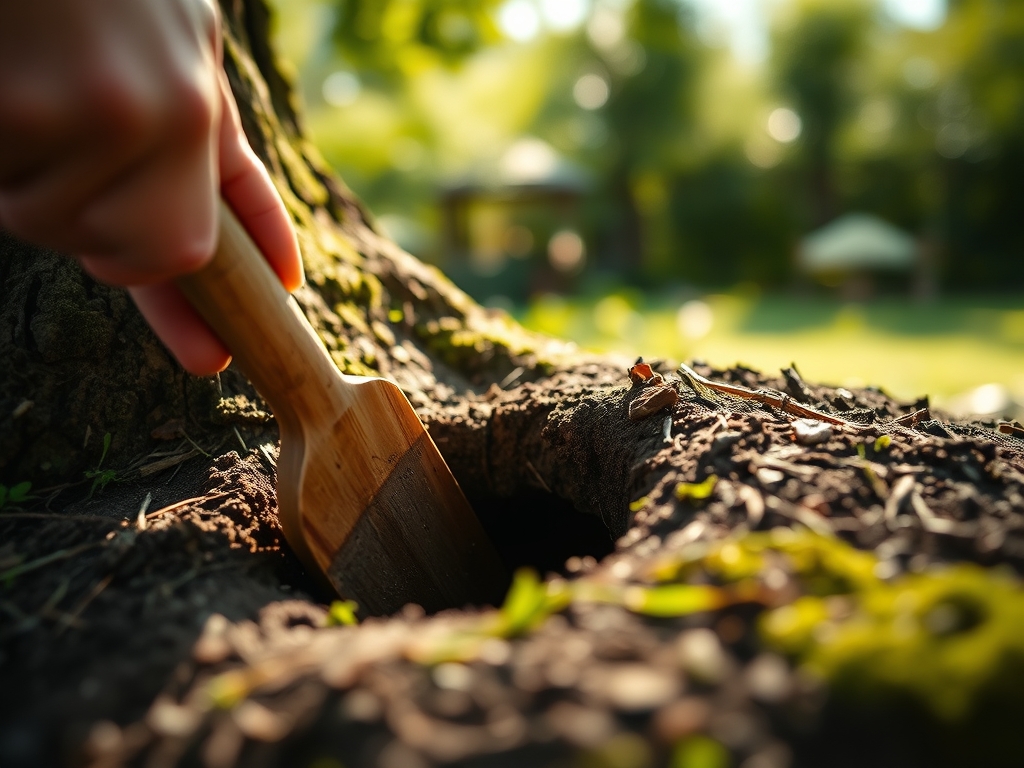
9 Proper Steps to Dig a Tree Hole
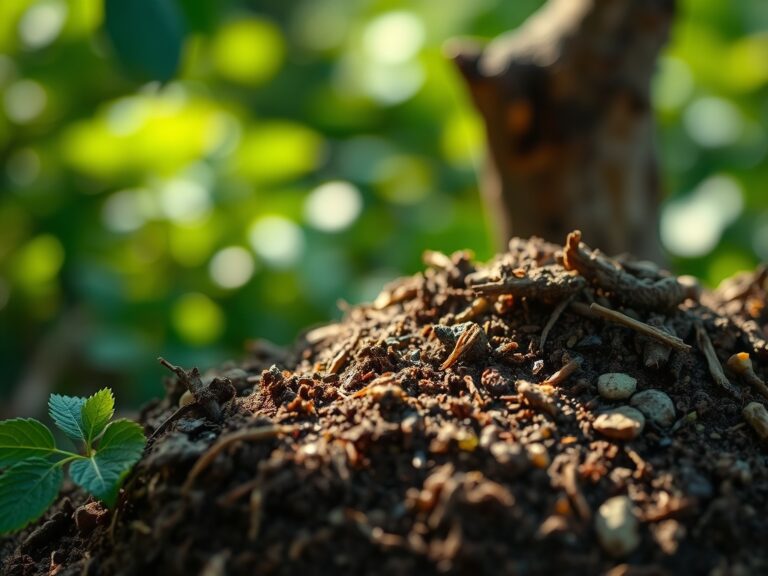
The scent of damp, disturbed earth signals the beginning of a high-stakes biological transition. When you slice into the soil, you are not merely making a void; you are engineering a subterranean environment that determines the turgor pressure and long-term viability of the specimen. Proper execution of the steps to dig a tree hole ensures the root system maintains hydraulic conductivity during the critical establishment phase. Failure to respect soil structure leads to anaerobic conditions or mechanical resistance that halts growth.
Establishment success depends on the physical chemistry of the rhizosphere. A tree is a hydraulic pump; if the interface between the root ball and the native soil is compromised, the pump fails. You must evaluate the soil texture, focusing on the pore space required for gas exchange. In compacted urban soils, the lack of oxygen prevents cellular respiration in the root tips, leading to immediate decline. This guide provides the technical protocols required to move from a containerized or balled-and-burlapped state into a permanent, thriving landscape position.
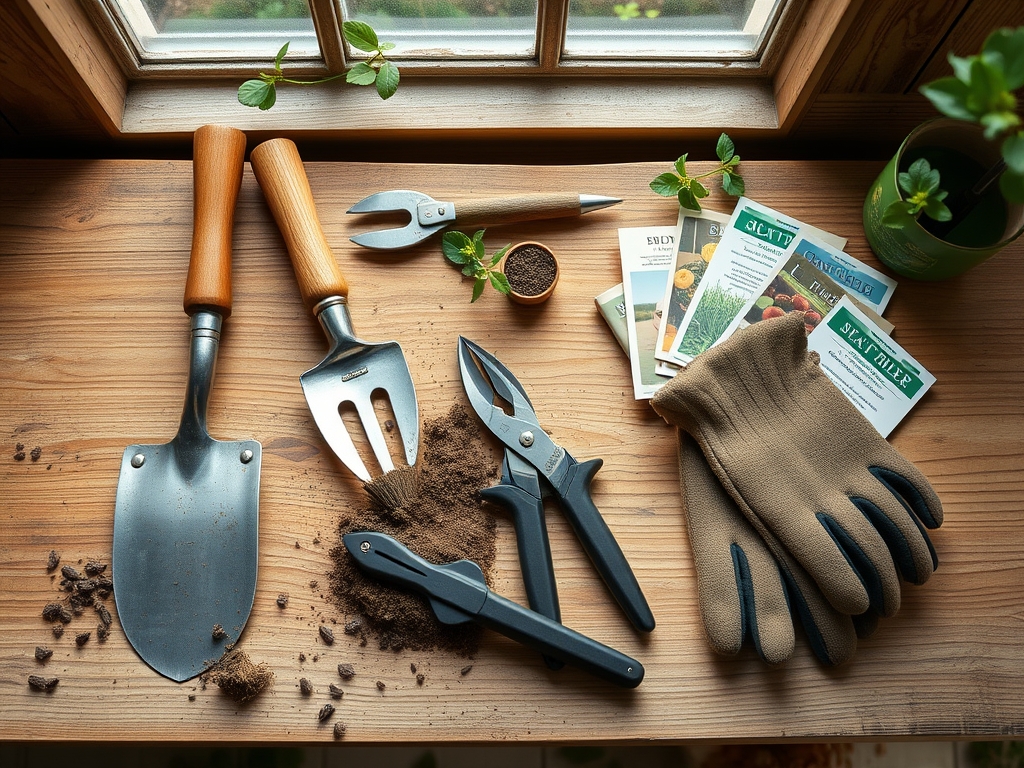
Materials:
The ideal substrate for backfilling is a **friable loam** with a balanced **Cation Exchange Capacity (CEC) of 15 to 25 meq/100g**. This ensures the soil can hold and release essential nutrients like calcium and magnesium. Before digging, test the soil pH; most woody ornamentals thrive in a range of **6.0 to 7.0**.
If the soil is heavy clay, do not amend the hole exclusively with organic matter. This creates a "bathtub effect" where water collects in the hole and rots the roots. Instead, utilize the native soil to maintain consistent capillary action. For nutrient support, have a slow-release fertilizer ready with an NPK ratio of 10-10-10 or a specialized 5-10-5 to prioritize root development over lush foliage. You will also need a sharpened spade, a tarp for soil storage, and a measuring tape to ensure precision to the nearest inch.
Timing:
Timing is dictated by the USDA Hardiness Zones and the plant's metabolic state. For Zones 4 through 7, the primary window is early spring before bud break or late autumn after leaf senescence. During these windows, the tree is in a dormant or semi-dormant state, reducing the demand for transpiration while the soil remains warm enough for root elongation.
The "Biological Clock" of the tree involves a transition from the vegetative stage to a dormant state where auxins shift focus from apical dominance to root proliferation. Avoid planting during the heat of mid-summer when the Vapor Pressure Deficit (VPD) is at its peak. High VPD causes the tree to lose water through the stomata faster than the unestablished roots can pull it from the soil, leading to permanent wilting point.
Phases:

Sowing and Site Preparation
Before the first strike of the spade, clear a radius three times the diameter of the root ball. Use a hori-hori knife to remove turf and weeds that compete for nitrogen. Dig the hole in a "saucer" shape rather than a cylinder. The center should be firm to prevent settling, while the sides should be sloped and roughened.
Pro-Tip: Roughening the sides of the hole prevents "glazing," a condition where the shovel creates a smooth, compacted surface that roots cannot penetrate. This facilitates mycorrhizal symbiosis, allowing beneficial fungi to colonize the root system and increase the surface area for water absorption.
Transplanting and Positioning
Measure the distance from the bottom of the root ball to the root flare, where the trunk widens at the base. The hole depth must match this measurement exactly. Place the tree so the root flare is 1 to 2 inches above the surrounding grade. If the flare is buried, the bark will rot, and the tree will suffer from oxygen deprivation.
Pro-Tip: Always handle the tree by the root ball, never the trunk. This protects the vascular cambium, the thin layer of living tissue under the bark responsible for secondary growth. Damaging this layer disrupts the transport of photosynthates from the leaves to the roots.
Establishing and Backfilling
Return the native soil to the hole in layers, tamping lightly with your hands to remove large air pockets without causing compaction. Once the hole is half-full, flood it with water to settle the soil naturally. Finish filling to the grade line, then create a 3-inch high soil berm at the edge of the root zone to act as a water reservoir.
Pro-Tip: Do not prune the canopy during transplanting unless branches are dead or broken. The tree needs its terminal buds to produce auxins, which are hormones that travel down the trunk to signal the roots to grow. Heavy pruning suppresses this biological "start" signal.
The Clinic:
Physiological disorders often mimic disease but are usually rooted in poor planting technique or soil chemistry.
- Symptom: Leaf Scorch. Edges of leaves turn brown and brittle.
- Solution: This indicates a failure in hydraulic conductivity. Increase deep watering and apply a 3-inch layer of wood chip mulch to regulate soil temperature.
- Symptom: Interveinal Chlorosis. Yellowing of leaves while veins remain green.
- Solution: This is often a Manganese or Iron deficiency caused by high pH. Apply elemental sulfur to lower the pH and increase nutrient availability.
- Symptom: Stem Girdling Roots. Roots circle the trunk and choke the vascular system.
- Solution: Use bypass pruners to cut circling roots at the time of planting. Ensure the hole is wide enough to allow roots to spread laterally.
Fix-It for Nitrogen Chlorosis: If the entire leaf turns pale green or yellow, the tree lacks nitrogen. Apply a water-soluble 20-20-20 fertilizer at half-strength to provide an immediate boost to chlorophyll production.
Maintenance:
Post-planting care requires a data-driven approach. A new tree requires 1.5 inches of water per week delivered at the drip line. Use a soil moisture meter to check the top 6 inches of soil; it should feel like a wrung-out sponge. Over-watering is as lethal as drought, as it fills the soil pores with water and drowns the roots.
Apply mulch in a "donut" shape, keeping it 4 inches away from the trunk. Inspect the tree monthly for signs of mechanical stress. If the tree is in a high-wind area, use flexible stakes, but remove them after one growing season to allow the tree to develop "reaction wood," which strengthens the trunk through natural movement.
The Yield:
For fruit-bearing trees, the first two years should focus on structural integrity rather than harvest. Remove developing fruit in the first season to redirect energy toward root establishment. When the tree reaches maturity, harvest fruit when the Brix level (sugar content) is optimal. Handle fruit with gloves to avoid bruising the skin, which can lead to rapid fungal decay. For "day-one" freshness, harvest in the cool of the early morning when the fruit is at peak turgidity.
FAQ:
How wide should the tree hole be?
The hole should be two to three times wider than the root ball. This provides loose soil for rapid lateral root expansion, which is essential for structural stability and nutrient uptake during the first two years of growth.
How deep should I dig the hole?
Dig no deeper than the height of the root ball. The root flare must remain visible at or slightly above the soil surface. Planting too deep causes trunk rot and leads to a slow decline from lack of oxygen.
Should I add peat moss to the hole?
Avoid using large amounts of amendments like peat moss in the hole. It creates a different texture than the surrounding native soil, which can interfere with water movement and discourage roots from growing beyond the original hole.
When is the best time to water a new tree?
Water in the early morning to minimize evaporation and ensure the tree has a full reservoir before the heat of the day. Use a slow-drip method to allow water to penetrate 12 to 18 inches deep.