10 Simple Steps to Install a Bird Bath
The scent of damp, disturbed earth signals the beginning of a functional garden installation. When the soil reaches a state of friable loam, its structure allows for the stable placement of heavy garden features without compromising the underlying rhizosphere. Successful avian integration requires more than aesthetic placement; it demands an understanding of local topography and predator-prey dynamics. Following precise steps to install a bird bath ensures the basin remains level while protecting the structural integrity of your surrounding flora. A well-placed water source maintains the turgor pressure of the local ecosystem by attracting pollinators and pest-consuming birds.
Achieving a permanent, level installation requires a foundation that resists the freeze-thaw cycles of the soil. You must evaluate the Cation Exchange Capacity (CEC) of your site to determine how the soil will compact under the weight of a stone or ceramic pedestal. Sandy soils with low CEC will shift rapidly, whereas heavy clays may hold too much moisture, leading to pedestal tilting during winter months. By following these steps to install a bird bath, you create a permanent hydrological station that serves as a focal point for both avian hydration and garden health.
Materials:
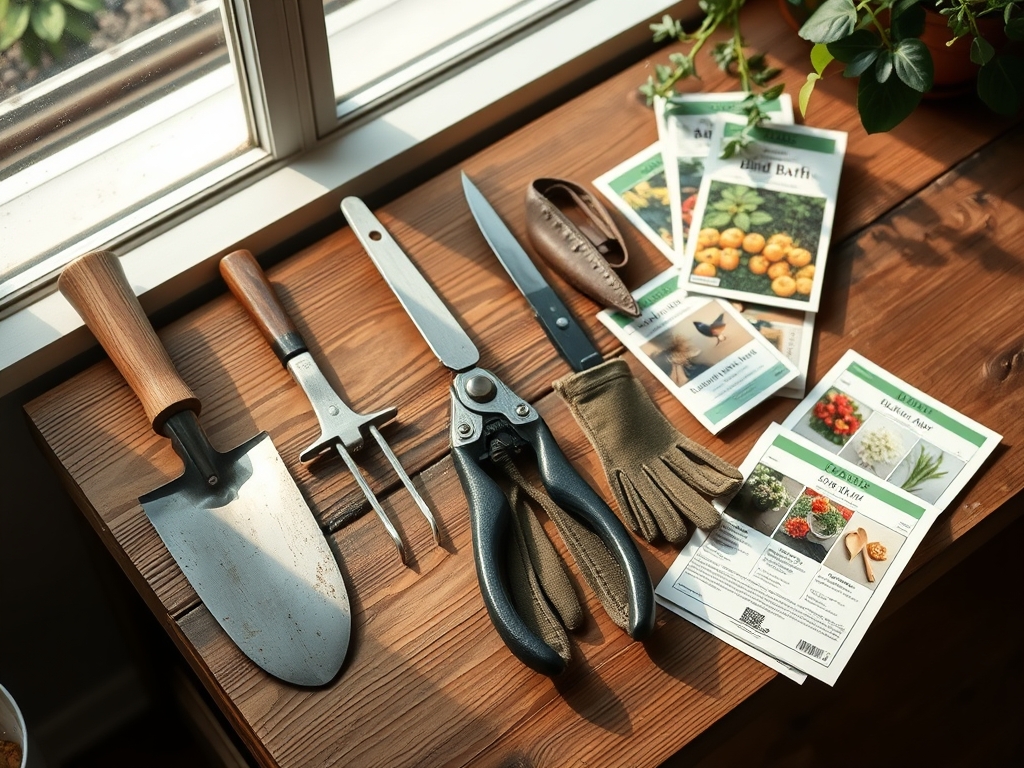
The substrate beneath your installation should be a **friable loam** with a **pH level between 6.0 and 7.0** to prevent the corrosion of concrete or metal bases. For the surrounding vegetation, maintain a balanced **NPK ratio of 10-10-10** to ensure strong root systems that anchor the soil around the bath. You will need:
* A level basin with a depth no greater than **2 inches** at the center.
* **3/4-inch crushed limestone** or pea gravel for the base.
* A **spirit level** for horizontal accuracy.
* **Coarse sand** to fill micro-voids in the leveling layer.
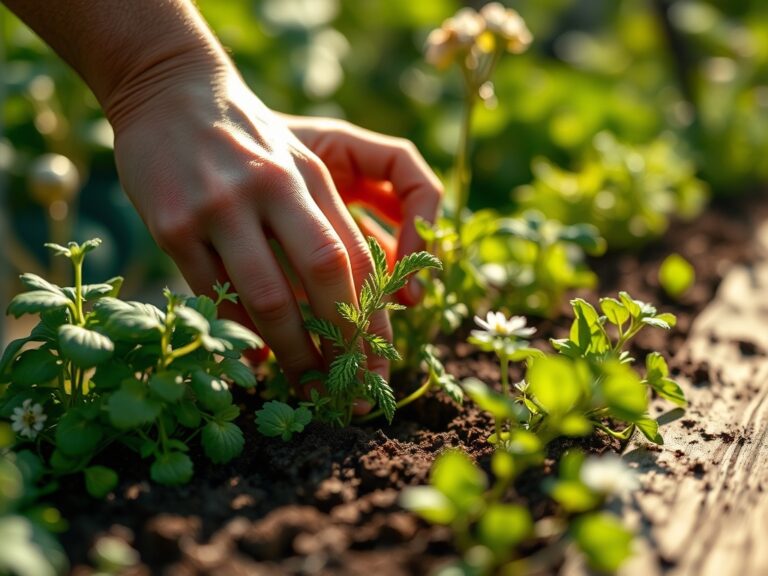
* A **hori-hori knife** for precise sod removal.
Timing:
Installation should occur when the ground is workable, typically between Hardiness Zones 4 and 9 after the final spring frost. In the "Biological Clock" of the garden, the ideal window is during the early vegetative stage of surrounding perennials. This timing allows the plants to adapt their growth patterns to the new structure before they enter the reproductive (flowering) phase. Avoid installation during peak senescence in late autumn, as the lack of active root growth in the surrounding soil increases the risk of winter shifting.
Phases:
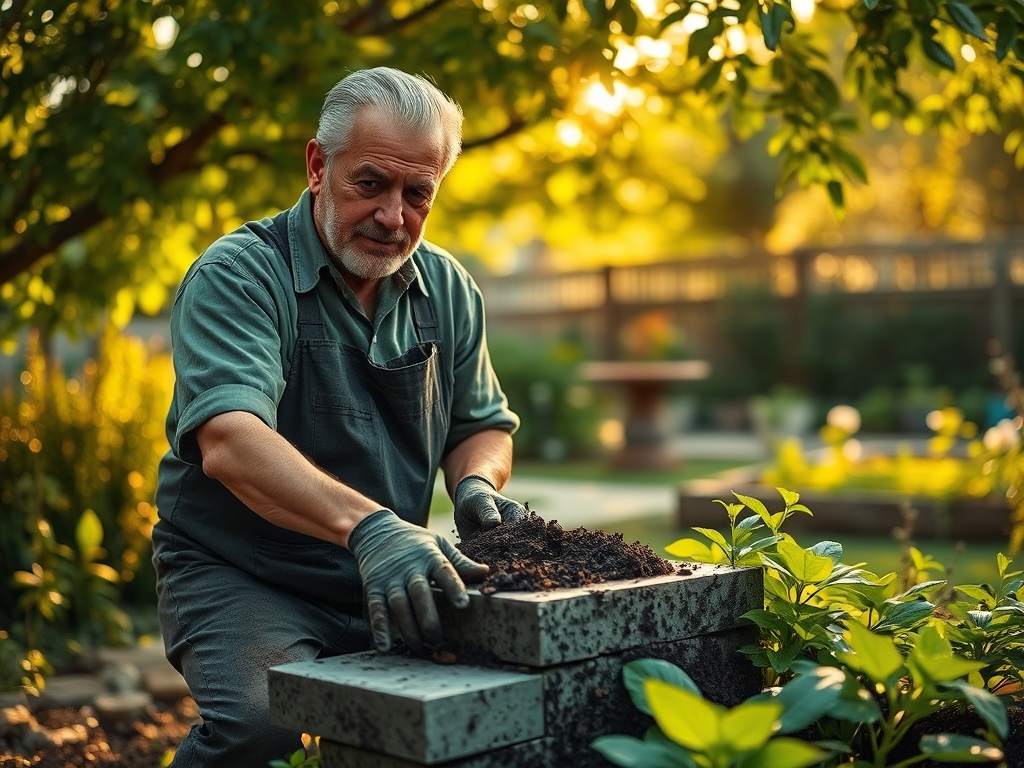
Sowing the Foundation
Clear a circular area 6 inches wider than the pedestal base using a hori-hori knife. Excavate the soil to a depth of 4 inches. Fill the first 3 inches with crushed limestone and compact it firmly. This layer prevents capillary action from drawing excess moisture into the base of the bird bath.
Pro-Tip: Compacting the base prevents the disruption of mycorrhizal symbiosis in the surrounding soil by limiting further excavation once the bath is heavy with water.
Transplanting the Structure
Place the pedestal onto the compacted gravel. Use a spirit level to check the horizontal plane across two axes. If the pedestal is uneven, add small amounts of coarse sand rather than soil; sand does not compress or wash away as easily as organic matter.
Pro-Tip: A perfectly level basin ensures even water distribution, which prevents phototropism in algae. Algae grows faster in shallow, sun-warmed sections of a tilted bowl.
Establishing the Environment
Once the basin is set, fill it with clean water. The water should be no deeper than 1.5 inches to accommodate small passerines. Surround the base with a thin layer of mulch, keeping it 2 inches away from the pedestal to prevent fungal rot.
Pro-Tip: Placing the bath near shrubs provides a "staging area" for birds, reducing their stress and allowing for natural auxin suppression in the nearby plants as birds prune small pests from the leaves.
The Clinic:
Physiological Disorders and Structural Failures
- Symptom: Algal Bloom (Green/Brown Slime).
- Solution: Increase water turnover frequency. Scrub with a 9:1 water-to-vinegar solution. Avoid bleach, which alters the pH of the runoff.
- Symptom: Pedestal Tilting (Subsidence).
- Solution: Re-level using 3/4-inch gravel. This usually indicates poor drainage or high clay content in the rhizosphere.
- Symptom: Surface Spalling (Flaking Concrete).
- Solution: Seal the basin with a food-safe siloxane sealer to prevent water from entering the pores and freezing.
Nutrient Fix-It
- Nitrogen Chlorosis: If plants surrounding the bath show yellowing leaves, the high water runoff may be leaching nitrogen. Apply a slow-release 15-5-5 fertilizer at the drip line.
- Iron Deficiency: Interveinal chlorosis in nearby shrubs suggests a pH imbalance. Lower the soil pH to 6.5 using elemental sulfur.
Maintenance:
Consistency is the primary requirement for a functional bird bath. Use a soil moisture meter to ensure the area around the base does not become anaerobic from splashes. Maintain 1.5 inches of water per week in the basin, but refresh the supply every 48 hours to prevent mosquito larvae development. Every six months, use bypass pruners to clear a 3-foot radius of sightlines around the bath; birds will not use a water source if predators can hide in dense, unpruned foliage. During winter in Zones 4-7, remove the basin or add a de-icer to prevent the expansion of ice from cracking the material.
The Yield:
While a bird bath does not produce a harvestable crop, the "yield" is measured in the reduction of garden pests. An active bird bath can increase the local bird population, which provides biological control for beetles and caterpillars. To maintain "day-one" freshness of the water, ensure the basin is scrubbed of all organic biofilm once a week. This prevents the buildup of pathogens that can affect both avian health and the microbial balance of the soil when the bath is emptied.
FAQ:
How deep should the water be for most birds?
The water should be between 0.5 and 2 inches deep. Most songbirds have short legs and require shallow depths to maintain turgor and balance while bathing. Sloped basins provide the best range for various species.
What is the best location for a bird bath?
Place the bath in a shaded or semi-shaded area within 10 feet of a shrub or tree. This provides a quick escape route from predators and keeps water temperatures lower, slowing the growth of bacteria and algae.
How do I stop the bird bath from tipping?
You must install a compacted gravel foundation at least 4 inches deep. Use a spirit level during installation. In soft soils, a buried patio stone provides a wider footprint to distribute the weight of the pedestal.
How often should I clean the basin?
Clean the basin every 2 to 3 days. Use a stiff brush and clean water. For deeper cleans, use a diluted vinegar solution to remove mineral deposits and biofilm without introducing toxic chemicals into the garden ecosystem.