9 Sleek Ways How to Design a Contemporary Patio
The scent of damp, mineral-rich earth and the firm turgor of a healthy leaf define the success of a modern landscape. Learning how to design a contemporary patio requires more than an aesthetic eye; it demands an understanding of the intersection between structural engineering and botanical health. A successful installation balances hardscaping with a thriving rhizosphere, ensuring that the transition from concrete to living tissue is seamless. Precision in drainage and soil composition prevents stagnant water from suffocating root systems.
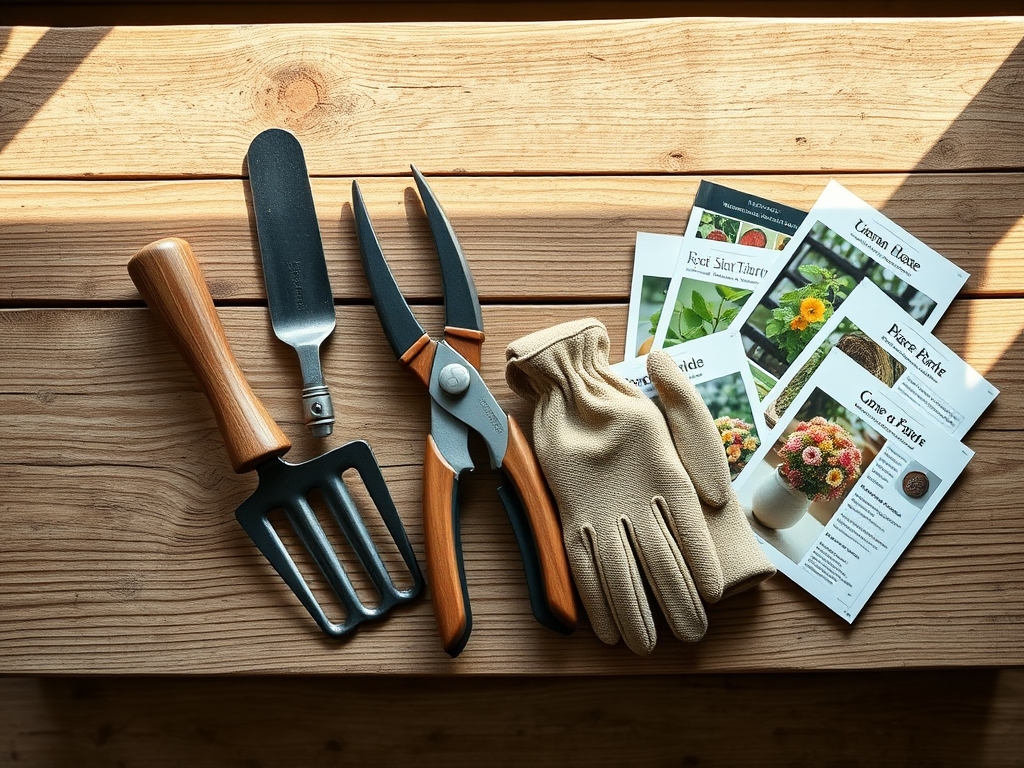
Materials:
Contemporary patio design relies on the integrity of the substrate. For integrated planting beds, the ideal medium is a **friable loam** with a Cation Exchange Capacity (CEC) between **15 and 25 meq/100g**. This ensures the soil can retain and exchange essential cations like potassium and magnesium. The soil pH must be stabilized between **6.2 and 6.8** to optimize nutrient bioavailability.
When selecting fertilizers for architectural plantings, use a slow-release NPK ratio of 10-10-10 for general maintenance. If the design features heavy foliage like Hostas or ornamental grasses, a higher nitrogen ratio such as 15-5-10 supports vegetative expansion. For flowering perennials, shift to a 5-10-10 blend to prioritize phosphorus for root development and bloom production. The physical texture should be gritty enough to allow for a 20 percent macropore space, facilitating gas exchange between the roots and the atmosphere.
Timing:
Hardiness Zones 5 through 9 provide the most versatility for contemporary materials. Construction should commence when soil temperatures consistently reach 50 degrees Fahrenheit, as cold, waterlogged soil risks compaction during excavation. The biological clock of your plant palette dictates the installation window. Deciduous species should be installed during their dormant phase, typically late autumn or early spring, to minimize transplant shock and prevent premature senescence.
Avoid heavy structural work during the peak of the summer solstice. High ambient temperatures increase the transpiration rate, causing plants to lose water faster than their root systems can replace it. Aim for a window at least six weeks before the first projected frost to allow for root establishment. This period ensures that the plant has sufficient carbohydrate reserves to survive winter dormancy.
Phases:

Sowing and Site Preparation
Clear the site of all competitive vegetation. Excavate to a depth of 8 to 12 inches for the patio base, ensuring a 2 percent slope away from all structures to prevent hydrostatic pressure buildup. If sowing ornamental groundcovers between pavers, use a mixture of sand and compost to provide a stable yet permeable medium.
Pro-Tip: Incorporate mycorrhizal fungi inoculants into the sowing area. This biological why centers on mycorrhizal symbiosis, where fungal hyphae extend the reach of the root system, increasing phosphorus uptake by up to 300 percent.
Transplanting
When moving specimen plants into built-in planters, the root ball must be placed so the flare is exactly at the soil surface. Deep planting leads to stem rot and oxygen deprivation. Dig a hole twice as wide as the root ball but no deeper.
Pro-Tip: Avoid over-amending the backfill. If the planting hole is too rich compared to the surrounding native soil, roots will fail to extend outward, a phenomenon known as "pot-bound syndrome." This encourages lateral root development, ensuring structural stability against wind shear.
Establishing
The first 21 days are critical for vascular reconnection. Monitor the plants for signs of flagging, which indicates a drop in turgor pressure. Use a soil moisture meter to ensure the root zone remains at 60 to 70 percent field capacity.
Pro-Tip: Use a light layer of organic mulch but keep it 3 inches away from the plant base. This prevents auxin suppression and ensures that the plant's hormonal signals for growth are not interrupted by fungal pathogens or excessive moisture at the crown.
The Clinic:
Physiological disorders often mimic disease but are usually rooted in environmental stress or nutrient imbalances.
- Symptom: Interveinal chlorosis (yellowing between leaf veins).
Solution: This typically indicates an iron or magnesium deficiency. Check the pH first; if the pH is above 7.5, iron becomes insoluble. Lower the pH using elemental sulfur. - Symptom: Leaf scorch or marginal necrosis.
Solution: This is often a result of high salinity from de-icing salts or over-fertilization. Flush the soil with 2 inches of water to leach excess salts from the rhizosphere. - Symptom: Epinasty (downward curling of leaves).
Solution: Often caused by overwatering or poor drainage in heavy clay soils. Improve drainage by incorporating expanded shale or perlite to increase aeration.
Fix-It for Nitrogen Chlorosis: If the entire leaf turns a pale green or yellow, apply a liquid fish emulsion or urea-based fertilizer. Nitrogen is mobile within the plant, so the oldest leaves will show symptoms first as the plant translocates nutrients to new growth.
Maintenance:
Precision is the hallmark of a contemporary patio. Provide 1.5 inches of water per week at the drip line rather than the trunk. Use a hori-hori knife to remove deep-rooted weeds without disturbing the surrounding soil structure. For woody ornamentals, use bypass pruners to make clean cuts at the branch bark ridge, facilitating rapid callusing.
Check the soil compaction annually. If the soil becomes too dense, use a core aerator to restore gas exchange. Monitor the integrity of the pavers; if shifting occurs, it may indicate a failure in the sub-base or an invasive root system. Use a soil moisture meter twice weekly during the first two growing seasons to calibrate your irrigation schedule to the specific microclimate of the patio.
The Yield:
If your contemporary design includes edible components like columnar apples or herbs, harvest timing is dictated by sugar content and cellular structure. Harvest leafy herbs in the early morning when turgor pressure is highest and essential oils are concentrated. Use sharp shears to avoid tearing the vascular tissue.
For post-harvest handling, immediately plunge herbs into cold water to remove field heat. This slows the metabolic rate and prevents the breakdown of chlorophyll. For woody perennials, prune back only one-third of the growth to ensure the plant has enough leaf surface area to continue photosynthesis and recharge its carbohydrate stores for the following season.
FAQ:
How do I prevent pavers from sinking?
Excavate to a depth of 6 inches for the sub-base. Use compacted crushed stone followed by a 1-inch layer of coarse sand. Ensure a 95 percent compaction rate using a plate compactor to provide a stable, non-shifting foundation.
What is the best plant for a modern look?
Ornamental grasses like Miscanthus or Panicum provide verticality and movement. Their fibrous root systems help stabilize soil near edges. Ensure they receive at least 6 hours of full sun to maintain structural uprightness and prevent lodging.
How often should I seal my patio?
Apply a high-quality penetrative sealer every 3 to 5 years. This prevents moisture from infiltrating the stone pores, which can lead to spalling during freeze-thaw cycles. Ensure the surface is dry for 48 hours prior to application.
Can I grow trees in large patio containers?
Yes, select cultivars grafted onto dwarfing rootstocks. Ensure the container has a minimum volume of 15 gallons and utilizes a high-porosity potting mix. Monitor the cation exchange frequently, as nutrients leach faster in containerized environments than in-ground.
Why are my patio plants turning yellow?
This is likely nitrogen chlorosis or a pH imbalance. Test the soil; if the pH is above 7.0, nutrients like iron and manganese become "locked." Adjust the pH to 6.5 to restore nutrient bioavailability and leaf color.