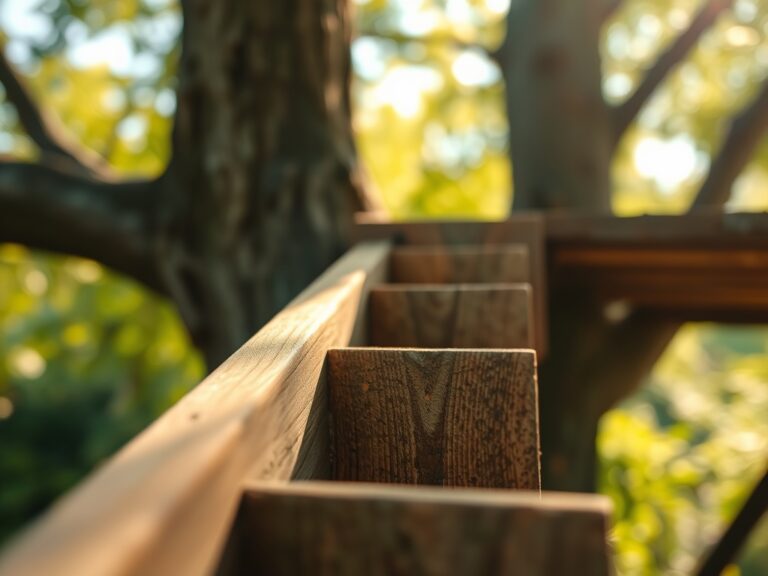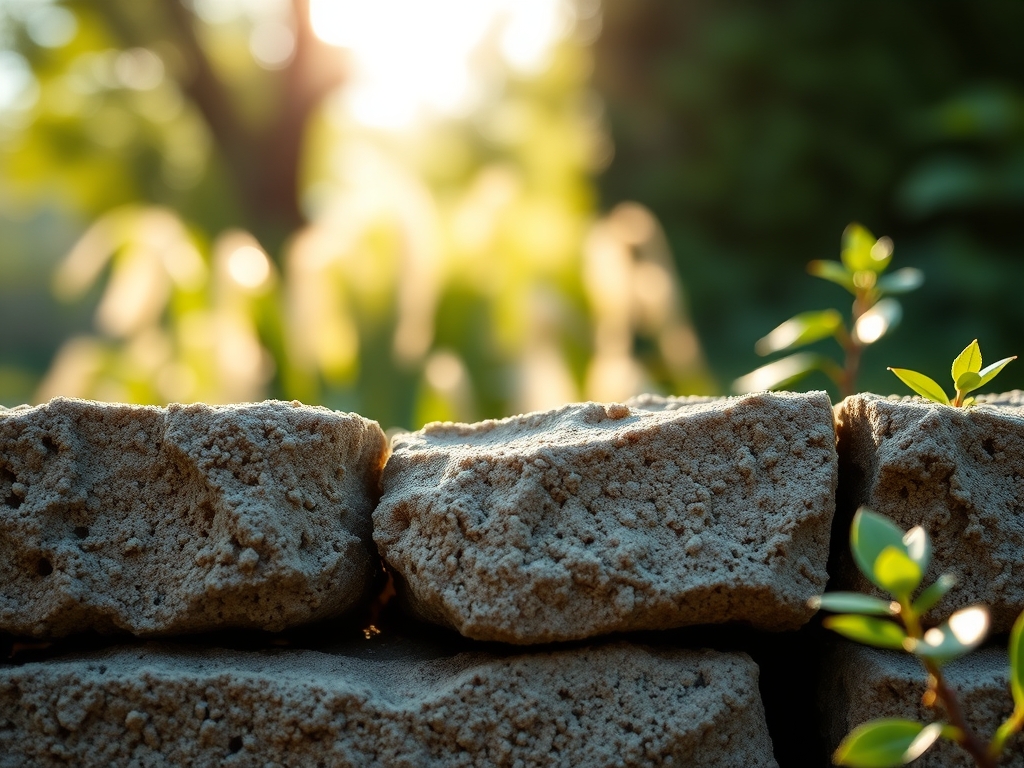
5 Best Cement for Garden Walls
The smell of damp earth and the cool humidity of the rhizosphere define the successful garden; however, the structural integrity of the landscape depends on the masonry that contains it. Selecting the best cement for garden walls requires an understanding of hydrostatic pressure and chemical leaching. A garden wall is not merely a boundary. It is a vertical support system that must withstand the expansion of soil during freeze-thaw cycles while remaining chemically inert to protect the delicate pH balance of your planting beds. Without a high-density, sulfate-resistant binder, your masonry will succumb to efflorescence and structural failure within five seasons.
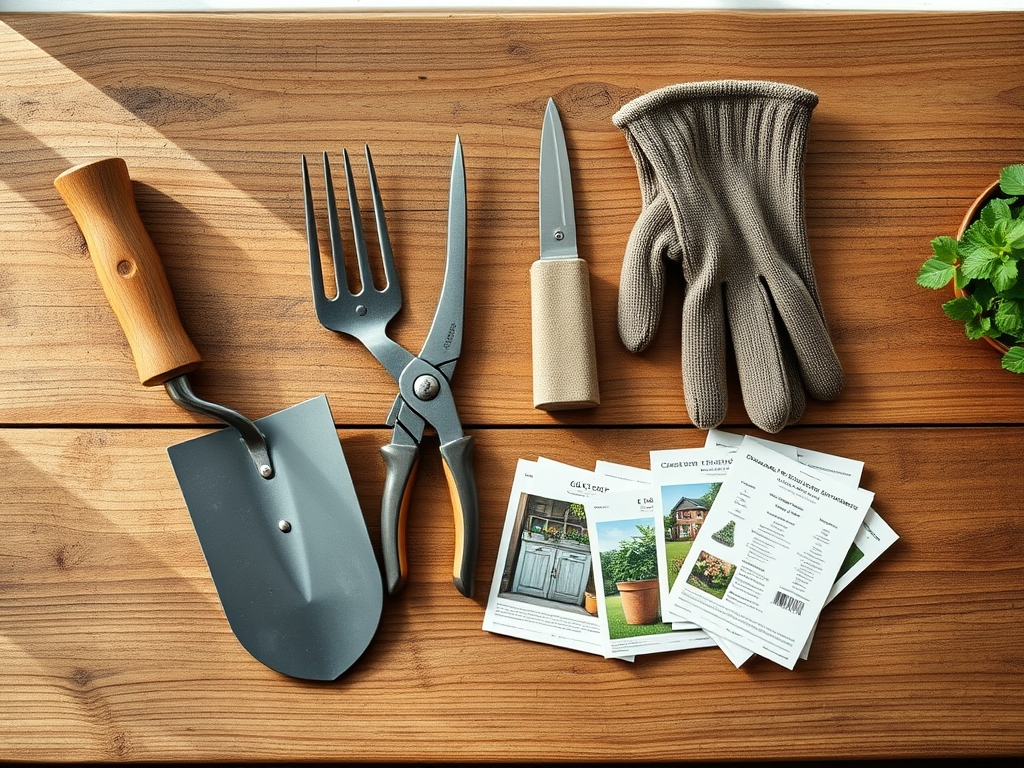
Materials:
The substrate behind your garden wall should ideally be a **friable loam** with a **Cation Exchange Capacity (CEC) between 15 and 25 cmol/kg**. This allows for optimal nutrient retention. When selecting the best cement for garden walls, you must consider the soil chemistry it will contact. If your soil has a **pH below 5.5**, acidic runoff can degrade standard Portland cement.
- Type S Mortar: This is the industry standard for load-bearing garden walls. It offers a high compressive strength of 1,800 psi and superior lateral strength to resist soil weight.
- Type N Mortar: Best for non-load-bearing decorative walls. It has a lower compressive strength of 750 psi but offers better flexibility for shifting ground.
- Rapid-Setting Concrete: Ideal for setting fence posts or small retaining wall footings where you need a strength of 4,000 psi within 28 days.
- Hydraulic Cement: Necessary for sealing cracks where water seepage occurs; it expands as it sets to create a watertight seal.
- Portland Cement Type II: Formulated for moderate sulfate resistance, which is critical if your soil is high in salts or has a high NPK ratio like 10-10-10 or 20-20-20.
Timing:
Masonry work must be synchronized with the local frost-date windows. In Hardiness Zones 4 through 7, construction should occur when daytime temperatures remain between 50 and 80 degrees Fahrenheit. Cement hydration is a chemical reaction; if the water in the mix freezes, the crystalline structure of the silicate hydrates will shatter.
Understanding the "Biological Clock" of your garden is equally vital. Perform masonry work during the senescence phase of your perennials (late autumn) or before the vegetative stage begins in early spring. This prevents physical damage to the plants and ensures that the heat generated by the cement's exothermic reaction does not scorch emerging root tips or disrupt the photoperiod sensitivity of the species nearby.
Phases:
Sowing and Preparation
Before the first block is laid, the trench must be excavated below the frost line to prevent heaving. Ensure the base consists of 6 inches of compacted 3/4-inch minus gravel. This ensures that the rhizosphere remains aerated and prevents waterlogging at the base of the wall.
Pro-Tip: Proper drainage prevents hydrostatic pressure buildup. By installing a perforated drain pipe, you avoid soil saturation that leads to root rot and anaerobic conditions caused by oxygen deprivation in the soil pores.
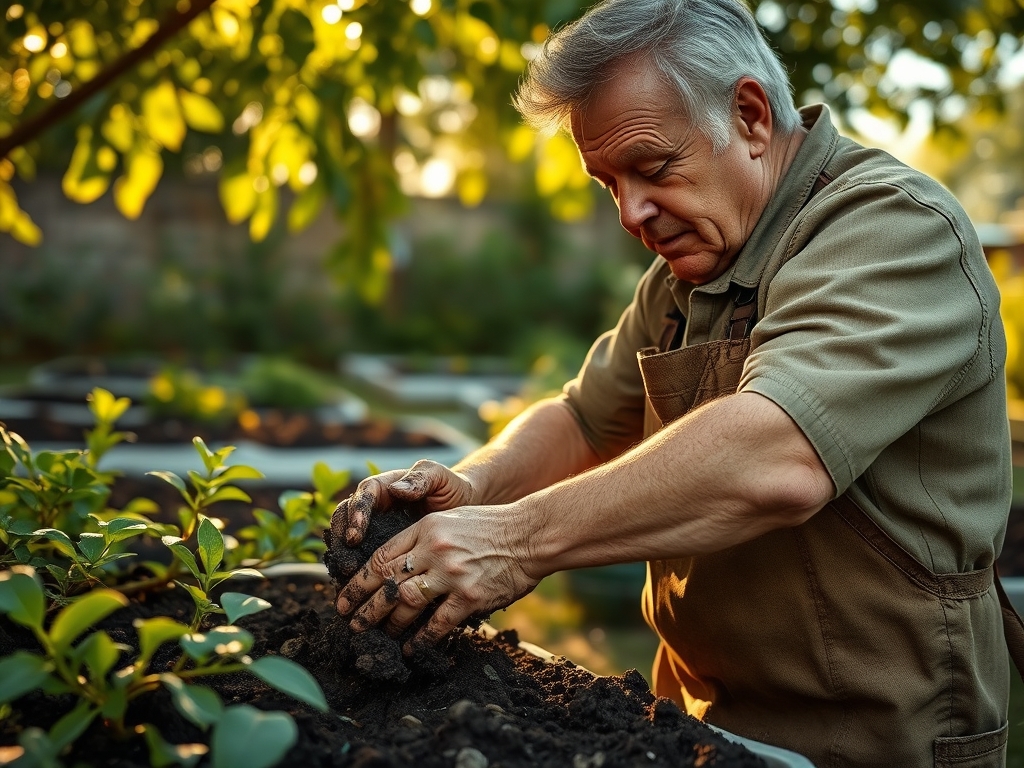
Transplanting and Construction
When integrating plants into "living walls," ensure that the mortar is fully cured for at least 7 to 14 days before introducing organic matter. This prevents high alkalinity from the lime in the cement from spiking the soil pH and causing iron chlorosis in acid-loving plants.
Pro-Tip: Use a moisture barrier between the cement and the soil. This prevents osmotic stress where the porous masonry wicks essential hydration away from the plant roots, leading to a loss of turgor pressure.
Establishing and Curing
Keep the new cement damp for 7 days to ensure maximum carbonation and strength. During this time, monitor the surrounding vegetation for signs of stress.
Pro-Tip: Avoid heavy fertilization during the curing phase. High nitrogen levels can lead to auxin suppression in young transplants nearby as they struggle with the localized increase in soil temperature from the curing concrete.
The Clinic:
Physiological disorders in the garden often stem from the interaction between masonry and soil.
- Symptom: Interveinal chlorosis (yellow leaves with green veins) in new growth.
- Solution: This is often Iron Deficiency caused by lime leaching from new cement, raising the pH. Apply chelated iron and sulfur to lower the pH to a range of 6.0 to 7.0.
- Symptom: Stunted growth and dark purple tint on older leaves.
- Solution: Phosphorus Deficiency. Cold soil or high pH can lock phosphorus. Incorporate bone meal or a 0-10-0 fertilizer into the root zone.
- Symptom: White, crusty powder on the garden wall surface.
- Solution: Efflorescence. This indicates water is moving through the wall, carrying soluble salts. Improve drainage and seal the back of the wall with a bituminous coating.
- Symptom: Leaf margins appearing scorched or "burnt."
- Solution: Potassium Deficiency. Ensure the soil has adequate moisture to facilitate the transport of K+ ions through the xylem.
Maintenance:
A garden wall is a permanent fixture that requires precise environmental management. Use a soil moisture meter to ensure the area behind the wall receives 1.5 inches of water per week at the drip line. Because masonry retains heat, soil behind the wall will desiccate faster than open beds.
Utilize a hori-hori knife to remove weeds from mortar joints before their root systems can expand and cause structural cracking. When pruning overhanging branches to prevent moisture traps against the cement, use sharp bypass pruners to ensure clean cuts that heal quickly, preventing fungal pathogens from entering the plant's vascular system. Annual inspections should include checking for "spalling," where the face of the cement flakes off due to salt accumulation.
The Yield:
For walls supporting edible crops or cut flowers, harvest timing is dictated by the turgor pressure of the plant. Harvest in the early morning, typically before 8:00 AM, when the plant is fully hydrated and cellular respiration is low.
For woody perennials or herbs grown near cement walls, use the "snap test" to ensure maturity. Once harvested, plunge the stems into 40-degree Fahrenheit water to remove field heat and slow the rate of senescence. This preserves the "day-one" freshness by maintaining the integrity of the cell walls and preventing the breakdown of volatile oils.
FAQ:
What is the strongest cement for a retaining wall?
Type S Mortar is the strongest option for garden retaining walls. It provides a compressive strength of 1,800 psi. This strength is necessary to resist the lateral pressure exerted by saturated soil and expanding root systems in the landscape.
Can cement leaching kill my plants?
Yes; unsealed cement leaches calcium hydroxide, which significantly raises soil pH. This alkalinity causes nutrient lockout, preventing plants from absorbing iron and manganese. Always seal the soil-facing side of the wall or use a heavy-duty plastic liner to prevent leaching.
How long should cement cure before planting?
Wait at least 7 to 14 days for the cement to undergo primary hydration. For sensitive species, wait 28 days for full carbonation. This ensures the chemical profile of the soil remains stable and the exothermic heat does not damage the rhizosphere.
Does the color of the cement matter for plant health?
Darker cements absorb more thermal energy, which can increase the soil temperature by 5 to 10 degrees. This may benefit plants in Zone 5 but can cause heat stress and rapid evaporation in Zones 8 and 9. Choose colors based on local climate.