7 Welcoming Ways How to Design a Front Walk
The scent of crushed pine needles and damp, friable earth signals the start of a structural landscape overhaul. When you consider how to design a front walk, you are not merely placing stones; you are directing the hydraulic flow of a site and managing the gas exchange within the rhizosphere. A successful path balances the structural integrity of the hardscape with the biological requirements of the surrounding flora. Turgor pressure in nearby perennials depends on how you manage the compaction of the sub-base and the subsequent drainage patterns. This guide provides a technical framework for establishing a functional, botanically sound entrance that respects the physiological needs of your soil.
Materials:
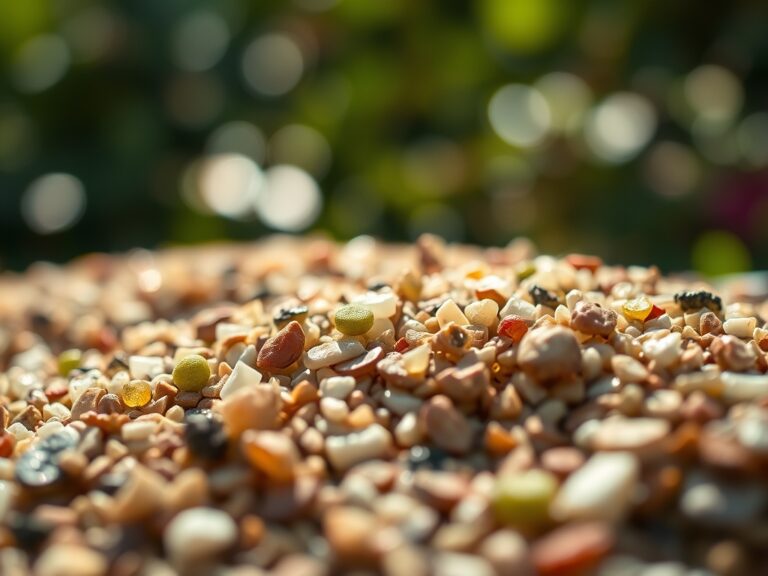
The foundation of any walk begins with the substrate. For the planting pockets flanking the path, target a **soil pH between 6.2 and 6.8** to maximize nutrient availability. The ideal texture is a **friable loam** consisting of 40 percent sand, 40 percent silt, and 20 percent clay. This ratio ensures a high Cation Exchange Capacity (CEC), allowing the soil to retain essential ions like calcium and magnesium.
For the initial establishment of border plants, use a slow-release fertilizer with an NPK ratio of 10-10-10. This balanced approach supports early root development without forcing excessive succulent growth that is susceptible to desiccation. Avoid high-nitrogen blends during the installation phase; an excess of nitrogen can lead to weak cell walls and increased susceptibility to fungal pathogens. Ensure your base material consists of crushed limestone or 3/4-inch minus gravel compacted to a 95 percent Proctor density to prevent shifting that could crush delicate lateral roots of adjacent shrubs.
Timing:
Timing is dictated by your USDA Hardiness Zone and the local frost-free window. In Zones 5 through 7, the optimal period for path installation and flanking plant establishment is early autumn or early spring when soil temperatures range between 50 and 65 degrees Fahrenheit. During these windows, plants transition from a vegetative stage to a period of root intensification.
The "Biological Clock" of your landscape is governed by the photoperiod. Planting during the autumn equinox allows woody perennials to focus energy on root lignification rather than foliage production. This ensures that when the plant enters dormancy, the root system is sufficiently established to withstand soil heaving caused by freeze-thaw cycles. Monitor the local dew point; high humidity during the installation of stone can promote the growth of lithophytic mosses, which may be desirable or a slip hazard depending on your specific design goals.
Phases:

Sowing and Groundcover
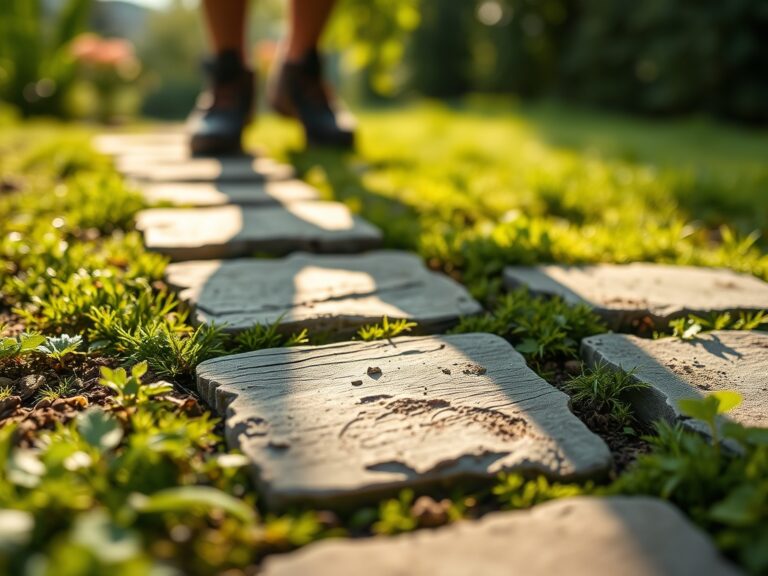
When integrating "steppable" plants between pavers, such as Thymus praecox, sow seeds or plugs into a mix of 70 percent sand and 30 percent organic matter. This provides the drainage necessary to prevent crown rot during heavy precipitation events.
Pro-Tip: Utilize the principle of thigmotropism. Low-growing groundcovers respond to the mechanical stress of foot traffic by producing shorter internodes and thicker cell walls, resulting in a denser, more resilient mat.
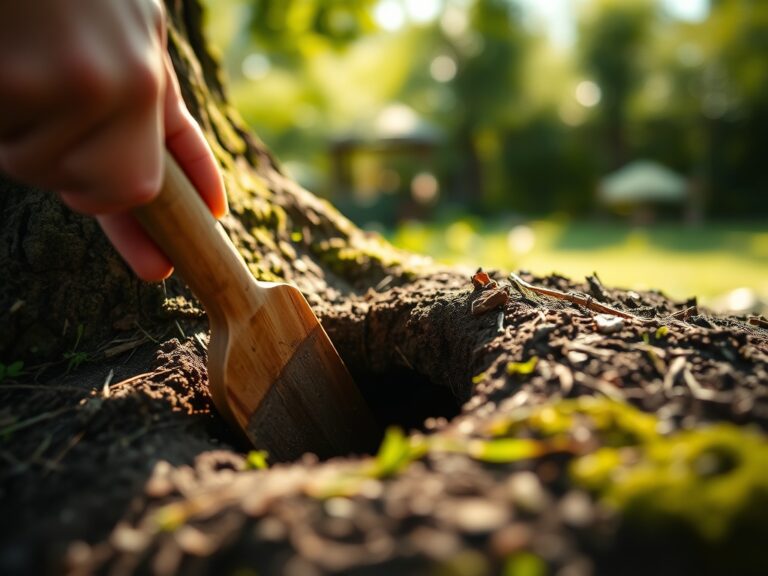
Transplanting Border Shrubs
Excavate planting holes twice the width of the root ball but no deeper. This prevents the settling of the root flare below the soil line, which can lead to stem girdling and hypoxia. Use a hori-hori knife to scarify the edges of the planting hole, breaking the "glaze" caused by shovels in high-clay soils.
Pro-Tip: Inoculate the backfill with endomycorrhizal fungi. This symbiotic relationship extends the effective surface area of the root system by up to 1,000 percent, significantly increasing the uptake of phosphorus and water.
Establishing the Canopy
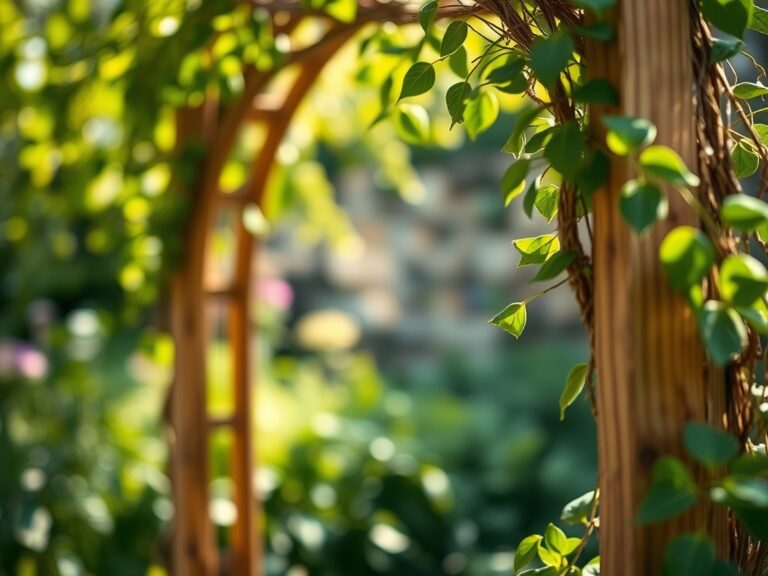
If your design includes overhead elements like an arbor, select species with strong apical dominance. Secure these to supports using flexible ties that allow for secondary growth in the vascular cambium.
Pro-Tip: Practice auxin suppression by pruning terminal buds on lateral branches. This redirects the flow of auxins to lower nodes, encouraging a fuller, more architectural habit that frames the walkway without encroaching on the path of travel.
The Clinic:
Physiological disorders often manifest shortly after a walk is installed due to changes in soil compaction and drainage.
Symptom: Interveinal chlorosis (yellowing leaves with green veins) in new growth.
Solution: This indicates an iron deficiency, often caused by an alkaline pH spike from concrete leaching. Apply chelated iron and mulch with pine bark to lower the pH.
Symptom: Leaf scorch or marginal necrosis on broadleaf evergreens.
Solution: This is often a result of high salinity from de-icing salts used on the walkway. Flush the soil with 10 gallons of water per square yard to leach sodium ions below the root zone.
Symptom: Wilting despite adequate soil moisture (Epinasty).
Solution: This suggests anaerobic conditions in the rhizosphere due to over-compaction during construction. Use a soil probe to aerate the area and incorporate perlite to improve macropore space.
Fix-It for Nitrogen Chlorosis: If older leaves turn a uniform pale green, the plant is scavenging nitrogen for new growth. Apply a quick-release 5-1-1 fish emulsion to provide an immediate nitrogen boost while the slow-release granules begin to mineralize.
Maintenance:
Precision is the hallmark of a professional landscape. Use a soil moisture meter to ensure the root zone remains between 20 and 40 percent volumetric water content. Most border plants require 1.5 inches of water per week delivered at the drip line via drip irrigation to minimize foliar diseases.
Maintain sharp edges on your bypass pruners to ensure clean cuts that callus quickly. When pruning, always cut back to a lateral bud or branch collar to prevent "die-back" stubs that serve as entry points for pathogens. Use a hori-hori knife annually to slice through any "circling roots" that may begin to impinge upon the walkway pavers. Every three years, conduct a professional soil test to monitor the Cation Exchange Capacity and adjust mineral inputs accordingly.
The Yield:
If your front walk design incorporates lavender or culinary herbs, harvest during the "pre-anthesis" stage when essential oil concentration is at its peak. This usually occurs just as the first flower buds begin to show color. Use sharp snips to harvest in the early morning, after the dew has evaporated but before the sun triggers the volatilization of aromatic compounds.
For cut flowers like peonies or hydrangeas used along the path, use the "pulse" method. Submerge stems in 110-degree Fahrenheit water immediately after cutting. This reduces air embolisms in the xylem, ensuring maximum turgor and "day-one" freshness for up to ten days.
FAQ:
What is the best width for a front walk?
A minimum of 48 inches is required for two people to walk side-by-side. For a grander entrance, 60 to 72 inches is preferred to accommodate large architectural plantings without obstructing the primary path of travel.
How do I prevent weeds between pavers?
Use polymeric sand in the joints. This material undergoes a chemical bond when hydrated, creating a semi-rigid barrier that inhibits seed germination and prevents the colonization of the substrate by opportunistic weed species.
Can I use limestone for my path?
Limestone is durable but will raise the soil pH over time as it weathers. Ensure your flanking plants are acid-tolerant or use a silty-clay buffer to mitigate the effects of calcium carbonate leaching into the rhizosphere.
How deep should the base be?
Excavate to a depth of 8 to 12 inches. This allows for 6 inches of compacted aggregate and 1 inch of bedding sand, providing the structural stability needed to resist frost heave and maintain a level walking surface.