8 Romantic Ways How to Build a Garden Arch
The smell of damp earth after a cold front passes signals the moment for structural intervention in the landscape. When you learn how to build a garden arch, you are not merely placing a decorative object; you are creating a vertical support system that optimizes light interception and gas exchange for climbing species. Success depends on the turgor pressure within the plant stems and the structural integrity of the frame against prevailing winds.
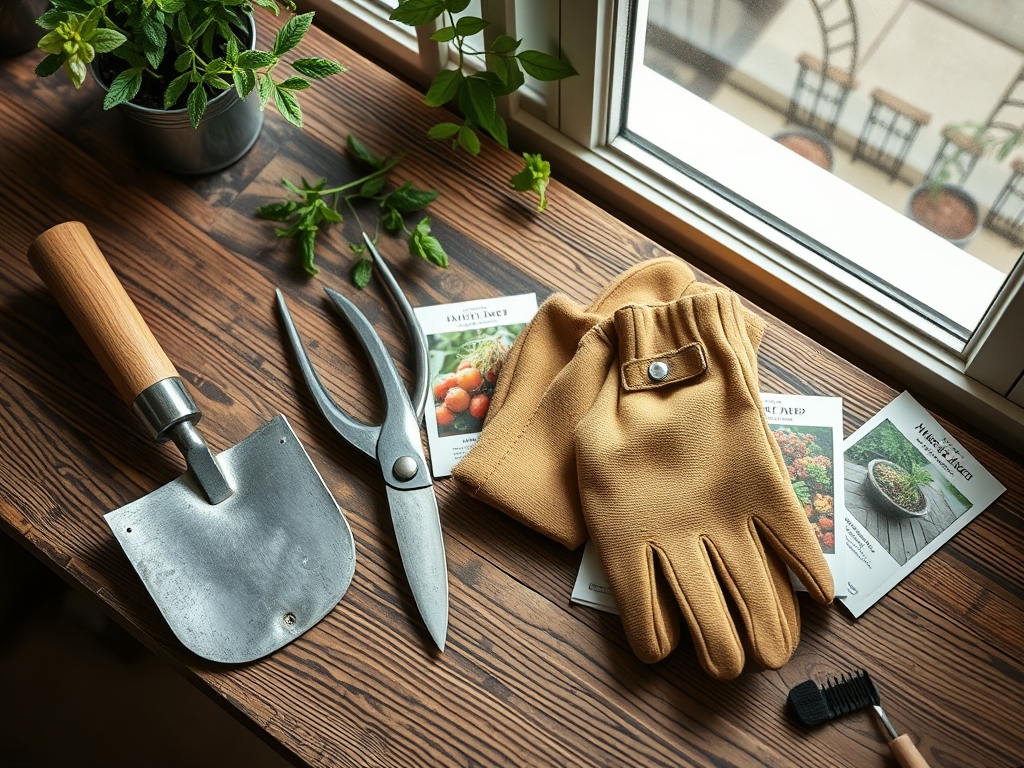
Materials:
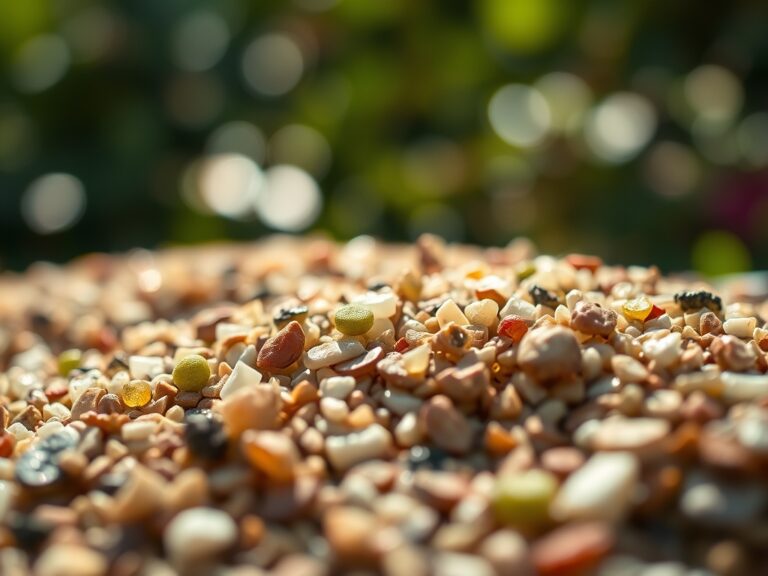
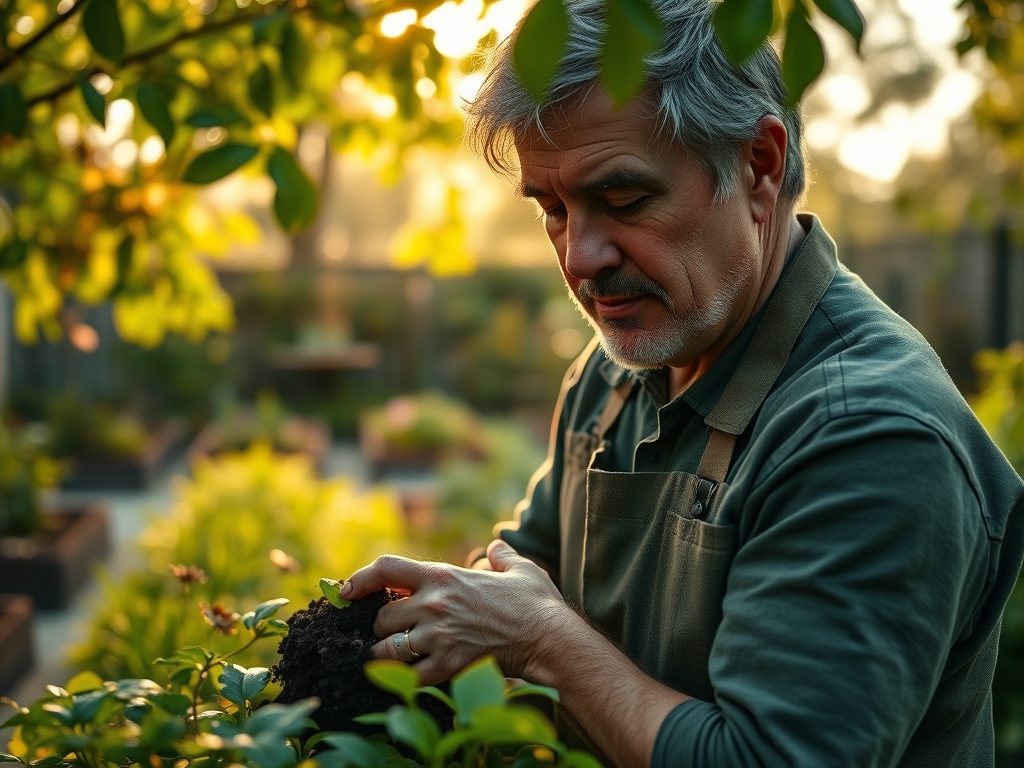
Before the first post is set, the soil chemistry at the base must be optimized for the specific climbers you intend to train. For heavy feeders like climbing roses or Clematis, the **soil pH should be maintained between 6.0 and 7.0**. A high Cation Exchange Capacity (CEC) is required to ensure the soil can hold onto essential nutrients. The substrate must be a **friable loam** with a 40-40-20 ratio of sand, silt, and clay.
A base layer of organic matter should be incorporated to achieve an NPK ratio of 5-10-5 during the establishment phase. Phosphorus is critical at this stage to stimulate robust root development within the rhizosphere. If your soil is sandy and prone to leaching, increase the organic content to improve the water-holding capacity. If the soil is heavy clay, integrate expanded shale to improve aeration and prevent root rot caused by anaerobic conditions.
Timing:
Structural installation should occur when the ground is workable but before the primary spring flush. In Hardiness Zones 5 through 7, this window typically opens in late March. In warmer Zones 8 through 10, autumn installation allows for root establishment during the winter dormancy. The biological clock of the plant dictates that structural training must begin during the vegetative stage, well before the transition to the reproductive stage where energy is diverted to flowering.
Monitoring the photoperiod is essential. Most climbing perennials require at least six to eight hours of direct solar radiation to maintain the metabolic rates necessary for vertical growth. Ensure the arch is oriented to minimize self-shading, ideally on a North-South axis to maximize even light distribution across the foliage.
Phases:
Sowing and Site Preparation
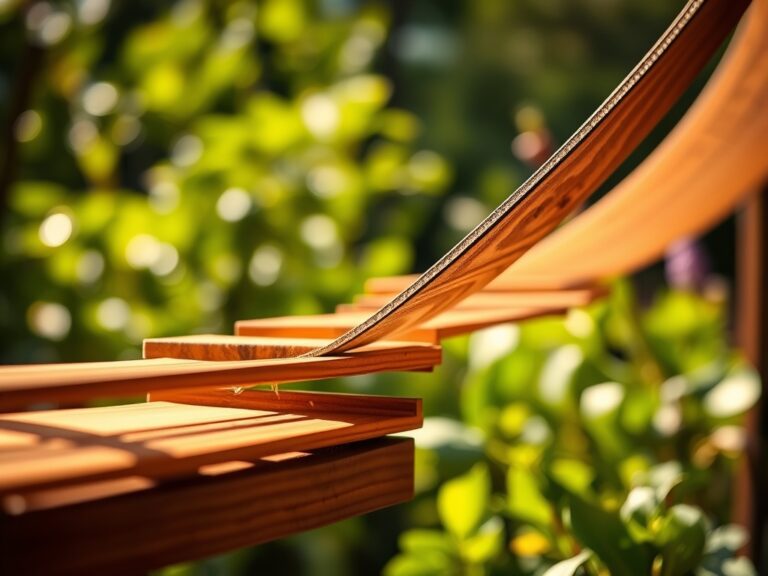
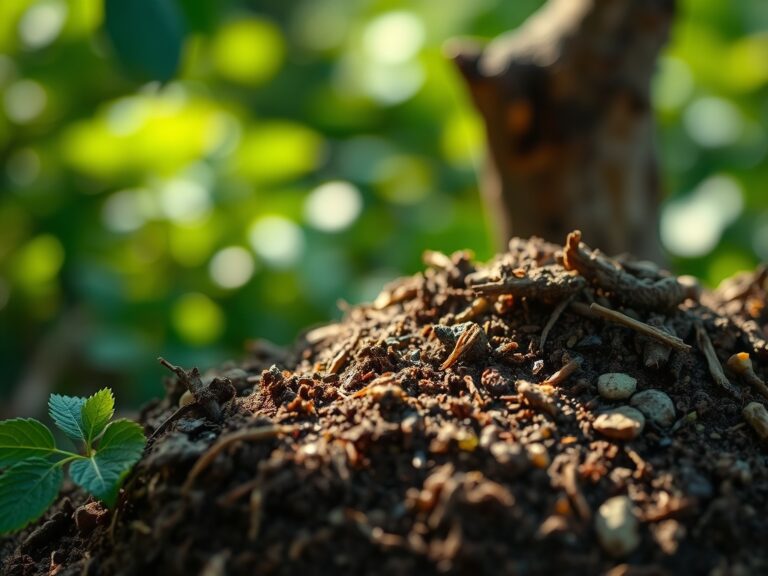
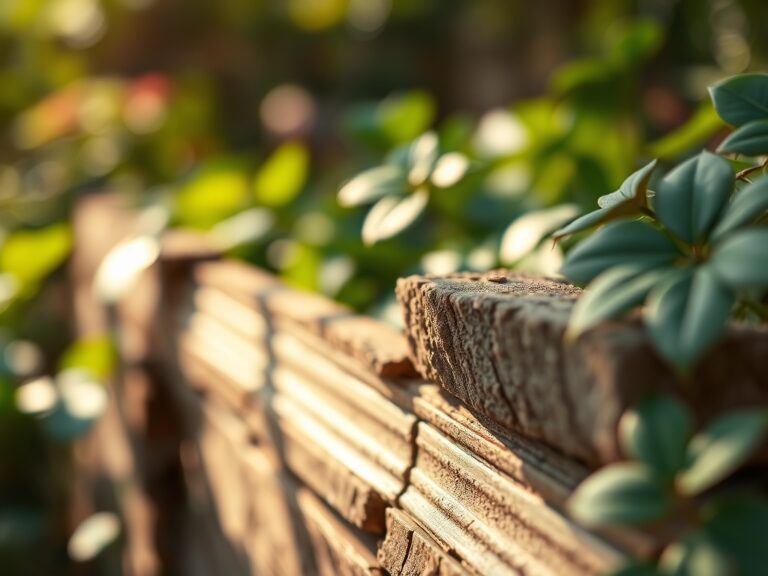
Excavate post holes to a depth of 24 inches to ensure stability below the frost line. If using wooden posts, ensure they are pressure-treated or naturally rot-resistant like cedar. Backfill with a mix of native soil and well-aged compost.
Pro-Tip: Inoculate the planting hole with mycorrhizal fungi. This symbiotic relationship extends the root system's reach, allowing for increased uptake of water and phosphorus, which is vital for the high-energy demands of vertical climbing.
Transplanting
When placing your climbers at the base of the arch, ensure the root ball is level with the soil surface. Space plants 12 to 18 inches away from the structural posts to allow for secondary thickening of the stems over time.
Pro-Tip: Angle the root ball slightly toward the arch. This utilizes thigmotropism, the plant's biological response to touch, encouraging the tendrils or stems to find the support structure more efficiently.
Establishing and Training
As the primary shoots emerge, use soft ties to secure them to the frame. Avoid tight wire which can cause girdling as the vascular cambium expands.
Pro-Tip: Train the main canes horizontally or in a serpentine pattern. This suppresses apical dominance and encourages the flow of auxins to lateral buds. This biological manipulation results in more flowering spurs along the entire length of the arch rather than just at the apex.
The Clinic:
Physiological disorders can compromise the structural integrity of your plants.
Symptom: Interveinal chlorosis on young leaves.
Solution: This indicates an iron deficiency, often caused by high soil pH. Apply chelated iron and adjust the soil pH to 6.5.
Symptom: Wilting despite moist soil.
Solution: This is often a sign of root rot or "damping off." Improve drainage immediately and reduce irrigation frequency to allow the rhizosphere to oxygenate.
Symptom: Stunted growth and purple-tinted foliage.
Solution: This is a classic Phosphorus deficiency. Apply a high-phosphorus fertilizer with an NPK of 10-30-10 to the root zone.
Fix-It for Nitrogen Chlorosis: If older leaves turn uniformly yellow, the plant is scavenging nitrogen for new growth. Apply a quick-release nitrogen source like blood meal or a 20-20-20 water-soluble fertilizer at half strength.
Maintenance:
Precision is required for long-term health. Use a soil moisture meter to ensure the root zone stays consistently hydrated. Most climbers require 1.5 inches of water per week delivered at the drip line. Overhead watering should be avoided to prevent the spread of fungal spores.
Pruning is a surgical necessity. Use sharp bypass pruners to make clean cuts at a 45-degree angle, approximately 1/4 inch above a lateral bud. This prevents dieback and encourages rapid healing. A hori-hori knife is the ideal tool for removing deep-rooted weeds that compete for nutrients at the base of the arch.
Monitor for senescence, the natural aging of plant tissues. Remove dead or unproductive wood in late winter to redirect the plant's energy into new, vigorous growth. This ensures the arch remains covered in healthy, functional foliage rather than a buildup of dry, flammable debris.
The Yield:
If your arch supports edible species like pole beans or grapes, harvest timing is determined by sugar content and fruit pressure. For floral arches, harvest blooms in the early morning when turgor pressure is at its peak. This ensures the flowers remain hydrated and fresh for a longer duration.
Use sharp snips to avoid crushing the vascular tissue. Immediately plunge the stems into cool water. For woody stems, a vertical slit at the base of the cutting can increase the surface area for water uptake, extending the post-harvest life of the display.
FAQ:
How deep should I set the arch posts?
Posts should be set at least 24 inches deep. In areas with high winds or heavy clay, use concrete footings to prevent the structure from leaning as the plant mass increases and creates a wind-sail effect.
What is the best NPK ratio for climbing roses?
Use a 5-10-5 ratio during early spring to promote root and bud development. Switch to a balanced 10-10-10 formula every four to six weeks during the active growing season to maintain vegetative vigor and overall plant health.
How do I prevent root rot in a garden arch?
Ensure the site has excellent drainage. Incorporate organic matter or expanded shale into the soil. Use a soil moisture meter to confirm the top two inches of soil are dry before applying more water to the rhizosphere.
When is the best time to prune an arch climber?
Prune most perennial climbers in late winter or early spring while the plant is dormant. This timing prevents sap loss and allows you to see the structure of the canes clearly before the spring flush of foliage begins.
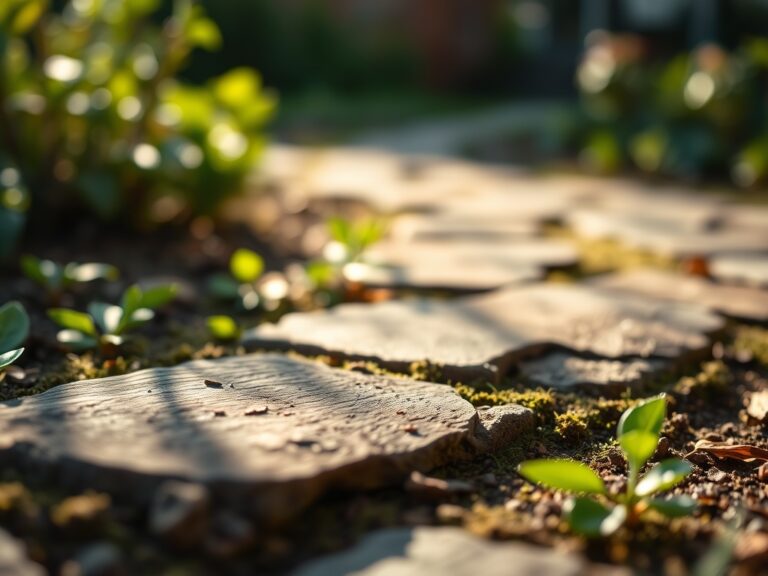
Can I build an arch over a gravel path?
Yes, but you must excavate the gravel to reach the native soil for planting. Ensure the planting hole is large enough to accommodate the root system and provide a friable loam backfill to ensure proper nutrient and water access.