9 Vital Steps to Use Leaf Shine Spray
The smell of damp earth and the firm turgor of a healthy leaf define a successful indoor microclimate. When dust accumulates on the adaxial surface of a leaf, it obstructs the stomata and reduces the rate of photosynthesis. Mastering the steps to use leaf shine spray ensures your specimen maintains maximum gas exchange while achieving a professional finish. This process requires more than a casual misting; it demands an understanding of the cuticle layer and the plant's metabolic state.
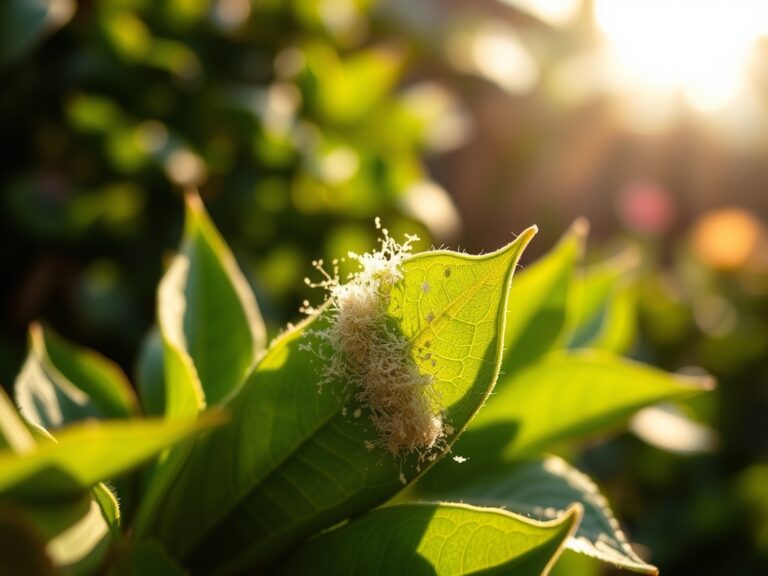
A clean leaf surface allows for optimal light absorption, which is critical in low-light interior environments where every photon counts. Neglecting this maintenance leads to a buildup of particulate matter that can harbor pathogens or mite colonies. By following precise steps to use leaf shine spray, you protect the plant from the physiological stress of clogged pores. This guide provides the technical framework to execute this task without compromising the plant's delicate wax layer or interrupting its natural transpiration cycle.
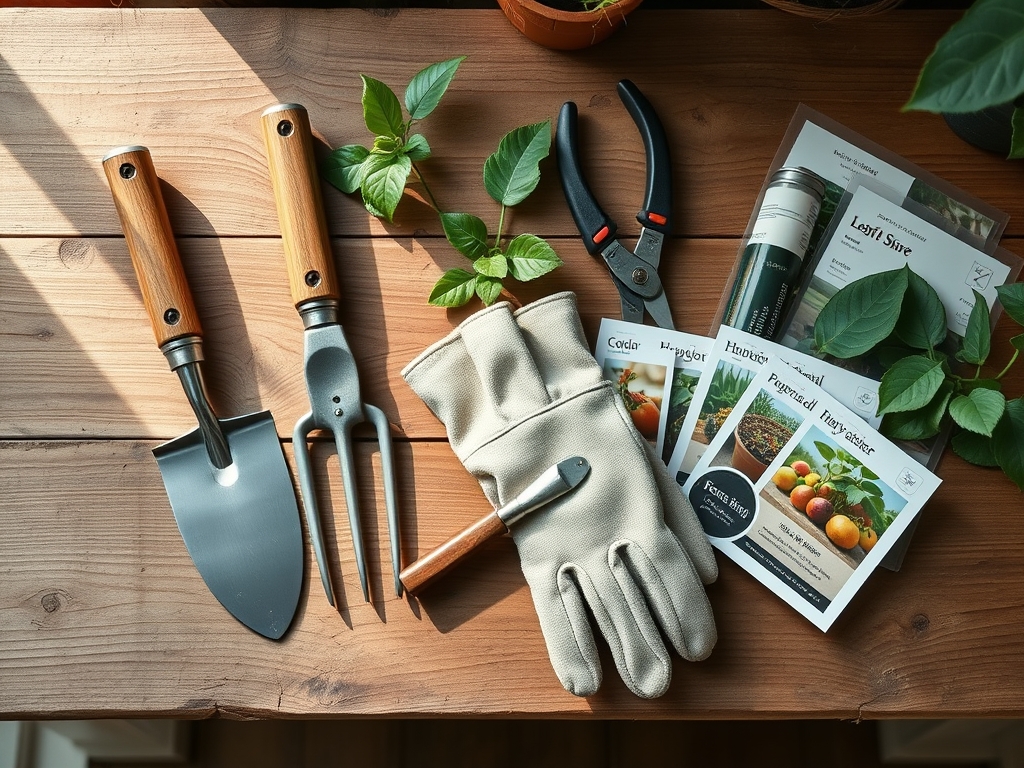
Materials
Successful foliage maintenance begins with the substrate. For most tropical houseplants, a friable loam with a pH between 5.5 and 6.5 is ideal. This acidity level ensures that micronutrients like iron and manganese remain bioavailable. The soil should have a high Cation Exchange Capacity (CEC) to hold onto essential ions.
When preparing your workspace, ensure you have a balanced NPK ratio of 10-10-10 or a specialized foliage fertilizer with a 3-1-2 ratio to support vegetative growth. You will need a soft microfiber cloth, distilled water, and a high-quality leaf shine product formulated with natural oils. Avoid products containing petroleum distillates, as these can cause chemical burns on sensitive tissue.
Timing
Timing your application is critical to avoid interfering with the plant's Biological Clock. In Hardiness Zones 8 through 11, where many indoor plants originate, growth cycles are dictated by light intensity and humidity. Perform leaf cleaning during the early morning hours when the plant is at peak turgor pressure.
Avoid applying shine products during the transition from the vegetative stage to the reproductive stage (flowering), as the plant redirects energy toward bud development. Never apply these products during the heat of the day or if the plant is under water stress. The ideal window is within two weeks of the last frost date for your region, typically when indoor temperatures stabilize between 65 and 75 degrees Fahrenheit.
Phases

Phase 1: Mechanical Cleaning
Before applying any chemical agent, you must remove physical debris. Use a damp cloth to wipe both the adaxial (top) and abaxial (bottom) surfaces of the leaf. This prevents the shine spray from trapping dust against the cuticle.
Pro-Tip: Removing dust enhances phototropism. When the leaf surface is clear, the photoreceptors (phytochromes) can more accurately detect light direction, allowing the plant to orient its leaves for maximum solar gain.
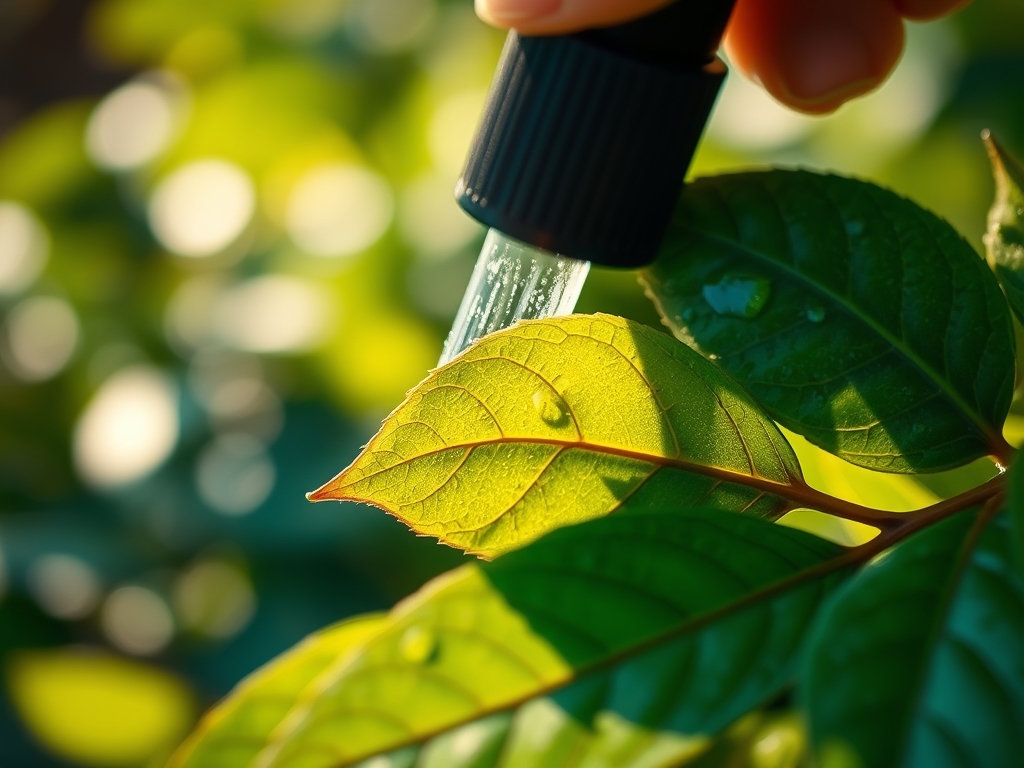
Phase 2: Application
Hold the spray canister 12 to 15 inches away from the foliage. Apply a light, even mist. Do not saturate the leaf to the point of runoff, as excess oil can accumulate in the leaf axils and promote fungal growth.
Pro-Tip: Avoid the abaxial surface. Most stomata (gas exchange pores) are located on the underside of the leaf. Coating this area can lead to suffocation and reduced transpiration rates.
Phase 3: Buffing and Establishing
Once the mist has settled for 30 seconds, use a dry microfiber cloth to gently buff the surface. This ensures an even distribution of the product and removes any excess.
Pro-Tip: Buffing stimulates the rhizosphere indirectly. By improving photosynthetic efficiency through clean leaves, the plant sends more carbohydrates (exudates) down to the roots, strengthening the mycorrhizal symbiosis in the soil.
The Clinic
Physiological disorders often manifest on the leaf surface before the rest of the plant shows distress. Use the following diagnostic criteria to troubleshoot your specimens.
- Symptom: Interveinal Chlorosis. The leaf veins remain green while the tissue between them turns yellow. This is a classic sign of Magnesium deficiency.
- Solution: Apply a foliar spray of Epsom salts (magnesium sulfate) at a rate of 1 tablespoon per gallon of water.
- Symptom: Marginal Necrosis. The edges of the leaves turn brown and crispy. This often indicates salt buildup in the substrate or low humidity.
- Solution: Flush the soil with three times the volume of the pot using distilled water to leach excess salts.
- Symptom: Epinasty. Leaves curl downward and appear distorted. This is often caused by ethylene gas exposure or over-application of oil-based sprays.
- Solution: Increase ventilation and cease the use of leaf shine products until new, healthy growth emerges.
- Fix-It for Nitrogen Chlorosis: If the entire leaf turns pale green or yellow, the plant lacks nitrogen. Apply a high-nitrogen liquid fertilizer with a minimum of 20% total Nitrogen to restore chlorophyll production.
Maintenance
Long-term health requires consistent monitoring. Use a soil moisture meter to ensure the substrate remains at the appropriate saturation level for the specific species. Most tropicals require the top 1 to 2 inches of soil to dry out between waterings. When irrigating, provide approximately 1.5 inches of water per week at the drip line to ensure deep root penetration.
Maintain your tools with the same rigor as your plants. Clean your bypass pruners with isopropyl alcohol after every use to prevent the spread of pathogens. Use a hori-hori knife to check for root-bound conditions by slicing through the outer inch of the root ball if the plant shows signs of stunted growth. Regularly prune dead or senescent leaves to redirect energy to new apical meristems.
The Yield
For ornamental foliage plants, the "yield" is the aesthetic longevity and structural integrity of the specimen. When taking cuttings for propagation, use a sharp, sterilized blade to make a clean cut at a 45-degree angle just below a node. This maximizes the surface area for water uptake and future root initiation.
Post-harvest, if you are using foliage for floral arrangements, submerge the stems in 110-degree Fahrenheit water immediately. This "hardening off" process removes air bubbles from the xylem and ensures "day-one" freshness for several weeks. Store the cuttings in a cool environment with a relative humidity of at least 60% to prevent wilting.
FAQ
Can I use leaf shine on all plants?
No. Avoid using shine sprays on plants with fuzzy leaves, such as African Violets, or those with a natural glaucous (waxy blue) coating. The oils can damage the trichomes or dissolve the natural protective wax layer.
How often should I apply leaf shine?
Limit application to once every 30 to 60 days. Over-application can lead to a sticky residue that attracts more dust and potentially clogs the stomata, interfering with the plant's ability to breathe and transpire.
What is the best way to remove leaf shine buildup?
Mix a solution of 90% water and 10% mild castile soap. Gently wipe the leaves with a soft sponge to break down the residual oils. Rinse with distilled water to ensure no soapy film remains on the cuticle.
Does leaf shine spray kill pests?
While some oils in leaf shine may smother soft-bodied insects like aphids, it is not a registered pesticide. Use horticultural oil or neem oil specifically labeled for pest control if an infestation is detected in the rhizosphere or canopy.