8 Critical Steps to Identify Root Bound Signs
Crushing a handful of damp earth reveals the metallic scent of geosmin; a marker of a high-functioning microbial community. In a healthy container environment, the plant maintains high turgor pressure as water moves efficiently through the xylem. However, when the rhizosphere becomes congested, the plant enters a state of physiological stress. Mastering the steps to identify root bound signs is the difference between a thriving specimen and one undergoing premature senescence. You must look for reduced water infiltration and roots surfacing near the drainage holes. A root-bound plant exhibits stunted growth despite receiving optimal light and nutrients because the restricted root mass cannot support the expanding canopy.
The container environment is a closed system. When the root system encircles the interior of the pot, it creates a physical barrier that prevents oxygen from reaching the core. This lack of aeration leads to anaerobic conditions, even in high-quality substrates. To diagnose this, you must analyze the plant's water consumption. If a specimen requires daily irrigation while its neighbors on the same schedule remain hydrated, the root-to-soil ratio has likely shifted too far toward the roots. This imbalance forces the plant to deplete its moisture reserves within hours, leading to chronic drought stress and leaf scorch.
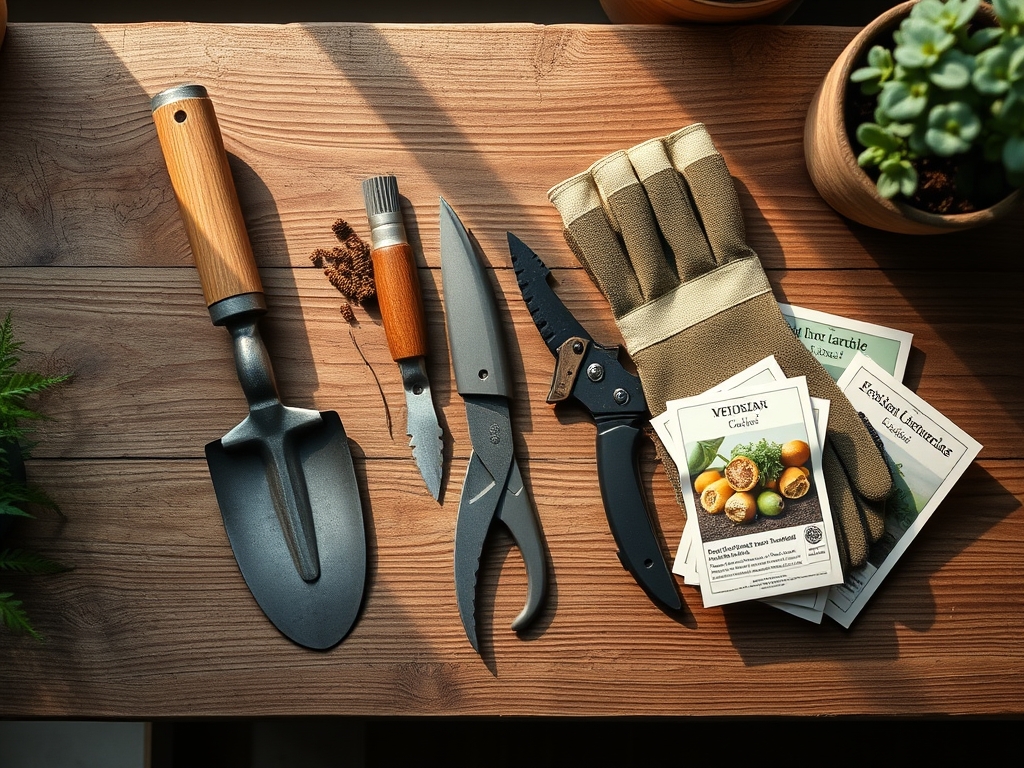
Materials:
Selecting the correct substrate is vital for recovery after identifying root bound conditions. For most containerized species, aim for a **friable loam** with a **pH between 6.0 and 6.5**. The Cation Exchange Capacity (CEC) should be high enough to retain essential ions like potassium and magnesium.
- Substrate Composition: A mix of 40% sphagnum peat or coconut coir, 40% perlite for aeration, and 20% composted organic matter.
- Nutrient Ratios: Use a starter fertilizer with an NPK ratio of 5-10-5. High phosphorus levels encourage rapid root elongation and help the plant overcome the trauma of being pot-bound.
- Tools: A sharp hori-hori knife for slicing through matted roots and bypass pruners for clean cuts on thicker woody roots.
Timing:
Timing your intervention is critical to minimize transplant shock. Most horticultural species should be addressed during their active growth phase in early spring. In Hardiness Zones 5 through 7, this window typically opens between late March and early May, once the threat of a hard frost (28 degrees Fahrenheit) has passed.
The biological clock of the plant dictates its resilience. During the vegetative stage, the plant produces high levels of auxins, the hormones responsible for root initiation and apical dominance. If you wait until the reproductive stage (flowering or fruiting), the plant diverts its energy toward seed production, significantly reducing its ability to repair damaged root tissue. Always check for root bound signs before the photoperiod shifts to trigger blooming.
Phases:

Sowing and Early Detection
Start by monitoring the growth rate of seedlings. If a young plant stops producing new nodes despite a consistent 14-hour photoperiod, check the drainage holes. Early detection prevents the "spiraling" effect where roots follow the circular contour of the pot.
Pro-Tip: Roots exhibit thigmotropism, a growth response to touch. When a root tip hits the hard plastic wall of a container, it follows the surface, eventually creating a dense, impenetrable mat that prevents water from reaching the center of the root ball.
Transplanting and Root Pruning
Once you confirm the plant is root bound, remove it from the container. Use your hori-hori knife to make four vertical cuts, approximately 0.5 inches deep, down the sides of the root ball. This severs the circling roots and encourages lateral branching into the new soil.
Pro-Tip: Severing the root tips triggers a hormonal response. By removing the dominant root tips, you suppress apical dominance within the root system, forcing the plant to activate dormant lateral buds and create a more fibrous, efficient network.
Establishing in New Substrate
Place the pruned root ball into a container that is 2 inches wider in diameter than the previous one. Ensure the crown of the plant sits at the same soil level as before. Firm the soil to remove large air pockets, but do not compact it, as this reduces the pore space necessary for oxygen exchange.
Pro-Tip: Establishing a mycorrhizal symbiosis during this phase is beneficial. Adding fungal spores to the new substrate increases the surface area for nutrient uptake by up to 100 times, helping the plant recover from the restricted state.
The Clinic:
Physiological disorders often mimic nutrient deficiencies. Distinguishing between them is essential for correct treatment.
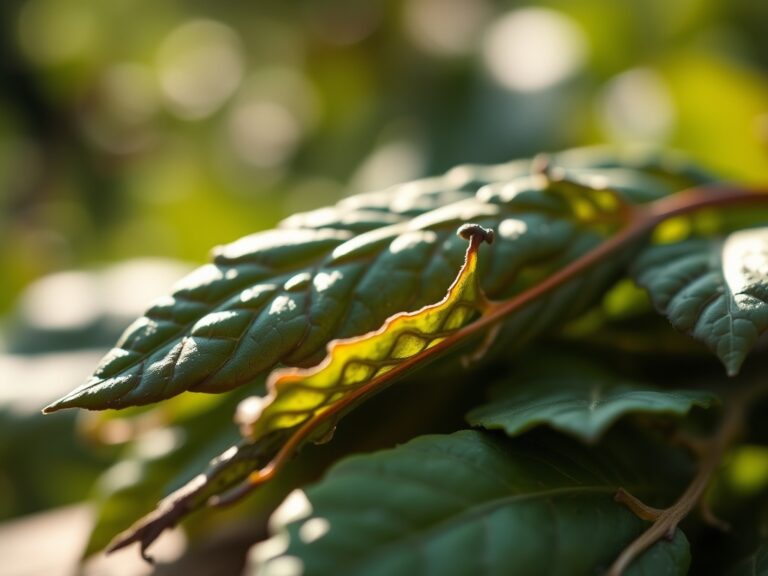
- Symptom: Interveinal Chlorosis. Yellowing between the veins on older leaves often suggests Magnesium deficiency. However, in root-bound plants, it may simply be an inability to uptake ions due to root death.
- Solution: Check the root color. Healthy roots are white or tan; dead roots are black and slimy. If roots are healthy but crowded, repot immediately.
- Symptom: Marginal Leaf Burn. This occurs when the plant cannot move water fast enough to the leaf edges.
- Solution: Increase humidity and reduce light intensity temporarily. Use a soil moisture meter to ensure the core of the root ball is actually getting wet during watering.
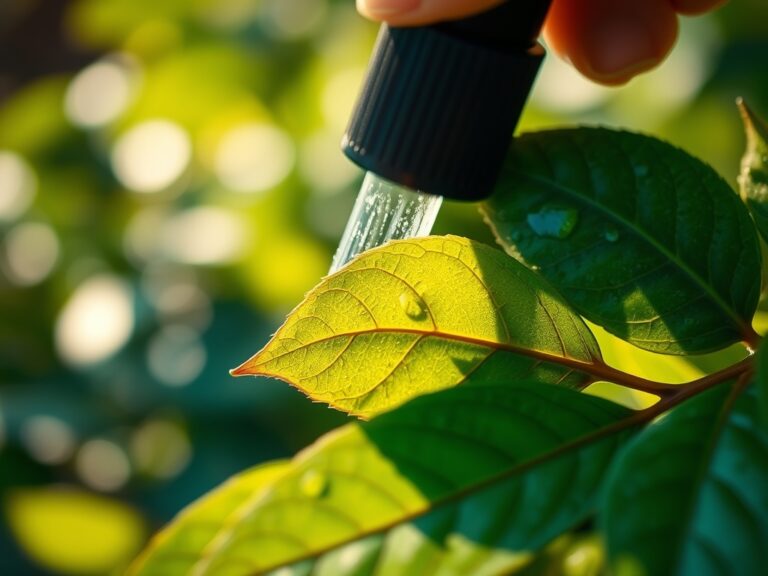
- Fix-It for Nitrogen Chlorosis: If leaves are pale green across the entire plant, apply a liquid fertilizer with a high Nitrogen (N) value (e.g., 10-5-5) at half strength to boost chlorophyll production during the recovery phase.
Maintenance:
Post-repotting maintenance requires precision. For the first 14 days, keep the soil consistently moist but not saturated. Aim for 1.5 inches of water per week, delivered directly to the root zone. Avoid overhead watering to prevent fungal pathogens from establishing on the foliage.
Use your bypass pruners to remove about 20% of the top growth. This reduces the transpiration demand on the wounded root system, allowing the plant to focus its energy on subterranean repair. Monitor the soil temperature; roots grow most efficiently when the substrate is between 65 and 75 degrees Fahrenheit.
The Yield:
For flowering or fruiting plants, identifying root bound signs early ensures a maximum yield. A plant that remains root bound will often undergo "stress flowering," where it produces small, poor-quality fruit as a survival mechanism. By repotting and providing adequate space, you ensure the plant reaches its full genetic potential.
Harvesting should occur when the plant reaches peak maturity, indicated by specific color changes or brix levels. Use a sharp knife for a clean harvest to prevent tearing the vascular tissue. Post-harvest, keep the plant in a cool, shaded area to maintain cell turgidity and prevent rapid wilting.
FAQ:
What is the fastest way to check for root bound signs?
Gently lift the plant from its pot. If you see more roots than soil, or if roots are circling the base in a thick mat, the plant is root bound and requires immediate repotting into a larger vessel.
Can a root bound plant recover?
Yes. By pruning the circling roots and transplanting the specimen into a larger container with fresh, nutrient-rich substrate, the plant can re-establish a healthy root system and resume normal vegetative growth within two to four weeks.
Why do leaves turn yellow on root bound plants?
Yellowing, or chlorosis, occurs because the restricted root mass cannot absorb enough nitrogen and magnesium to maintain chlorophyll levels. Additionally, the lack of oxygen in a compacted root ball leads to root rot and nutrient uptake failure.
How much larger should the new pot be?
Select a container that is 2 to 3 inches larger in diameter than the current one. Increasing the volume too drastically can lead to "perched water tables," where the excess soil stays too wet and causes root decay.
Do all plants mind being root bound?
While some species like Sansevieria or Clivia tolerate tight quarters, most plants suffer. Restricted roots eventually lead to stunted growth, reduced flowering, and a weakened immune system, making the plant more susceptible to environmental stressors and pathogens.