10 Precise Steps to Install Horizontal Slat
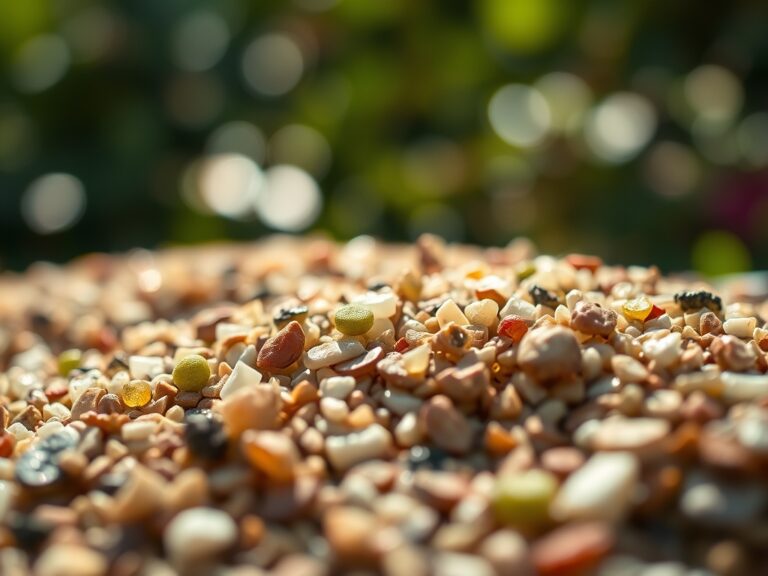
Crushed basalt grit and the sharp scent of damp humus define the workspace where structural integrity meets botanical precision. A garden is a living system; it requires a rigid framework to manage light penetration and air circulation. Mastering the steps to install horizontal slats ensures your perimeter supports the turgor pressure of climbing vines while providing the necessary microclimate control. Proper installation prevents the structural senescence that plagues poorly ventilated garden enclosures.
A horizontal slat system acts as more than a visual barrier. It functions as a windbreak, reducing the transpiration rates of delicate foliage by breaking up laminar airflow. When you secure the first rail, you are setting the stage for a stable rhizosphere by preventing soil erosion caused by wind-driven rain. This installation requires the same mechanical discipline as grafting a scion to a rootstock. Precision in measurement ensures that the finished structure can withstand the lateral forces of mature woody perennials.
Materials:
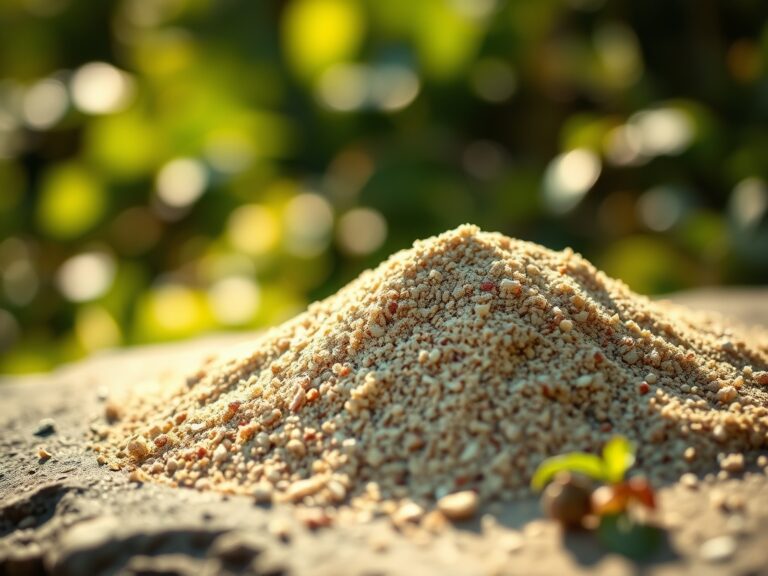
The foundation of any structural garden element begins with the substrate. For post-setting, you require a **friable loam** with high drainage capacity to prevent anaerobic conditions around the wood or metal base. The soil should maintain a **pH of 6.5 to 7.0** to minimize the corrosive oxidation of galvanized fasteners.
If you are planting alongside the slats, the soil must possess a high Cation Exchange Capacity (CEC) of at least 15 to 25 meq/100g. This ensures that the soil can hold onto essential nutrients. Incorporate a balanced NPK fertilizer with a ratio of 10-10-10 during the backfilling process. This provides a baseline of nitrogen for vegetative growth, phosphorus for root establishment, and potassium for cellular water regulation. Use 304-grade stainless steel screws to resist the humid environment of a high-transpiration garden zone.
Timing:
Successful installation depends on the thermal properties of your soil. In Hardiness Zones 5 through 8, the ideal window for setting posts is during the dormant season, specifically after the first hard frost but before the ground freezes solid. This timing avoids disrupting the "Biological Clock" of your plants; installing during the vegetative stage can cause mechanical damage to active meristems.
Monitor the frost-date windows in your specific microclimate. Soil temperature should be between 40 and 50 degrees Fahrenheit for optimal compaction of the backfill. If you install during the reproductive stage of your garden, the vibration from drilling can cause premature flower abscission. Aim for the late autumn transition when sap flow has slowed and the plant is moving nutrients to the root system for winter storage.
Phases:

Sowing the Foundation
Excavate post holes to a depth of 36 inches or below your local frost line. A deep anchor prevents the "heaving" caused by ice crystals forming in the soil pores. Space your posts exactly 6 feet apart to minimize the sag of the horizontal slats under the weight of future biomass.
Pro-Tip: Ensure the post base sits on a 4-inch layer of crushed stone. This facilitates drainage and prevents "wet feet" for your posts, mimicking the drainage needs of a healthy rhizosphere to prevent rot.
Transplanting the Slats
Begin attaching the slats from the bottom up, leaving a 0.5-inch gap between each board. This gap is critical for air movement. Use a spirit level to ensure every board is perfectly horizontal; even a 1-degree tilt will be magnified as the structure grows.
Pro-Tip: Maintaining a consistent gap size utilizes auxin suppression principles. By controlling light infiltration through the slats, you can influence the growth direction of nearby plants, preventing them from becoming "leggy" as they search for a light source.
Establishing the Framework
Once the slats are secured, apply a non-toxic, botanical-grade sealant. This protects the wood from UV degradation and moisture absorption. If you are using the slats as a trellis, install 14-gauge stainless steel wire in a vertical pattern across the horizontal boards to provide additional grip for tendrils.
Pro-Tip: Use the slats to manage phototropism. By angling the slats or adjusting their density, you can filter the intensity of the afternoon sun, protecting shade-loving species from leaf scorch and excessive transpiration.
The Clinic:
Physiological disorders in the garden often manifest as a result of poor structural planning. Observe your plants for these specific symptoms:
- Symptom: Interveinal chlorosis on new leaves.
Solution: This indicates Iron deficiency. Check the soil pH; if it is above 7.0, the iron is locked away. Lower the pH using elemental sulfur. - Symptom: Stunted growth and dark green/purple foliage.
Solution: This is a sign of Phosphorus deficiency. Apply a high-phosphate fertilizer (NPK 5-20-5) to the root zone to encourage ATP production and energy transfer. - Symptom: Necrosis at the leaf margins of older leaves.
Solution: This points to Potassium deficiency. Potassium regulates stomatal opening; without it, the plant cannot manage water loss. Apply potassium sulfate at a rate of 0.5 lbs per 100 square feet.
Fix-It for Nitrogen Chlorosis: If the entire leaf turns a uniform pale yellow, the plant is scavenging nitrogen from old growth to support new meristems. Apply a quick-release urea-based fertilizer to restore chlorophyll synthesis.
Maintenance:
A structural slat system requires seasonal calibration. Use a soil moisture meter once a week to ensure the area behind the slats is receiving adequate hydration. Aim for 1.5 inches of water per week at the drip line, delivered via drip irrigation to minimize fungal growth on the foliage.
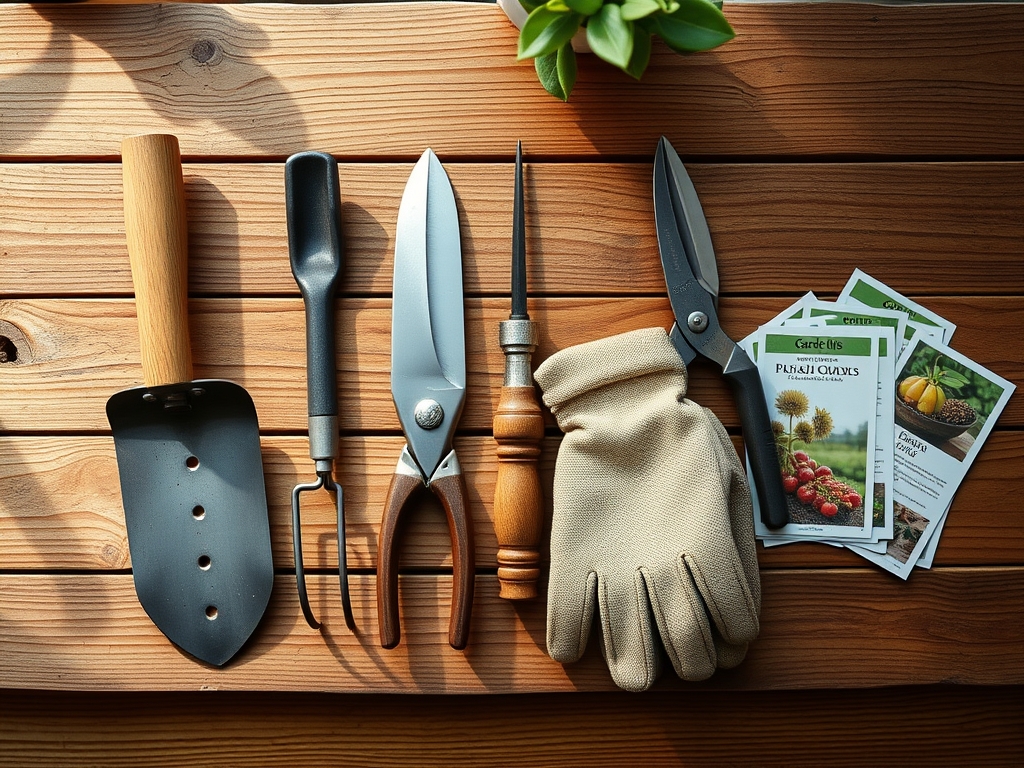
Every spring, inspect the fasteners. Use a hori-hori knife to clear any encroaching weeds or debris from the base of the posts to maintain airflow. If you are training vines on the slats, use bypass pruners to remove any dead or crossing wood (the "Three Ds": dead, damaged, diseased). This maintains the structural integrity and prevents the weight of the plant from pulling the slats out of alignment.
The Yield:
If your horizontal slats are supporting edible crops like pole beans or grapes, timing the harvest is essential for nutrient density. Harvest grapes when the Brix level (sugar content) reaches 18 to 22 percent. Use sharp shears to cut the cluster at the peduncle; do not pull the fruit, as this can damage the permanent woody structure of the vine.
For "day-one" freshness, harvest during the cool of the morning when turgor pressure is at its peak. Immediately move the produce to a shaded area to reduce field heat. This slows down the rate of senescence and preserves the volatile oils and sugars within the plant tissue.
FAQ:
What is the best wood for horizontal slats?
Select Western Red Cedar or Redwood. These species contain natural tannins and oils that resist decay and insect infestation. They maintain structural integrity in high-humidity environments without the need for heavy chemical treatments.
How much space should I leave between slats?
A gap of 0.5 to 0.75 inches is ideal. This allows for thermal expansion of the wood and ensures adequate airflow to prevent powdery mildew on the foliage of plants growing nearby.
Do I need to set the posts in concrete?
For slats over 4 feet tall, concrete is necessary. Use a 3-to-1 ratio of gravel to cement. Ensure the concrete tapers away from the post at the surface to prevent water from pooling against the wood.
Can I install slats on an existing fence?
Yes, provided the existing posts are structurally sound and spaced no more than 6 feet apart. Use furring strips to create a level plane before attaching the horizontal slats to ensure a uniform finish.