7 Simple Steps to Spot Citrus Canker
Citrus canker announces itself through raised, corky lesions that crater the leaves, fruit, and stems of infected trees. The bacterial disease, caused by Xanthomonas citri subsp. citri, spreads rapidly in warm, humid environments where wind-driven rain carries the pathogen from tree to tree. Learning the steps to spot citrus canker prevents costly orchard losses and protects home groves from regulatory quarantine. The lesions begin as small, water-soaked blisters that evolve into tan or brown eruptions surrounded by yellow halos. Early detection requires close inspection of new growth, where symptoms first appear during active flush periods.
Materials
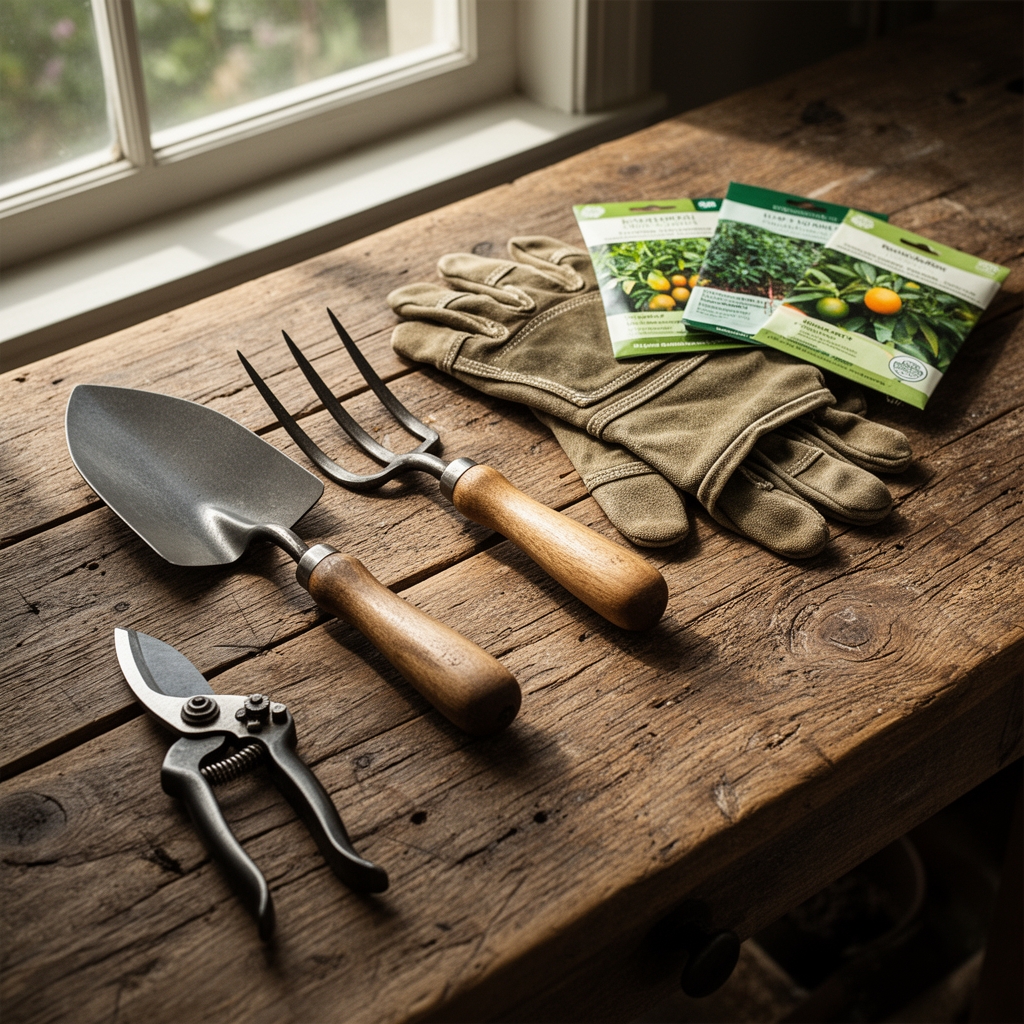
Proper diagnosis demands specific tools and understanding of citrus nutrition. A 10x hand lens reveals the raised, pustule-like texture that distinguishes canker from other leaf spots. Copper-based fungicides rated at 50% metallic copper equivalent serve as preventative barriers when applied at 2-week intervals during rainy seasons. Citrus trees thrive in slightly acidic soil with pH 6.0-6.5, where cation exchange capacity facilitates nutrient uptake.
Fertilization follows a balanced 6-6-6 or 8-3-9 NPK ratio applied at 1.5 pounds per inch of trunk diameter, split across three annual applications. Organic alternatives include 4-4-4 composted poultry manure blended with feather meal for slow-release nitrogen. Calcium nitrate supplements at 0.25 pounds per tree strengthen cell walls, reducing bacterial entry points. Mycorrhizal fungi inoculants introduced at transplant improve phosphorus availability and root colonization in sandy soils common to citrus regions.
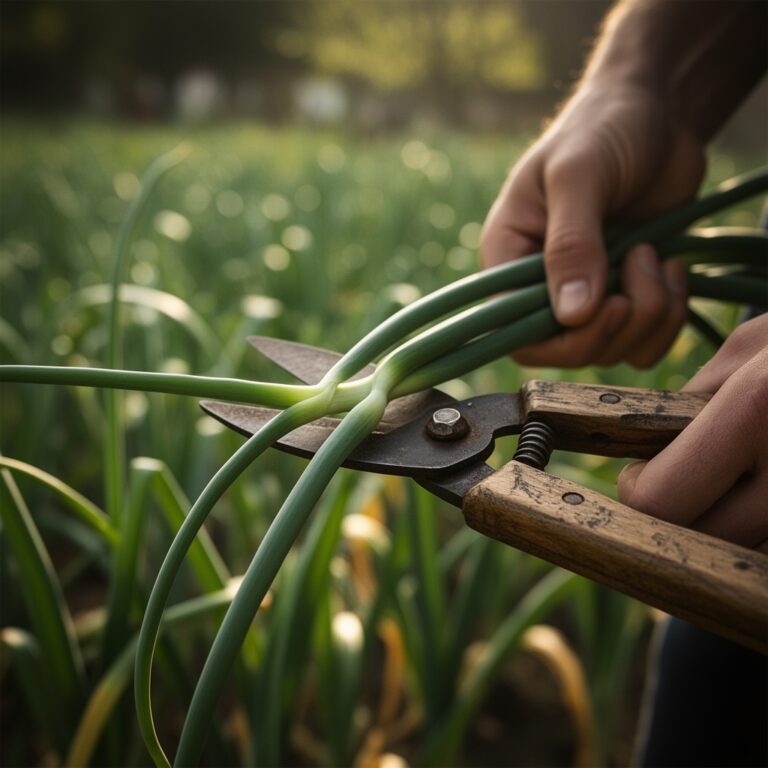
Digital moisture meters calibrated to 0-50 centibars measure soil water tension, ensuring irrigation precision. Pruning shears require sterilization in 10% sodium hypochlorite solution between cuts to prevent mechanical transmission of Xanthomonas bacteria.
Timing
Citrus canker scouting intensifies during late spring and summer when temperatures reach 68-86°F and relative humidity exceeds 85%. USDA Hardiness Zones 8b through 11 support commercial citrus production, with peak infection risk May through September in subtropical climates. Northern zone 8b growers monitor trees after the last spring frost date, typically March 15-April 1.
Copper sprays begin at bud break and continue every 14 days through the rainy season. Inspect trees 48 hours after wind-driven rain events exceeding 0.5 inches, as bacteria require free moisture for 20-30 minutes to penetrate stomates and wounds. Scout young trees every 7 days during the spring flush when tender tissue emerges. Fall applications cease 30 days before harvest to comply with pre-harvest intervals for copper compounds.
Phases
Step 1: Examine New Growth
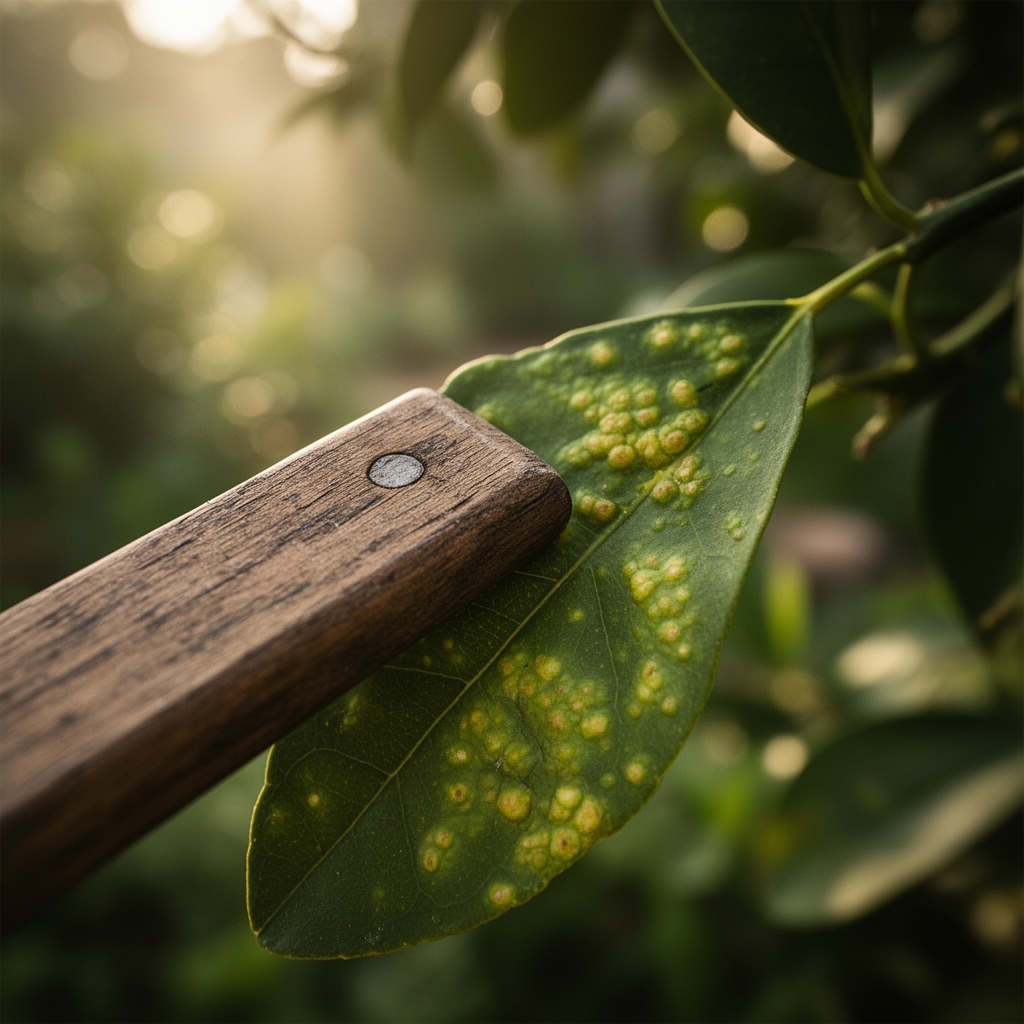
Begin inspections on the youngest leaves where canker lesions first develop. Hold leaves at 45-degree angles to sunlight, allowing oblique illumination to highlight raised surfaces. Lesions measure 2-10 millimeters in diameter with crater-like centers and water-soaked margins during early stages.
Pro-Tip: Mark infected branches with colored flagging tape during initial surveys to track disease progression and identify infection epicenters.
Step 2: Check Fruit Surfaces
Scan developing fruit for circular, raised spots with oily appearances. Canker lesions on fruit remain smaller than leaf lesions, typically 1-5 millimeters, but cause premature drop and render fruit unmarketable. Inspect the calyx end where moisture accumulates.
Step 3: Inspect Twigs and Stems
Run fingertips along green stems to feel for raised, corky eruptions. Stem cankers appear as elongated lesions that may girdle young shoots, causing dieback. Severe infections produce hypertrophied tissue with bark splitting.
Pro-Tip: Use auxin distribution patterns as diagnostic aids. Canker disrupts apical dominance, causing abnormal lateral shoot proliferation below lesion sites.
Step 4: Observe Halo Formation
Yellow halos surrounding brown lesions distinguish citrus canker from other diseases. The chlorotic rings measure 2-3 millimeters wide and result from bacterial toxin diffusion into adjacent tissue. Older lesions lose halos as tissue desiccates.
Step 5: Test Lesion Texture
Gently probe suspect spots with a fingernail. Canker lesions feel rough and elevated, protruding 0.5-1 millimeter above leaf surfaces. The corky texture contrasts with flat, necrotic spots caused by fungal pathogens or nutrient deficiencies.
Pro-Tip: Collect samples in sealed plastic bags with damp paper towels for laboratory confirmation via PCR-based detection of Xanthomonas DNA.
Step 6: Map Spatial Distribution
Document lesion patterns using GPS coordinates or grid systems. Wind-driven rain creates linear infection gradients downwind from inoculum sources. Clustered infections suggest localized spread from contaminated equipment or infected propagation material.
Step 7: Monitor Disease Progression
Photograph tagged lesions weekly to quantify expansion rates. Active lesions enlarge 1-2 millimeters per week under favorable conditions. Static lesions with gray, flaky surfaces indicate dried bacterial exudate and reduced infectivity.
Troubleshooting
Symptom: Yellow halos without raised centers
Solution: Likely zinc deficiency or citrus leafminer damage. Apply foliar zinc sulfate at 0.5% concentration and implement leafminer control with spinosad applications.
Symptom: Sunken, dark lesions with concentric rings
Solution: Alternaria brown spot, a fungal disease. Switch to strobilurin fungicides and improve air circulation through corrective pruning at 25-degree branch angles.
Symptom: Lesions only on one side of tree
Solution: Directional infection from neighboring source. Survey adjacent properties and increase copper coverage on exposed canopy quadrants.
Symptom: Lesions appearing after copper sprays
Solution: Insufficient coverage or resistance. Increase spray volume to 200-400 gallons per acre and rotate to copper hydroxide formulations with spreader-sticker adjuvants at 0.25% v/v.
Maintenance
Apply 1 inch of water weekly through microsprinklers positioned 3 feet from trunk base, adjusting to 1.5 inches during fruit development. Maintain 4-inch mulch rings using aged pine bark, keeping material 6 inches from trunk to prevent Phytophthora collar rot. Prune infected branches 12 inches below visible symptoms during dry weather, sterilizing tools between cuts.
Fertilize with split applications: 40% in February, 30% in May, and 30% in September. Monitor soil EC levels biweekly, targeting 1.0-2.0 dS/m in the root zone. Remove dropped fruit and leaves weekly, as decomposing tissue harbors bacterial populations exceeding 10^6 CFU per gram.
FAQ
How quickly does citrus canker spread?
Secondary infections occur 7-14 days after initial contamination when temperatures remain above 68°F. A single lesion produces millions of bacterial cells that remain viable for weeks.
Can citrus canker affect all citrus varieties?
Grapefruit and Mexican lime show highest susceptibility. Kumquat and Calamondin demonstrate moderate resistance. No commercial varieties possess complete immunity.
Is citrus canker fatal to trees?
Trees survive infection but suffer reduced vigor, defoliation exceeding 50%, and unmarketable fruit. Economic losses justify removal in commercial operations.
What distinguishes canker from citrus psyllid damage?
Psyllids cause twisted leaves and waxy tubules without raised lesions. Canker produces symmetrical, corky eruptions on flat leaf surfaces.
Can infected trees recover?
Established trees tolerate chronic infections with aggressive copper programs and nutritional support. Eradication requires removal and destruction of infected specimens within quarantine zones.