6 Simple Steps to Dig up Potatoes
The dense, earthy scent that rises when you thrust a spading fork beneath the soil surface signals one of the garden's most rewarding moments. Following the proper steps to dig up potatoes ensures you maximize yield while minimizing tuber damage. The harvest window opens when foliage yellows and dies back, typically 90 to 120 days after planting, depending on variety and climate zone. Each motion must balance force with precision to avoid piercing the tubers clustered just below the root crown.
Materials
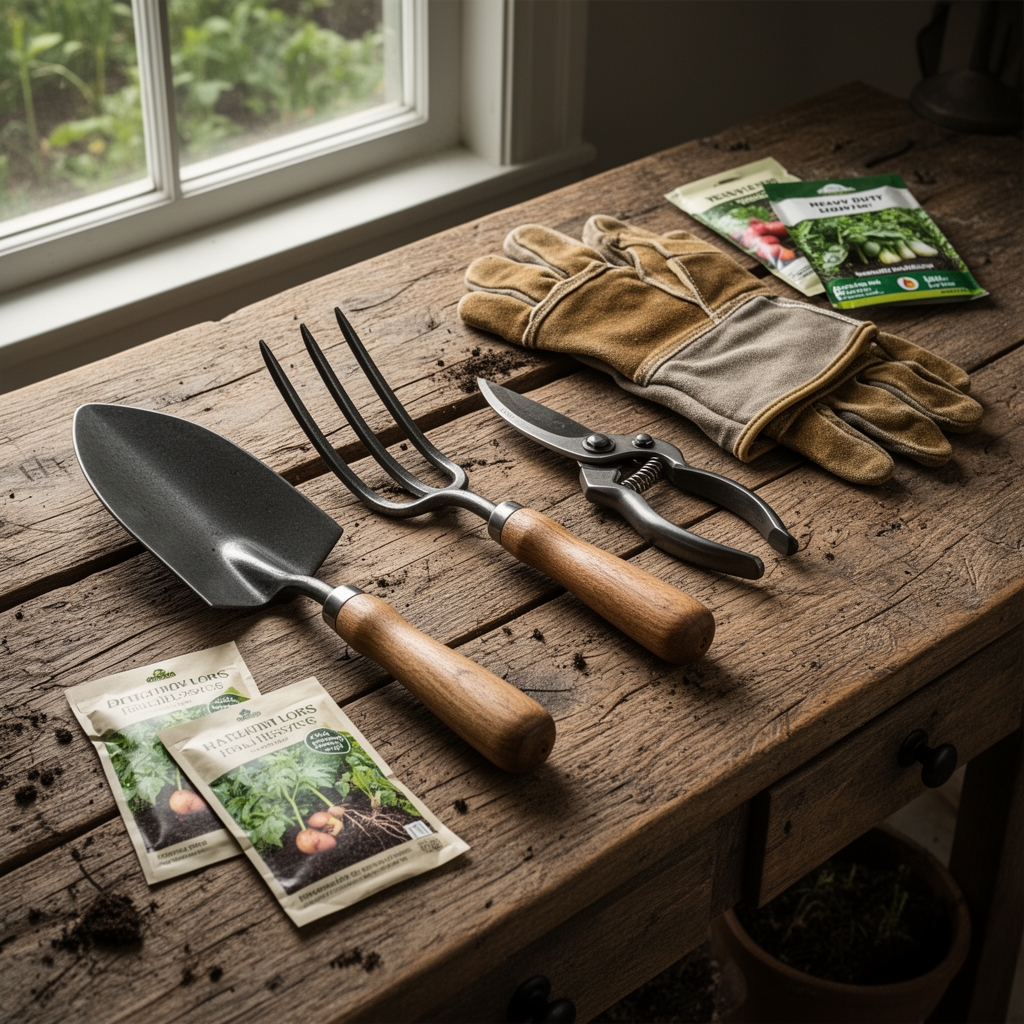
A four-tine spading fork with 12-inch tines remains the optimal tool for potato harvest. The fork's flat profile slips between tubers more cleanly than a round-tined pitchfork. Gardening gloves with reinforced palms prevent blisters during extended digging sessions. A five-gallon bucket or bushel basket receives the harvested tubers without bruising. For soil that has received organic amendments, expect pH values between 5.0 and 6.5, ideal for Solanum tuberosum cultivation. Pre-planting fertilization with a 4-4-4 organic meal provides balanced nitrogen, phosphorus, and potassium without excessive vegetative growth. High nitrogen ratios such as 10-2-2 formulations promote excessive foliage at the expense of tuber development. Soil with high cation exchange capacity retains nutrients more efficiently, reducing the need for mid-season supplementation.
Timing
Potato harvest timing varies significantly across USDA Hardiness Zones. In Zones 3 through 5, where last frost dates fall between late April and late May, harvest typically occurs from late August through September. Zones 6 through 8 permit both spring and fall crops, with spring plantings harvested in June or July and fall crops maturing in October or November. The critical indicator is complete foliage senescence. Once 80 percent of the plant's aboveground biomass has browned and collapsed, tubers have reached physiological maturity. Skin set, the process by which the tuber epidermis thickens and adheres firmly to the flesh, requires an additional 10 to 14 days after vine death. Harvesting before adequate skin set results in tubers that bruise easily and store poorly. Frost exposure damages tubers within 24 hours, so complete harvest before the first predicted freeze.
Phases

Preparation Phase
Cut back any remaining foliage to within 2 inches of the soil line three days before harvest. This step redirects the plant's remaining auxin distribution away from vegetative tissue and encourages final skin thickening. Remove all surface debris and identify the planting row center. Potatoes typically form within an 8- to 12-inch radius of the original seed piece.
Pro-Tip: Water the bed with 1 inch of irrigation 24 hours before harvest. Slightly moist soil releases tubers more readily than bone-dry or saturated ground.
Extraction Phase
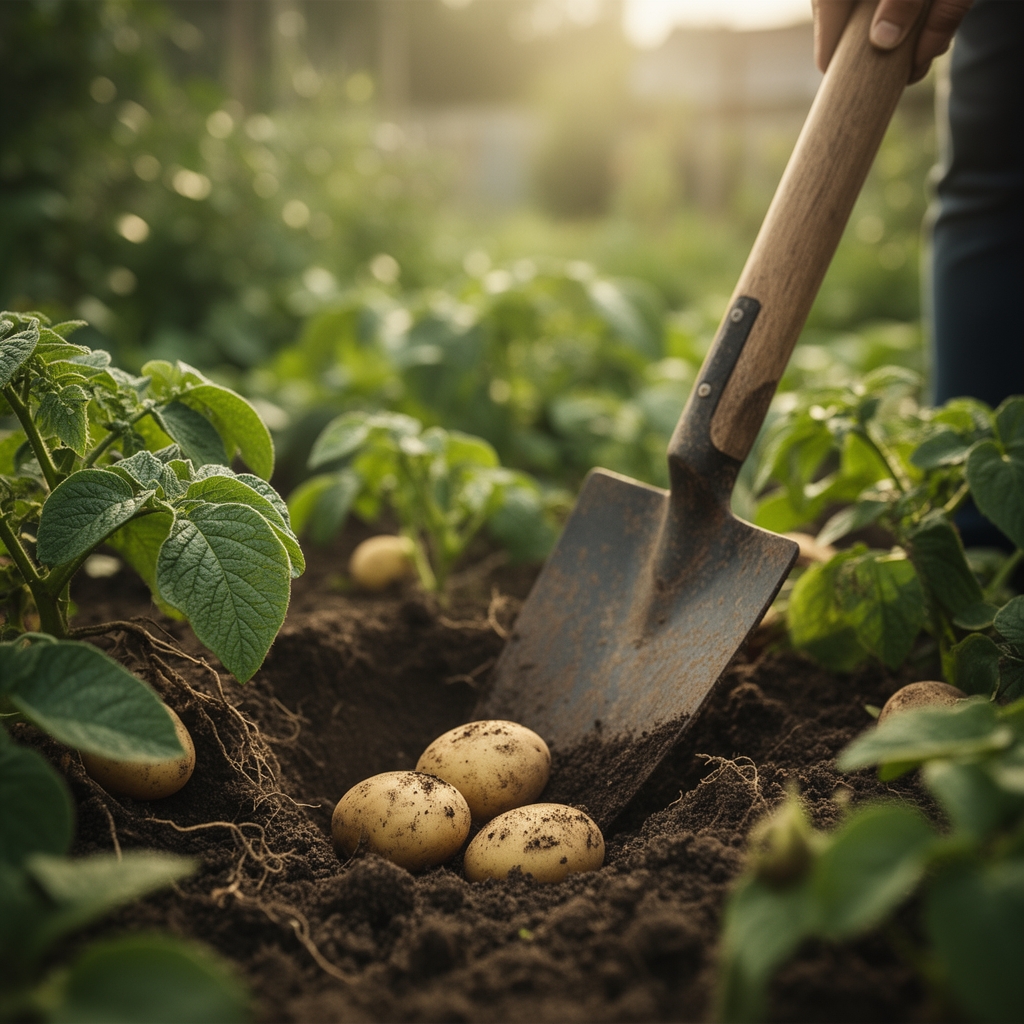
Insert the spading fork 8 inches away from the plant crown at a 75-degree angle. This approach angle minimizes the risk of piercing tubers while providing sufficient leverage. Drive the fork 10 to 12 inches deep, below the deepest tuber layer. Lever the handle backward gently to lift and loosen the soil mass. Repeat the process in a circle around the plant, creating a loosened zone approximately 18 inches in diameter. Once the entire root zone is loosened, grasp the base of the plant stem and lift vertically. Tubers will emerge with the root ball or remain visible in the loosened soil.
Pro-Tip: Mycorrhizal fungi colonization creates a weblike structure around mature tubers. Gentle handling preserves these beneficial associations for composting, enriching your soil biology for subsequent crops.
Collection Phase
Hand-sort through the loosened soil to a depth of 14 inches. Small tubers, often called "B-grade" or "creamers," settle to the bottom of the planting zone. Run your fingers through the soil in a grid pattern to locate every tuber. Place harvested potatoes directly into your collection container without tossing or dropping them from height. Impact bruising may not appear immediately but manifests as dark spots within 48 hours. Brush off excess soil gently. Do not wash tubers intended for storage, as moisture introduces rot pathogens.
Pro-Tip: Tubers exposed to direct sunlight for more than 20 minutes begin synthesizing chlorophyll and solanine, a bitter glycoalkaloid. Cover your collection basket with burlap or move tubers to shade immediately.
Troubleshooting
Symptom: Green patches on tuber skin
Solution: Solanine accumulation from light exposure. Cut away green portions before consumption, as solanine concentrations exceed 20 mg per 100 g in affected tissue.
Symptom: Hollow heart (central cavity in large tubers)
Solution: Rapid growth from excessive nitrogen or irregular watering. Reduce nitrogen applications to 0.8 pounds per 100 square feet and maintain consistent soil moisture at 1 inch per week.
Symptom: Wireworm tunnels (narrow holes penetrating tuber flesh)
Solution: Elateridae larvae infest soil rich in decomposing sod. Rotate potato plantings to areas that have not been in grass cover for at least two years. Beneficial nematodes (Steinernema feltiae) applied at 50 million per acre reduce wireworm populations by 60 percent.
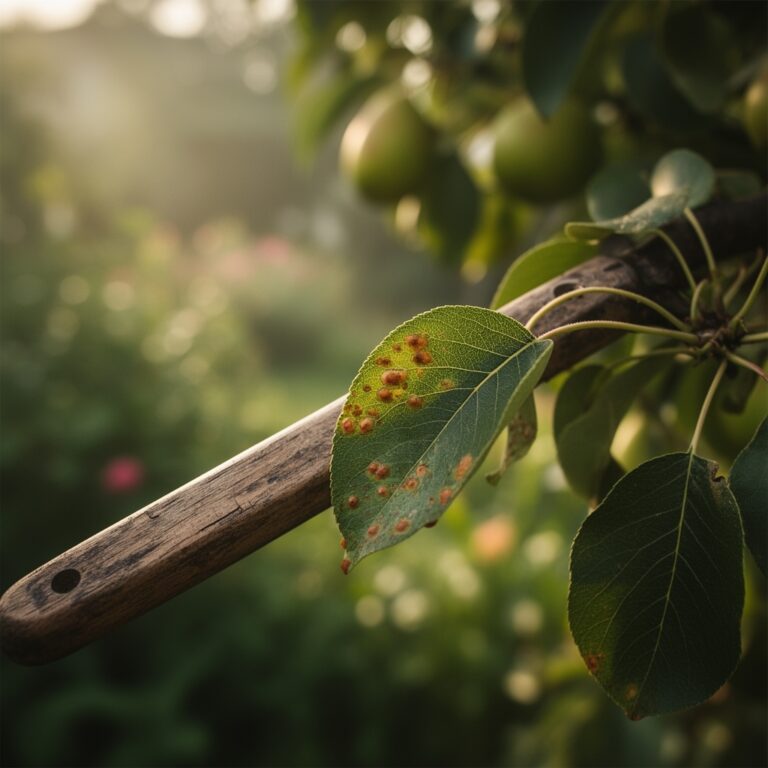
Symptom: Scab lesions (corky, rough patches)
Solution: Streptomyces scabies thrives in alkaline soil and low moisture. Maintain soil pH below 5.5 and irrigate consistently during tuber initiation (40 to 60 days after planting).
Maintenance
Cure harvested potatoes by holding them at 55 to 60 degrees F and 85 to 95 percent relative humidity for 10 to 14 days. This period allows minor cuts to suberize and form a protective corky layer. After curing, move tubers to long-term storage at 38 to 40 degrees F with 90 percent humidity. Inspect stored potatoes monthly, removing any showing soft rot or sprouting. Ethylene-producing fruits such as apples accelerate sprouting; store potatoes separately.
FAQ
When exactly should I start digging?
Begin when 80 percent of foliage has died back and skin resists rubbing off when you gently scratch a test tuber.
Can I harvest potatoes early for "new" potatoes?
Yes. Harvest 50 to 60 days after planting when tubers reach 1 to 2 inches in diameter. Skin will be thin and flaky.
How deep do potatoes actually grow?
Most tubers form 4 to 8 inches below the soil surface, though some varieties produce tubers as deep as 12 inches in loose, friable soil.
What if it rains right before harvest?
Wait 48 to 72 hours for soil to dry to a workable moisture content. Harvesting in saturated soil increases rot risk and compacts your beds.
Do I need to dig up every single potato?
Volunteer potatoes from missed tubers will emerge next season, potentially harboring disease. Thorough harvest reduces pest and pathogen carryover by 85 percent.