6 Basic Steps to Dry Onion Tops
The scent of sulfur-rich allium foliage surrendering its chlorophyll marks the final phase of the onion harvest cycle. Learning the proper steps to dry onion tops transforms a perishable bulb into a storage-stable commodity that can last eight months or longer in optimal conditions. The physiological transition from active photosynthesis to dormancy requires deliberate management of moisture content, air circulation, and ambient temperature. These steps to dry onion tops preserve both the papery protective layers and the cellular integrity of the bulb itself.
Materials
Successful curing requires minimal equipment but precise environmental conditions. Use wooden slatted racks or wire mesh screens elevated 6 to 12 inches above ground to promote airflow beneath the bulbs. Avoid galvanized metal in direct contact with onions, as zinc can react with sulfur compounds and accelerate deterioration.
For growers who fertilized during the growing season, understanding residual nutrient profiles matters. Onions respond best to balanced formulations such as 10-10-10 or organic meals rated 4-4-4. Excess nitrogen (the first number in NPK ratios) within three weeks of harvest delays skin formation and increases neck rot susceptibility. Potassium (the third number) strengthens cell walls and improves storage quality. The ideal soil pH for alliums ranges from 6.0 to 6.8, where cation exchange capacity optimizes sulfur uptake without inducing micronutrient lockout.
Additional materials include breathable mesh bags for post-cure storage, pruning shears sanitized with 10% bleach solution, and a digital hygrometer to monitor relative humidity between 65% and 70%.
Timing
Harvest timing determines the success of every subsequent drying step. In USDA Hardiness Zones 5 through 7, mid-July through August provides optimal conditions as onion tops naturally begin to lodge (fall over). This physiological signal occurs when auxin distribution shifts from foliage to bulb, halting further leaf production.
Wait until 50% to 75% of tops have fallen naturally. Forcing dormancy by mechanically breaking necks risks introducing Botrytis spores and other pathogens into moist vascular tissue. In Zone 8 and warmer, spring-planted onions may be ready by late June. Autumn-planted overwintering varieties in Zone 6 often reach maturity in early July.
Avoid harvesting within 48 hours of rainfall or irrigation. Excess soil moisture extends curing time and increases the risk of bacterial soft rot. Morning harvests allow surface moisture from dew to evaporate by midday.
Phases
Sowing Phase Considerations: Though drying occurs post-harvest, variety selection at sowing determines storage potential. Long-day onions (requiring 14 to 16 hours of daylight) such as 'Copra' and 'Patterson' develop thicker skins and cure more reliably than short-day varieties bred for fresh consumption. Seed onions in flats with sterile soilless mix at a depth of 0.25 inches, maintaining 70°F until germination in 7 to 10 days.
Pro-Tip: Inoculate seedling roots with Glomus intraradices or other mycorrhizal fungi at transplant. These symbiotic organisms extend effective root surface area by 100 to 1,000 times, improving sulfur and phosphorus acquisition that directly enhances bulb density and skin formation.
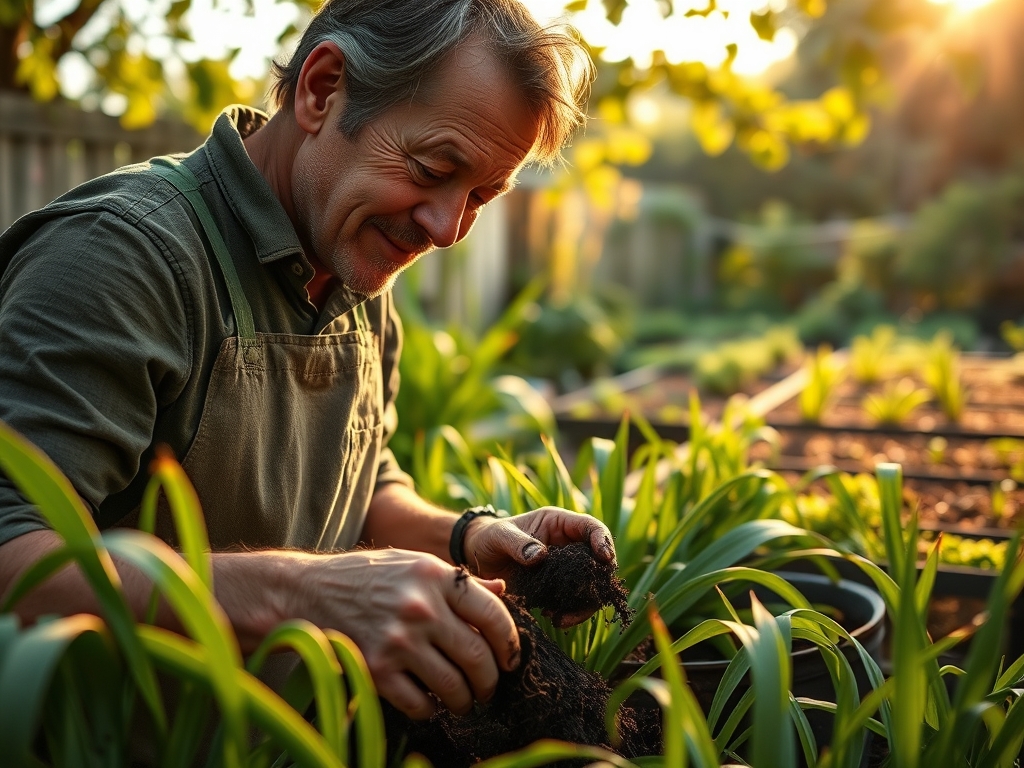
Transplanting Phase: Move seedlings when they reach pencil thickness, typically 6 to 8 weeks after sowing. Space plants 4 to 6 inches apart in rows 12 inches apart. Deeper planting (more than 1 inch) encourages elongated necks that dry poorly.
Pro-Tip: Trim foliage to 4 inches at transplant. This practice redirects carbohydrate reserves to root establishment rather than maintaining excessive leaf area, resulting in bulbs with tighter necks.
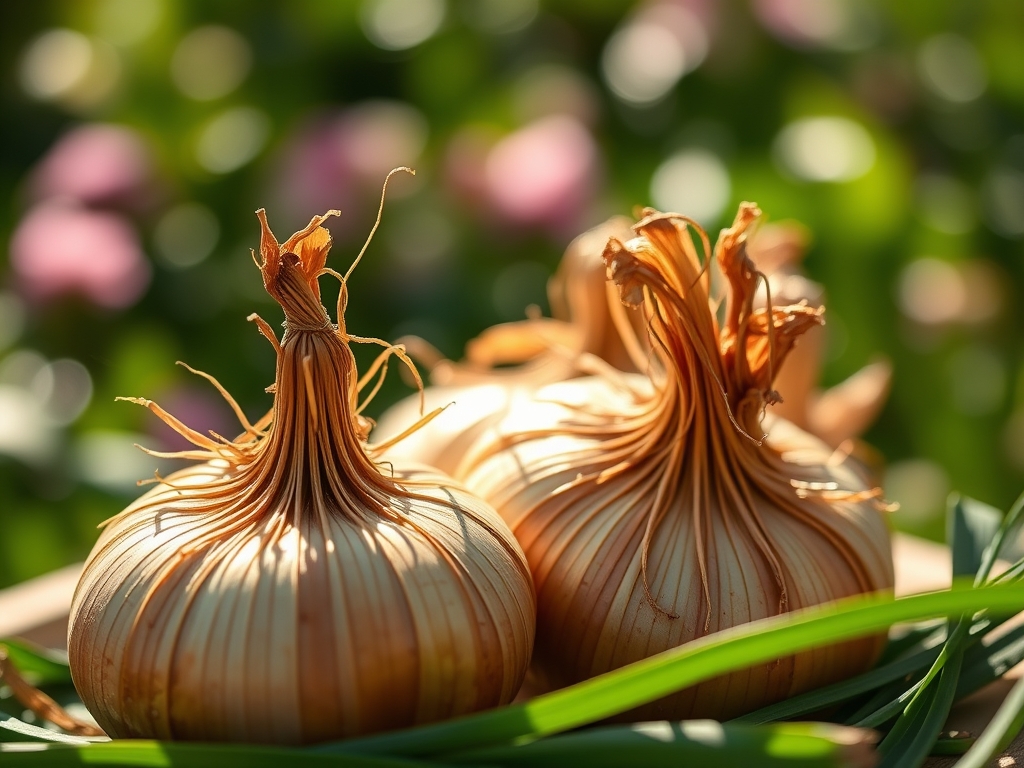
Establishing the Cure: Once harvested, leave bulbs in the field for 2 to 3 days if weather permits. Direct sunlight sterilizes outer skins but prolonged exposure (more than 72 hours) causes sunscald. Move onions to a covered, well-ventilated space where temperatures remain between 75°F and 85°F with relative humidity at 65% to 70%. Arrange bulbs in single layers with tops still attached. Air must circulate around each bulb.
Pro-Tip: Position an oscillating fan to move air horizontally across the curing area at low speed. Laminar airflow prevents moisture pockets while avoiding the desiccation that high-velocity air causes.
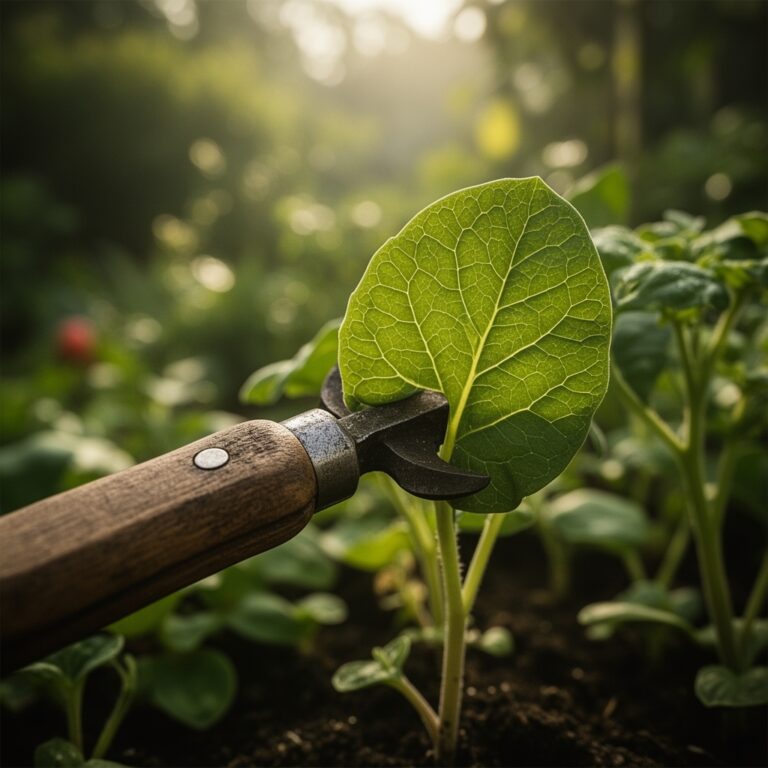
Monitor necks daily. Properly cured onions develop papery outer skins and necks that constrict to less than 0.25 inches in diameter. This process requires 10 to 21 days depending on bulb size and ambient conditions. Once necks tighten completely, trim tops to 1 inch above the bulb using sanitized shears. Remove loose outer skins but leave at least two intact protective layers.
Troubleshooting
Symptom: Soft, water-soaked neck tissue with gray fungal growth.
Solution: Botrytis allii (neck rot) indicates harvest occurred too early or during wet conditions. Remove affected bulbs immediately. Increase air circulation and reduce humidity below 65%. This pathogen thrives above 70% relative humidity.
Symptom: Black, powdery spore masses between outer scales.
Solution: Aspergillus niger (black mold) colonizes bulbs stressed by temperature fluctuations. Maintain consistent curing temperatures between 75°F and 85°F. Discard infected bulbs to prevent spore spread.
Symptom: Sprouting from the crown during storage.
Solution: Inadequate curing time or storage temperatures above 50°F break dormancy. Re-cure any bulbs with green shoot emergence, then store at 35°F to 40°F with humidity at 65%.
Symptom: Translucent, collapsed scales with bacterial odor.
Solution: Erwinia bacterial soft rot enters through wounds. Improve harvest handling to minimize bruising. Remove all symptomatic bulbs to prevent rapid colony spread.
Maintenance
After initial curing, long-term storage requires specific environmental controls. Maintain temperatures between 35°F and 40°F with relative humidity at 65% to 70%. Higher temperatures accelerate respiration and sprouting. Lower humidity causes excessive moisture loss (more than 15% weight reduction signals unmarketable shriveling).
Inspect stored bulbs monthly. Remove any showing soft spots, sprouting, or root growth within 24 hours of detection. A single decomposing bulb releases ethylene gas that triggers sprouting in neighboring onions.
Provide continuous air circulation in storage areas. Stagnant air creates humidity gradients where condensation forms, inviting fungal colonization. Ensure storage containers allow airflow on all sides.
FAQ
How long do onion tops take to dry completely?
Neck tissue requires 10 to 21 days at 75°F to 85°F with 65% to 70% humidity. Thick-necked varieties need the longer interval. Necks should constrict to less than 0.25 inches in diameter and feel completely papery.
Can I speed up drying with higher heat?
Temperatures above 90°F damage outer scales and reduce storage life by 30% to 50%. Rapid moisture loss causes cellular collapse. Maintain temperatures between 75°F and 85°F for optimal results.
Should I wash onions before curing?
Never wash onions before curing. Soil removal should be mechanical only (gentle brushing once skins dry). Introducing water reactivates root growth and invites bacterial pathogens.
What causes onions to rot in storage after proper curing?
Storage temperatures above 40°F or humidity above 75% trigger physiological changes that break dormancy and encourage microbial growth. Mechanical damage during handling creates entry points for Erwinia and Fusarium species.
Do all onion varieties store equally after drying?
Long-day varieties with high soluble solids content (above 12% by refractometer) store 6 to 8 months. Short-day types typically last only 2 to 4 months regardless of curing method due to thinner protective scales and lower sulfur content.