10 Solid Ways How to Build a Garden Wall
Damp earth releases a sharp, metallic scent as the spade breaks the surface; this is the smell of geosmin and microbial activity in a healthy rhizosphere. To understand how to build a garden wall, you must first respect the weight of the substrate and the hydraulic pressure of the soil it will retain. A wall is not merely an aesthetic boundary. It is a structural intervention that alters the local topography and drainage patterns of your landscape. Success requires precise engineering to prevent structural failure caused by frost heave or hydrostatic pressure. Every stone or timber must be placed with an understanding of gravity and the physical properties of the earth it holds back.
The structural integrity of a garden wall depends on the soil it supports. Heavy clay soils exert significantly more lateral pressure than sandy loams because they retain more water, increasing their mass and volume. When you consider how to build a garden wall, you are managing the turgor of the landscape itself. You must account for the angle of repose, which is the steepest angle at which a sloping surface of loose material is stable. For most garden soils, this angle sits between 30 and 45 degrees. Exceeding this without a reinforced wall leads to immediate erosion and plant senescence due to root exposure.
Materials:
The ideal substrate for backfilling behind a garden wall is a **friable loam** with a high **Cation Exchange Capacity (CEC)**. This ensures that the plants you eventually install in the raised bed have access to essential macronutrients. Aim for a soil pH between **6.0 and 7.0** to optimize nutrient availability. For general vegetative growth, use a balanced **NPK ratio of 10-10-10**. If you are building the wall to house flowering perennials, shift to a **5-10-5 ratio** to prioritize phosphorus for root development and bloom production.
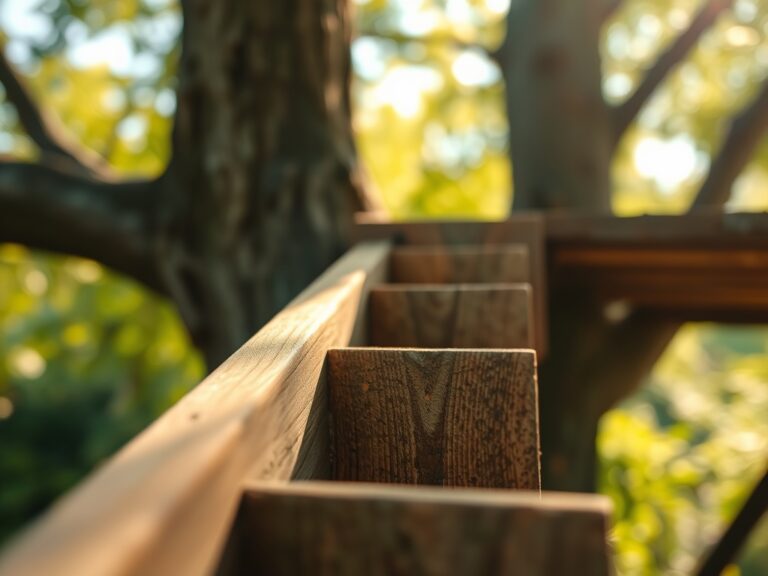
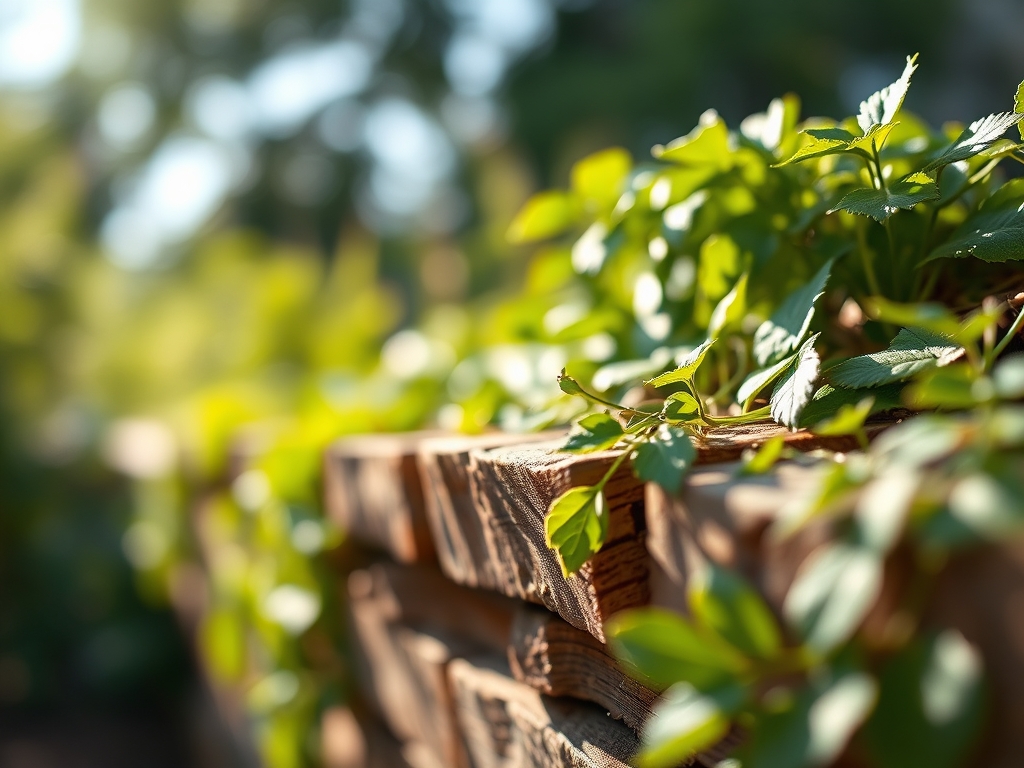
Physical materials vary by durability. Natural stone, such as granite or limestone, offers high density and resistance to weathering. Pressure-treated timbers are lighter but prone to eventual decay. Concrete blocks provide the most predictable structural calculations. Regardless of the material, you must include a 4-inch perforated drainage pipe (French drain) and a 6-inch layer of angular 3/4-inch crushed stone directly behind the wall. This prevents water from pooling, which would otherwise increase the weight of the soil and compromise the wall's stability.
Timing:
Construction should align with the dormant season of your local Hardiness Zone. In Zones 4 through 7, the ideal window is late autumn or early spring when the ground is not frozen but the "Biological Clock" of local flora is in a state of senescence. Avoid building during the peak of the spring thaw, as high soil moisture levels make the ground unstable for foundation trenching.
The transition from vegetative to reproductive stages in your garden plants will be affected by the thermal mass of the wall. Stone walls act as heat sinks, absorbing solar radiation during the day and releasing it at night. This can create a microclimate that extends the growing season by 7 to 14 days, effectively pushing your specific planting site up by half a hardiness zone. Plan your construction to be completed at least 30 days before your region's last frost date to allow for soil settling before the first planting.
Phases:

Sowing the Foundation
Excavate a trench at least 12 inches deep and twice as wide as your wall material. Fill the bottom 6 inches with compacted road base or crushed stone. This creates a stable platform that resists the vertical movement caused by the freeze-thaw cycle. Use a plate compactor to ensure the base is level and dense.
Pro-Tip: Proper compaction prevents the disruption of mycorrhizal symbiosis in the surrounding soil. By containing the structural footprint, you preserve the fungal networks that facilitate nutrient uptake for nearby trees and shrubs.
Transplanting and Leveling
Set the first course of stones or blocks below the finished grade. This "buried" course provides the lateral resistance needed to keep the wall from "kicking out" at the base. Use a spirit level to check every unit. As you stack, incorporate a slight "batter" or inward slope of 1 inch for every 1 foot of height.
Pro-Tip: Incorporating a batter utilizes gravity to counteract lateral earth pressure. This mechanical advantage reduces the stress on the wall's face, preventing the structural failure often seen in vertical DIY projects.
Establishing Drainage and Backfill
Install the drainage pipe and backfill with crushed stone as you build up. Every 12 inches of height, add a layer of geotextile fabric between the stone drainage layer and the planting soil. This prevents fine soil particles from clogging the drainage gaps, a process known as "silting."
Pro-Tip: High-quality drainage prevents waterlogging, which can lead to root hypoxia. Maintaining oxygen levels in the soil is critical for ATP production within the root cells, ensuring the plant has the energy required for active transport of minerals.
The Clinic:
Physiological Disorders
Symptom: Efflorescence (white powdery substance on the wall face).
Solution: This is caused by mineral salts leaching out of the masonry. It indicates excessive moisture behind the wall. Improve drainage by clearing "weep holes" or adding more crushed stone backfill.
Symptom: Wall tipping or bowing outward.
Solution: This is a sign of hydrostatic pressure or lack of a proper foundation. You must dismantle the affected section and install a deadman anchor (a horizontal member extending back into the soil) to stabilize the structure.
Symptom: Nitrogen Chlorosis in plants atop the wall (yellowing of older leaves).
Fix-It: This often occurs in new walls where the backfill soil is "dead" or high in uncomposted organic matter. Apply a quick-release liquid fertilizer with a high N-value (20-0-0) to restore chlorophyll production.
Maintenance:
A garden wall requires active monitoring to ensure the health of the plants it contains. Use a soil moisture meter to check the hydration levels at a depth of 6 inches. Because raised beds and walls drain faster than ground-level soil, you must provide 1.5 inches of water per week at the drip line.
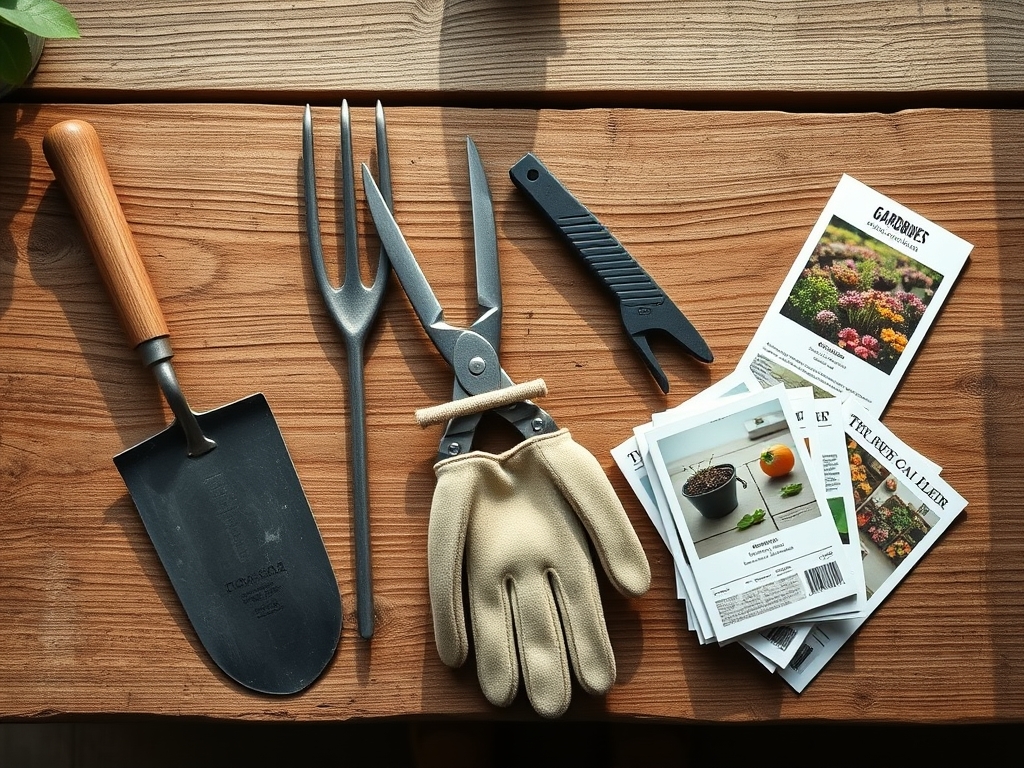
Use a hori-hori knife to remove weeds from the crevices of stone walls before their roots can expand and shift the masonry. Annually inspect the wall for "heaving" after the first spring thaw. If using timber, check for soft spots with a screwdriver; replace any wood showing signs of fungal decay to prevent the spread of pathogens to your ornamental plants. Use bypass pruners to keep foliage from resting against the wall surface, as this can trap moisture and promote the growth of moss or algae which may degrade certain stone types.
The Yield:
If your wall supports an edible garden, harvest timing is dictated by the plant's sugar and starch concentrations. For leafy greens, harvest in the early morning when turgor pressure is at its peak; this ensures the leaves are crisp and hydrated. Use a sharp knife to make clean cuts, minimizing the surface area of the wound to prevent moisture loss.
Post-harvest, submerge greens in 40-degree Fahrenheit water to remove field heat immediately. This slows the rate of respiration and senescence, preserving "day-one" freshness for up to a week. For fruiting crops like tomatoes grown against a heat-retaining stone wall, harvest when the fruit reaches 90 percent color saturation to allow for final ripening off the vine without risking pest damage.
FAQ:
How deep should the foundation be for a garden wall?
For walls up to 3 feet high, excavate a trench 12 inches deep. Fill with 6 inches of compacted gravel and bury the first course of stone. This provides the necessary stability to resist lateral soil pressure and frost heave.
What is the best material for a long-lasting garden wall?
Natural stone like granite or interlocking concrete blocks are the most durable. These materials do not rot and have high density to withstand weather. Ensure you include a gravel backfill to manage water drainage and prevent structural cracking over time.
Do I need a drainage pipe for a small wall?
Any wall over 24 inches requires a perforated drainage pipe. Without it, water builds up behind the structure, increasing weight and pressure. This leads to bowing, cracking, or total collapse during heavy rain or spring snowmelt cycles.
How do I prevent my garden wall from leaning?
Build the wall with a batter, sloping it backward toward the soil at a rate of 1 inch per foot of height. Additionally, use a "deadman" timber or geogrid every few courses to anchor the wall into the hillside.