7 Vital Steps to Secure Tree House Beams
The smell of damp earth and the scent of crushed pine needles signal a site ready for structural integration. When the turgor pressure of a tree is high, the trunk is firm and the cambium layer is actively transporting nutrients. This physiological state is the ideal time to implement the steps to secure tree house beams. You must respect the biological integrity of the specimen while applying mechanical loads. Failure to account for the tree's secondary growth leads to girdling and eventual vascular collapse.
Materials:
Before drilling, evaluate the rhizosphere. A healthy tree requires a soil pH between **6.0 and 7.0** to ensure optimal nutrient uptake. The ideal substrate is a **friable loam** with a Cation Exchange Capacity (CEC) above **15 milliequivalents per 100 grams**. If the soil is compacted, the tree will lack the structural root density needed to support lateral loads.
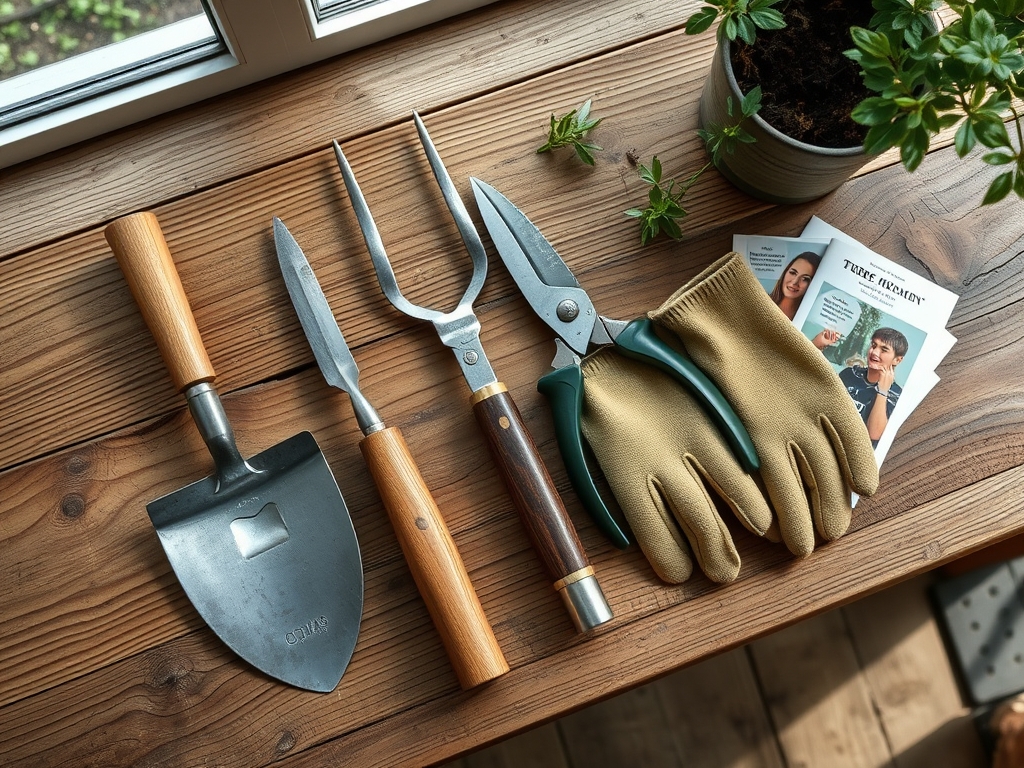
Ensure the soil contains an NPK ratio of 10-10-10 for balanced growth. Nitrogen supports the foliage that powers photosynthesis; phosphorus aids in root development; potassium regulates water loss through stomatal control. You will need 316-grade stainless steel Tree Attachment Bolts (TABs), a high-torque impact wrench, and a level. Avoid copper hardware as it is phytotoxic to many deciduous species.
Timing:
The execution must align with the tree's biological clock. The best window is during the dormant season, typically between late autumn and early spring, specifically in Hardiness Zones 4 through 7. In these zones, the first hard frost usually occurs by November 15. Performing the steps to secure tree house beams during dormancy minimizes sap loss and reduces the risk of fungal pathogens entering the fresh wound.
Avoid the transition from vegetative growth to reproductive stages in late spring. During this period, the bark is "slippery" because the vascular cambium is rapidly dividing. Mechanical stress during this phase can cause large sections of bark to tear away from the sapwood, compromising the tree's ability to compartmentalize the injury.
Phases:

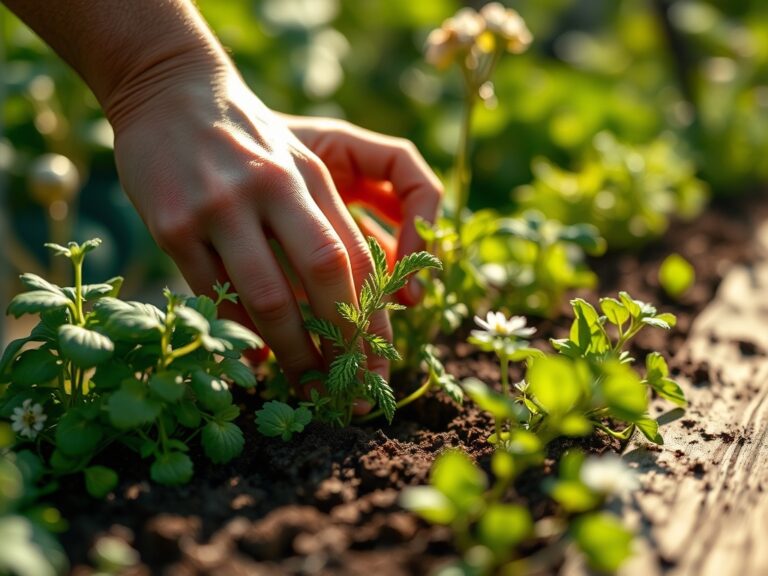
Sowing the Foundation
Select a specimen with a minimum diameter at breast height (DBH) of 12 inches. Use a soil moisture meter to ensure the ground is not saturated, which can lead to root heave under new weight. Drill a pilot hole perpendicular to the trunk. The hole must be slightly smaller than the bolt diameter to ensure a friction fit within the heartwood.
Pro-Tip: Use a sharp bit to ensure clean cell wall margins. This facilitates Compartmentalization of Decay in Trees (CODIT), a biological process where the tree creates chemical boundaries to wall off the wound and prevent rot.
Transplanting the Load
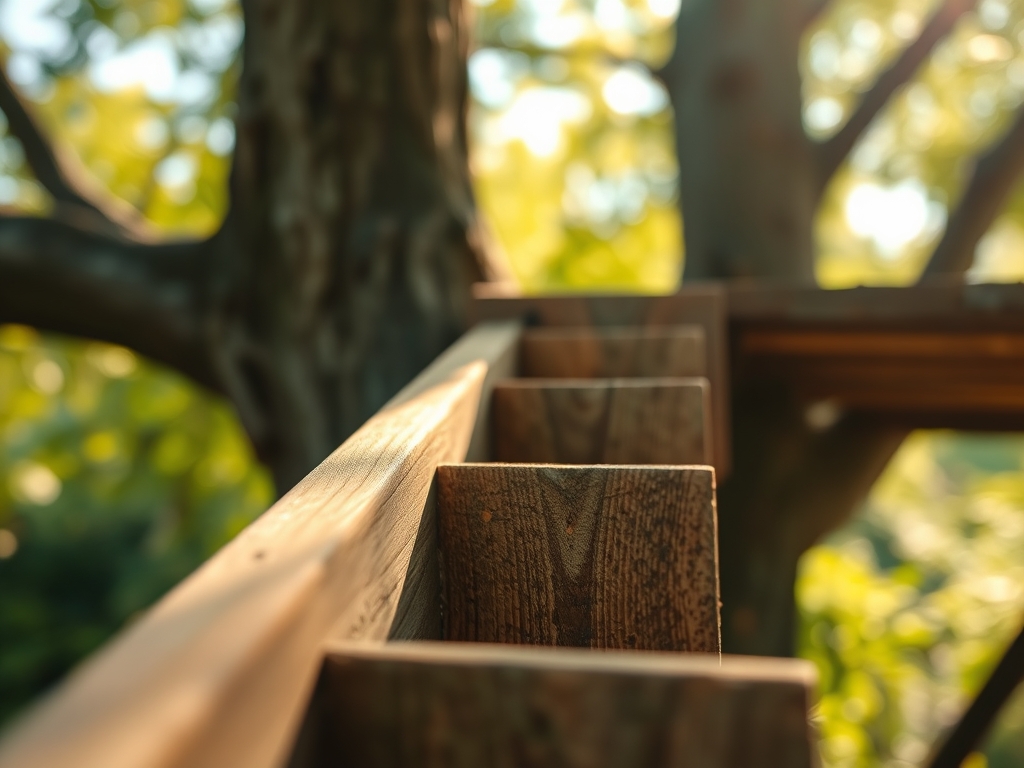
Position the beam onto the TAB. Use a sliding bracket on one end to allow for "wind sway." Trees move independently; a rigid connection will cause the hardware to shear or the wood to split. The beam should sit at least 3 inches away from the bark to allow for future girth expansion.
Pro-Tip: Account for thigmorphogenesis. This is the biological response where trees grow thicker and stronger in response to mechanical sensation. By allowing the tree to sway, you encourage the development of reaction wood, which strengthens the anchor point.
Establishing Stability
Tighten the hardware until the boss of the bolt is flush against the sapwood. Do not over-tighten. Use a hori-hori knife to clear any invasive vines or competing vegetation within a 5-foot radius of the trunk base. This reduces competition for micronutrients and water.
Pro-Tip: Minimize soil compaction during this phase. Excessive foot traffic crushes the macropores in the soil, leading to root hypoxia. Use mulch or temporary plywood paths to distribute your weight while working.
The Clinic:
Monitor the tree for physiological disorders post-installation.
- Symptom: Yellowing of older leaves while veins remain green.
Solution: This is Magnesium deficiency. Apply Epsom salts at a rate of 1 pound per 100 square feet to restore chlorophyll production.
- Symptom: Stunted new growth and tip dieback.
Solution: Check for Nitrogen chlorosis. Apply a slow-release 15-5-5 fertilizer to the drip line to boost vegetative vigor.
- Symptom: Vertical cracks in the bark near the bolt.
Solution: This indicates excessive mechanical stress. Reduce the load or install a backup tether to redistribute weight.
- Symptom: Excessive sap "bleeding" from the wound.
Solution: This is common in maples or birches. Do not seal the wound with tar. Allow the tree's natural resins to oxidize and form a protective seal.
Fix-It: For general vigor, ensure the soil has sufficient organic matter. If the CEC is low, incorporate 2 inches of composted leaf mold into the top layer of the soil to improve nutrient retention.
Maintenance:
A tree supporting a structure requires more hydration than a wild specimen. Provide 1.5 inches of water per week at the drip line, which is the perimeter of the tree's canopy. Use a soil moisture meter to check the top 6 inches of soil; it should be moist but not anaerobic.
Inspect the hardware annually using bypass pruners to remove any small branches that interfere with the beams. Check for "bark inclusion," where the tree begins to grow over the bracket. If the bracket is being swallowed, it must be reset to prevent the tree from "choking" its own vascular system. Use a hori-hori knife to gently scrape away surface pests like scale or aphids if they congregate near the entry point.
The Yield:
While a tree house does not produce a caloric yield, the "yield" here is the structural longevity of the living host. Proper execution ensures the tree remains in a state of homeostasis. A well-secured beam allows the tree to continue its carbon sequestration and oxygen production without interruption. If the tree is a fruiting variety, such as a mature Malus (apple), monitor the fruit drop. Heavy fruit loads combined with structural weight can stress the primary scaffold branches. Harvest fruit early to reduce the mechanical load during peak production years.
FAQ:
How deep should the bolt go into the tree?
The bolt must penetrate the heartwood, typically 6 to 8 inches deep. This provides the mechanical grip necessary to support the beam. The sapwood alone is too soft and prone to compression failure under heavy loads.
Will drilling a hole kill the tree?
No, if done correctly. Trees are resilient and use CODIT to seal off the wound. By using a single large bolt rather than multiple small screws, you minimize the total surface area of the vascular disruption.
What is the best species for a tree house?
Select hardwoods with high wood density and decay resistance. Quercus (Oak), Acer (Maple), and Douglas Fir are ideal. Avoid "soft" woods like Willow or Poplar, which have brittle cellular structures and are prone to limb failure.
How much weight can one TAB hold?
A standard 1-inch diameter TAB can support between 5,000 and 8,000 pounds, depending on the wood density of the host tree. Always calculate the dead load of the materials and the live load of the occupants before installation.
When should I adjust the beams?
Inspect the gap between the beam and the trunk every 24 months. If the bark is within 1 inch of the beam, the hardware must be adjusted to accommodate the tree's secondary radial growth and prevent girdling.