9 Best Bolts for Tree Houses
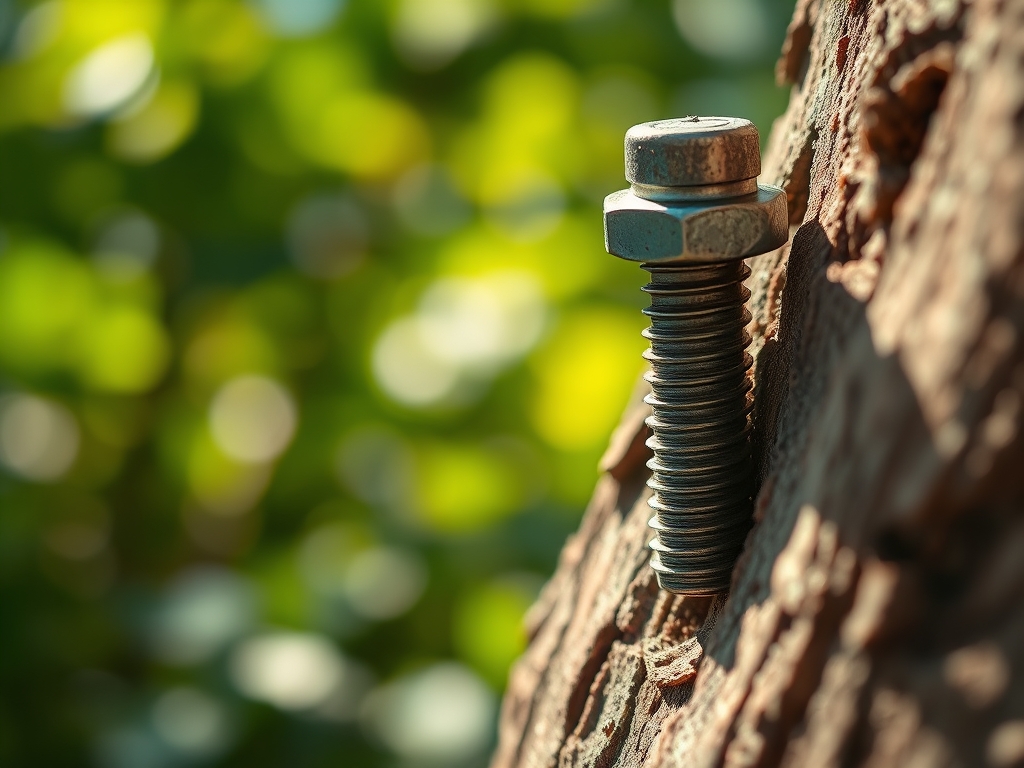
Freshly turned soil smells of geosmin and damp organic decay; it is the scent of a functioning rhizosphere where cation exchange capacity is at its peak. When you stand beneath a mature Quercus alba or Acer saccharum, you feel the turgor pressure holding the canopy aloft. Building within this living system requires more than carpentry; it requires an understanding of cambium health and compartmentalization of decay in trees (CODIT). Selecting the best bolts for tree houses is the first step in ensuring the structural integrity of the build while respecting the biological limits of the host specimen. These specialized fasteners, known as Treehouse Attachment Bolts (TABs), act as artificial limbs. They must penetrate the sapwood to reach the heartwood while allowing the tree to expand its girth through secondary growth. A standard lag bolt will eventually be swallowed by the trunk, leading to girdling and systemic failure. The best bolts for tree houses utilize a boss or collar that keeps the mounting bracket away from the bark, preserving the tree's ability to transport water and nutrients through the xylem and phloem.
Materials:
The success of any arboreal structure begins at the root zone. Before installation, analyze the soil pH; most deciduous trees thrive in a range of **6.0 to 7.0**. High acidity can accelerate the corrosion of inferior metals. The ideal substrate is a **friable loam** with a high Cation Exchange Capacity (CEC), ensuring the tree has the mineral reserves to heal around the bolt site. If the soil is depleted, supplement with a slow-release NPK ratio of **10-10-10** to support the metabolic demands of wound closure. Avoid high-nitrogen fertilizers (e.g., **30-0-0**) during the installation year, as excessive vegetative growth can lead to weak cell walls that are more susceptible to fungal pathogens. The hardware itself must be **316-grade stainless steel** or **hot-dipped galvanized steel** to resist the corrosive tannins found in oak and cedar.
Timing:
Installation should align with the tree's biological clock. The optimal window is during late dormancy, approximately four to six weeks before the local last frost date. In Hardiness Zones 4 through 7, this typically occurs in late February or March. Installing bolts during the dormant phase minimizes the loss of sap and reduces the risk of attracting boring insects. As the tree enters the vegetative stage in spring, its increased metabolic rate allows it to begin the compartmentalization process immediately. Avoid installation during the "bud break" period when the tree is diverting all energy to leaf production, or during the late autumn senescence when the tree is preparing for dormancy and has limited energy for wound healing.
Phases:

Sowing the Foundation
Before a single hole is drilled, use a soil moisture meter to ensure the tree is not under drought stress. A tree with low turgor pressure will struggle to seal the entry point. Use a high-torque drill to create a pilot hole that is precisely 1/16th of an inch smaller than the bolt's shank. This ensures a friction fit that prevents water ingress into the heartwood.
Pro-Tip: Proper pilot hole sizing is essential because of thigmotropism. Trees respond to mechanical stress by thickening their cell walls. A snug fit stimulates the tree to produce "reaction wood" around the bolt, effectively welding the fastener into the tree's internal structure over time.
Transplanting Load Requirements
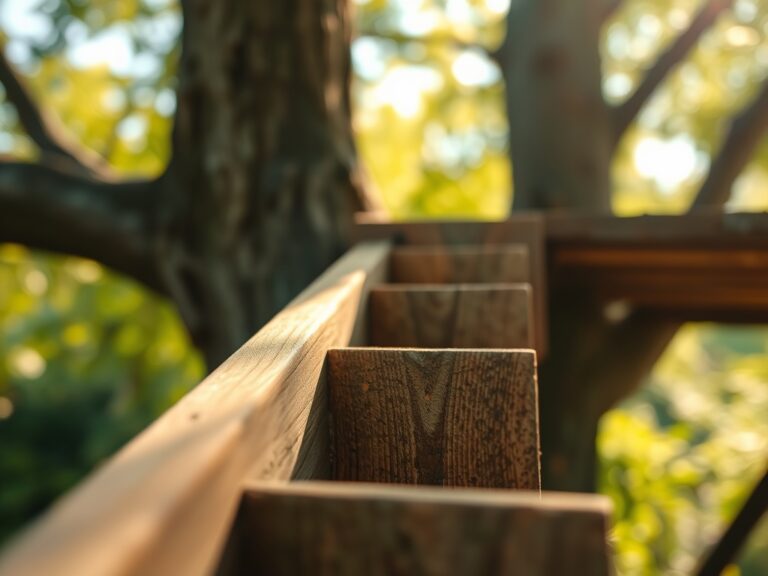
When moving from the planning phase to the physical mounting of brackets, ensure the bolt is positioned at least 12 inches away from any major branch unions. This prevents the "zipper effect," where multiple wounds in a vertical line can cause a long strip of cambium death. The best bolts for tree houses feature a 3-inch diameter boss that sits against the outer bark, distributing the weight across a larger surface area.
Pro-Tip: Maintain a gap between the bracket and the bark to prevent auxin suppression. If a bracket is flush against the tree, it disrupts the flow of growth hormones, leading to localized dieback and potential structural instability in the limb above the bolt.
Establishing Long-Term Stability
Once the bolts are seated, do not use sealants or "wound paint." Modern arboriculture proves that these substances trap moisture and fungal spores against the raw wood. The tree's natural defense mechanism, the callus tissue, is the only effective sealant. Monitor the site for the development of a healthy "doughnut" of bark growing around the bolt boss.
Pro-Tip: This callus formation is driven by mycorrhizal symbiosis. A healthy fungal network in the soil provides the phosphorus necessary for the tree to generate the energy (ATP) required for rapid cell division at the wound site.
The Clinic:
Symptom: Slime Flux (Wetwood)
Observation: A dark, foul-smelling liquid oozing from the bolt site.
Solution: This is an internal bacterial infection. Ensure the bolt was not driven too deep into the wet heartwood. Improve soil aeration around the root zone using a hori-hori knife to gently loosen compacted earth.
Symptom: Leaf Chlorosis
Observation: Yellowing leaves with green veins in the canopy above the installation.
Solution: This indicates Manganese or Iron deficiency caused by root compaction during construction. Apply a chelated micronutrient drench and ensure the soil pH is below 7.2 to increase nutrient bioavailability.
Symptom: Epicormic Sprouting
Observation: Small, spindly "water sprouts" growing near the bolt site.
Solution: The tree is stressed and attempting to increase its photosynthetic surface area. Prune these using bypass pruners to redirect energy back to the primary branches and wound healing.
Maintenance:
A tree supporting a structure requires more hydration than a free-standing specimen. Provide 1.5 inches of water per week at the drip line, using a soaker hose to ensure deep penetration into the rhizosphere. Avoid watering the trunk directly, as this promotes fungal growth at the bolt entry point. Annually, use a soil moisture meter to check for compaction zones caused by foot traffic. If the soil is hard, use an air-spade or manual aerator to restore oxygen flow to the roots. Inspect the bolts every six months; if the tree has grown to within 0.5 inches of the bracket, it is time to adjust the hardware to prevent girdling.
The Yield:
While a tree house does not yield a traditional harvest, the "yield" is the continued health and longevity of the host. A properly installed TAB system allows the tree to reach its full senescence decades later than a tree damaged by inferior hardware. If the tree is a nut or fruit-bearing species, monitor the fruit size post-installation. A reduction in yield indicates that the tree is diverting too much energy to structural repair, necessitating a supplemental application of a high-phosphorus fertilizer (NPK 5-20-10) to restore reproductive vigor.
FAQ:
What is the best metal for tree house bolts?
316-grade stainless steel is the gold standard. It resists corrosion from the tree's natural acids and prevents "bleeding" stains on the bark. Hot-dipped galvanized steel is a viable, cost-effective alternative for most Hardiness Zones.
How deep should a tree house bolt go?
The bolt should penetrate the heartwood, typically 6 to 10 inches deep depending on the species. It must bypass the living cambium and sapwood to find the structural stability required to support heavy loads without shifting.
Will a bolt kill my tree?
No, if installed correctly. Trees use CODIT to wall off the wound. By using a single large bolt rather than multiple small screws, you minimize the total surface area of the injury and allow the tree to heal efficiently.
When should I tighten the bolts?
Never tighten a bolt against the bark. As the tree grows, it adds layers of wood. You must loosen or adjust the brackets periodically to ensure there is always space for the trunk to expand without being girdled by the hardware.