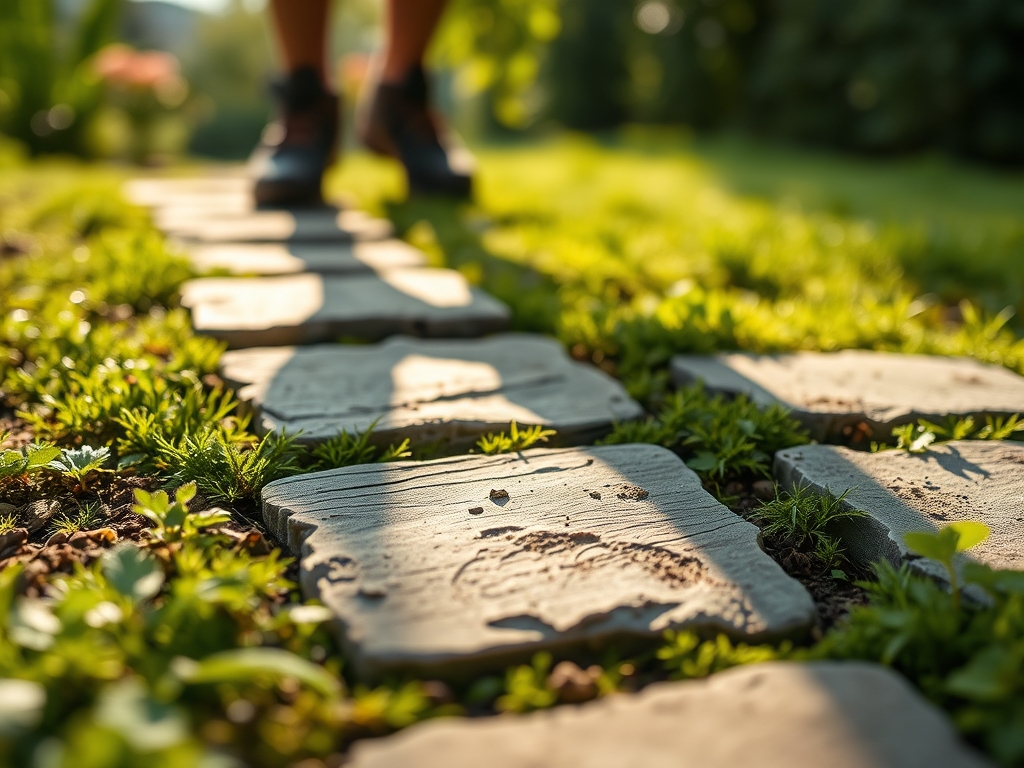
6 Basic Steps to Lay a Flagstone Path
Damp earth emits a heavy, metallic scent as the shovel breaks the surface tension of the soil. This smell, known as geosmin, signals a healthy microbial community within the rhizosphere. Establishing a permanent walkway requires more than aesthetic placement; it demands an understanding of soil compaction and drainage mechanics. Mastering the steps to lay a flagstone path ensures a stable surface that resists the seasonal heave of frost and the erosive force of hydraulic pressure.
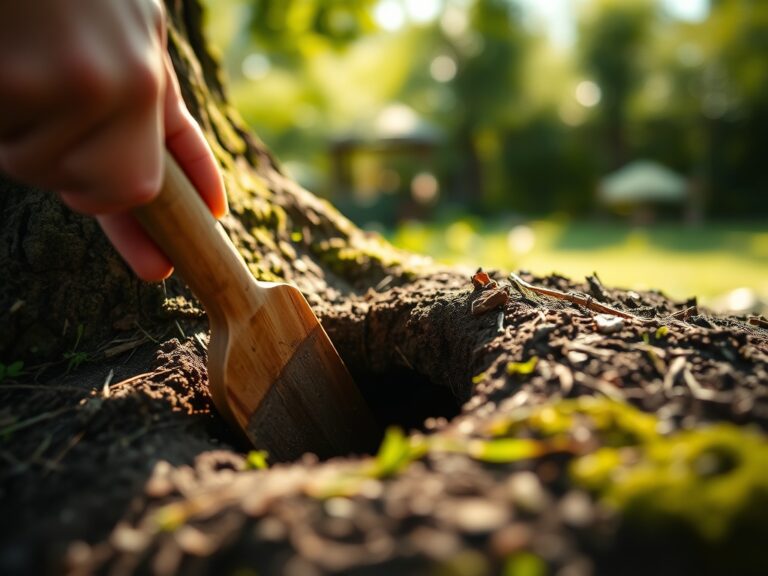
A successful installation begins with a deep excavation of the existing turf. Removing the organic layer prevents the decomposition of plant matter beneath the stones, which would otherwise lead to uneven settling. The goal is to reach a subsoil layer with a high Cation Exchange Capacity (CEC), providing a stable foundation that does not shift during heavy precipitation. Every measurement must be precise to maintain a consistent grade. A slope of one inch for every four feet of width ensures that water moves away from structures, preventing localized saturation and the subsequent loss of turgor pressure in nearby ornamental plantings.
Materials:

The substrate beneath the path affects the surrounding soil chemistry. For a flagstone installation, the ideal base consists of crushed limestone or "crushed and run" gravel. This material typically maintains a pH of 7.5 to 8.2, which is alkaline. If the path borders acid-loving plants like azaleas or blueberries that require a pH of 4.5 to 5.5, you must install a physical barrier to prevent lime leaching.
The ideal soil texture for the surrounding garden beds is a friable loam, containing 40 percent sand, 40 percent silt, and 20 percent clay. To support vegetative growth alongside the stones, the soil should have an NPK ratio of 10-10-10 for general establishment or 5-10-10 to encourage root development without excessive foliar growth. High nitrogen levels can cause rapid cell elongation, leading to weak stems that may flop over the stones. Use a soil moisture meter to ensure the base remains dry during the compaction phase.
Timing:
The biological clock of your garden dictates the installation window. In Hardiness Zones 4 through 7, the ideal time to execute the steps to lay a flagstone path is during the dormant season or early spring, at least six weeks before the first hard frost. This allows the ground to settle before the freeze-thaw cycles begin.
Wait for a period when the soil temperature is between 45 and 55 degrees Fahrenheit. Working with soil that is too wet leads to compaction, which collapses the macropores necessary for oxygen exchange in the roots of nearby perennials. Avoid the transition from vegetative to reproductive stages in your garden; if you install the path while plants are flowering, the physical disturbance can trigger premature senescence, causing the plants to divert energy away from root repair and toward seed production.
Phases:
Sowing the Foundation
Excavate the path to a depth of 6 to 8 inches. The first 4 inches must be filled with structural aggregate. Compact this layer using a plate compactor until it reaches 95 percent Proctor density. This creates a stable platform that mimics the density of undisturbed subsoil.
Pro-Tip: Compaction prevents the formation of air pockets. In a biological context, air pockets in the soil can cause "root burn" because the roots cannot access the moisture and nutrients found in the soil matrix.
Transplanting the Stones
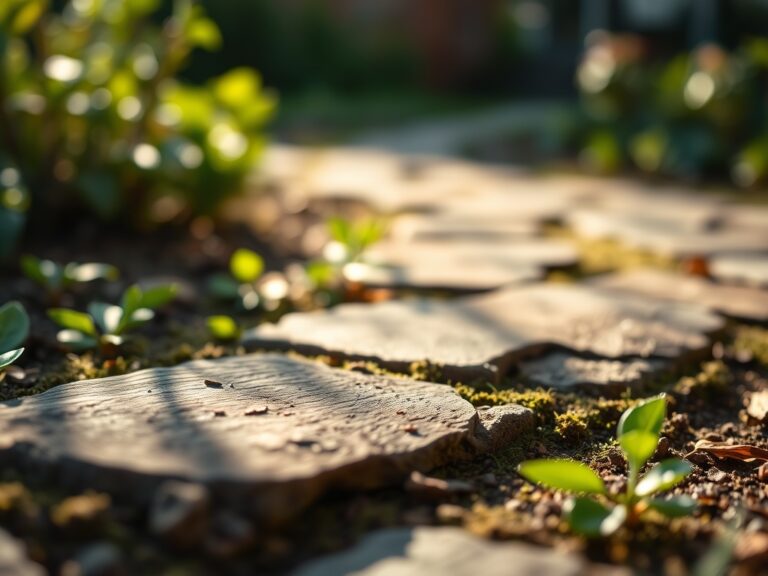
Place the flagstones, ensuring a gap of 1 to 2 inches between each piece. Use a rubber mallet to set each stone into a 2-inch bed of leveling sand. Use a level to check for the necessary grade. If you are planting "steppable" groundcovers like Thymus praecox in the joints, fill the gaps with a mix of 70 percent sand and 30 percent organic compost.
Pro-Tip: When placing stones near existing trees, avoid cutting roots larger than 2 inches in diameter. Severing major roots disrupts the transport of water via xylem, leading to a loss of turgor pressure in the canopy.
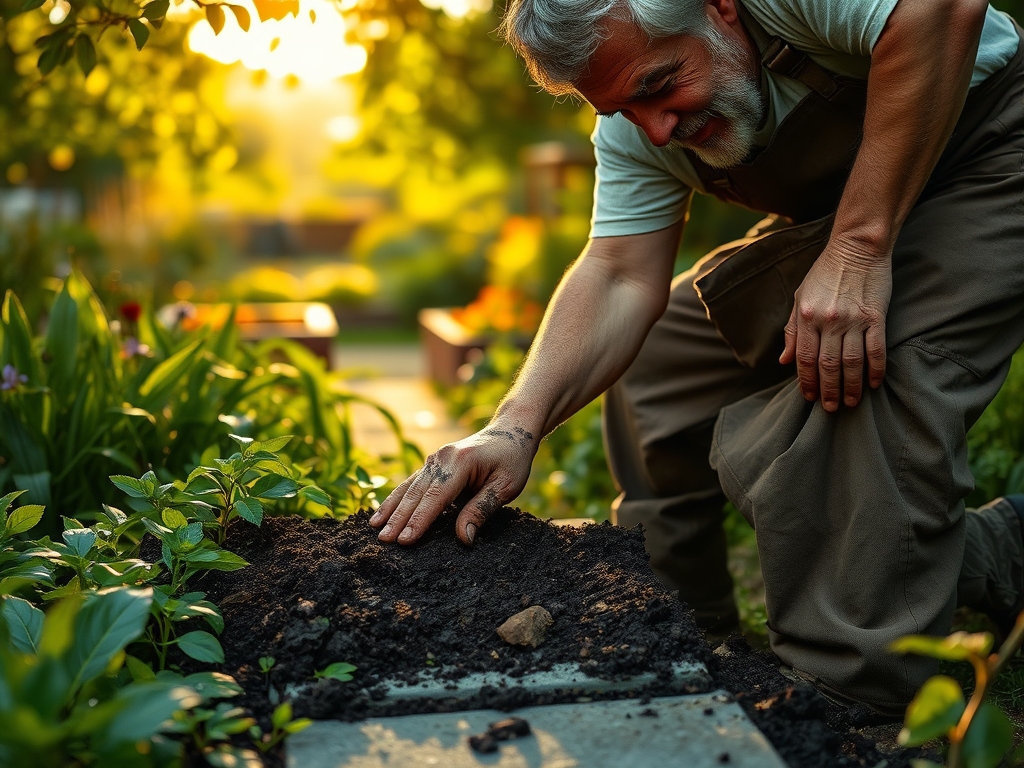
Establishing the Border
Once the stones are set, backfill the edges with topsoil. Firm the soil with your hands to remove large voids. If you are adding new plants, use a hori-hori knife to cut precise planting holes. Apply a thin layer of organic mulch to regulate soil temperature and prevent the evaporation of moisture from the rhizosphere.
Pro-Tip: Use a phosphorus-heavy starter fertilizer to stimulate mycorrhizal symbiosis. This fungal relationship extends the reach of the root system, allowing the plant to better survive the heat reflected off the new stone surface.
The Clinic:
Physiological disorders often appear in plants adjacent to a new path due to changes in soil hydrology or chemistry.
- Symptom: Interveinal chlorosis (yellowing leaves with green veins) on acid-loving plants.
Solution: This indicates iron deficiency caused by lime leaching from the path base. Apply chelated iron and elemental sulfur to lower the pH. - Symptom: Leaf scorch or marginal necrosis.
Solution: High radiant heat from the flagstones is causing excessive transpiration. Increase irrigation frequency to 2 inches of water per week during peak summer. - Symptom: Stunted growth and purplish leaves.
Solution: Phosphorus deficiency. The cold soil or high pH is locking up phosphorus. Apply a 0-20-0 triple superphosphate amendment. - Symptom: Sudden wilting despite moist soil.
Solution: Root rot or lack of oxygen due to soil compaction during construction. Use a garden fork to aerate the soil 12 inches away from the path edge.
Maintenance:
A flagstone path requires active management to remain stable and integrated with the landscape. Monitor the joints for settling. If stones shift, lift them and add more sand to maintain the level. Use bypass pruners to trim any groundcovers that begin to obscure the stone surface; this prevents the accumulation of organic debris that can lead to fungal growth.
Irrigation for surrounding plants should be targeted. Provide 1.5 inches of water per week at the drip line using a soaker hose. Avoid overhead watering, which can cause water to pool on the stones and create slip hazards or promote moss in deep shade. Every two years, check the soil pH near the path using a professional testing kit to ensure the limestone base has not skewed the chemistry beyond the tolerance of your specific cultivars.
The Yield:
If your path winds through a cutting garden or an edible landscape, the stones act as a heat sink, often extending the growing season by 7 to 10 days. Harvest herbs like thyme or oregano from between the stones in the early morning when essential oil concentrations are highest.
For flowers, use your hori-hori knife to cut stems at a 45-degree angle. Immediately submerge the stems in 110-degree Fahrenheit water to remove air bubbles from the xylem. This technique, known as "hardening off," ensures day-one freshness and maximizes the vase life of the harvest by maintaining high turgor pressure.
FAQ:
What is the best base for a flagstone path?
A 4-inch layer of compacted crushed stone topped with 2 inches of leveling sand provides the best stability. This prevents shifting during frost-heave cycles and ensures proper drainage away from the plant rhizosphere.
How do I prevent weeds between flagstones?
Use polymeric sand in the joints to create a hard, weed-resistant barrier. Alternatively, plant dense groundcovers to outcompete weeds for light and nutrients, utilizing the principle of competitive exclusion in the garden.
Can I lay flagstone directly on dirt?
No. Placing stone directly on soil leads to uneven settling and stone cracking. Organic matter in the soil decomposes, creating voids that trap water and cause the stones to sink or tilt over time.
How much space should be between flagstones?
Maintain a gap of 1 to 2 inches. This allows for natural expansion and contraction. If planting between stones, wider gaps of 3 inches are necessary to provide enough soil volume for root establishment.