9 Best Jointing Sand for Stone
The smell of damp earth after a spring rain signals more than just a change in weather; it indicates the activation of microbial life within the rhizosphere. For a horticulturist, the stability of the hardscape is just as vital as the turgor pressure of a prize-winning Hosta. Selecting the best jointing sand for stone is a technical necessity to prevent structural failure and suppress opportunistic weed growth. Without the correct granular interlocking, the substrate beneath your flagstone or pavers will succumb to hydraulic erosion and frost heave.
Achieving a professional finish requires understanding the physical properties of the materials used. Standard masonry sand often lacks the angularity needed for long-term stability. Instead, specialized polymeric formulas or kiln-dried silica sands provide the friction required to lock stones into a singular, load-bearing unit. This guide examines the mechanical and chemical properties of jointing materials to ensure your garden paths remain as resilient as the perennials bordering them.
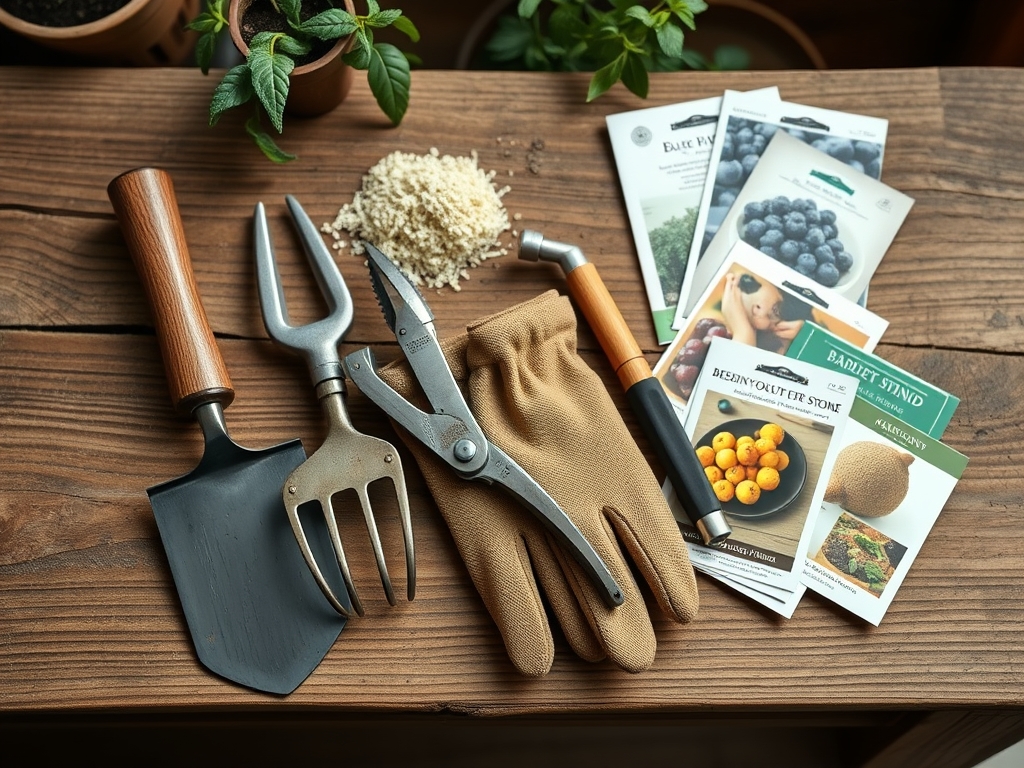
Materials:
The ideal substrate for any stone installation is a friable loam with a balanced Cation Exchange Capacity (CEC) of 15 to 25 meq/100g. This allows for proper drainage while retaining enough nutrients to support border plantings. When selecting jointing sand, you must consider the pH of the surrounding soil. For acid-loving plants like Azaleas, avoid limestone-based sands that can leach carbonates and raise the pH above 7.0.
- Polymeric Sand: A blend of graded sand and binders. It becomes hydrophobic once cured; preventing water infiltration.
- Kiln-Dried Silica: Pure, fine-grained sand that flows into narrow joints. It is chemically inert and does not alter soil pH.
- Crushed Granite (Stone Dust): High angularity for maximum friction. Best for heavy traffic areas.
- Enviro-Bond: An organic binder mixed with sand that remains flexible.
- Permeable Aggregates: Essential for rain gardens; typically No. 8 or No. 89 stone.
- Polymeric Dust: Specifically designed for natural stone joints up to 4 inches wide.
- Resin-Bound Sand: A two-part epoxy system for maximum durability.
- Calcined Clay: High porosity and moisture retention; useful in specialized rock gardens.
- Polymeric Stone Dust: High-strength binder for irregular flagstone gaps.
Ensure your soil has a baseline NPK ratio of 10-10-10 before installing hardscapes to prevent nutrient leaching during the construction phase.
Timing:
Hardscape installation must be synchronized with the local frost-date windows, typically found in Hardiness Zones 4 through 8. The "Biological Clock" of the garden dictates that major stone work should occur during the dormant season or early spring before the transition from vegetative to reproductive stages in surrounding flora.
Ideally, install jointing sand when the ambient temperature is between 50 and 80 degrees Fahrenheit. High humidity can prematurely activate polymeric binders; while temperatures below 32 degrees Fahrenheit will halt the curing process entirely. Monitor the photoperiod; shorter days in autumn mean slower evaporation rates and longer curing times for resin-based joints.
Phases:
Sowing and Site Prep
Before placing stone, the base must be compacted to 95 percent Proctor density. If you are planting "steppable" groundcovers in the joints, use a mix of 70 percent sand and 30 percent organic compost. This ensures the roots have access to oxygen while maintaining structural integrity.
Pro-Tip: Mycorrhizal symbiosis is essential here. Inoculate the jointing soil with endomycorrhizal fungi to increase the surface area of the roots by up to 1,000 percent; allowing plants to survive the heat-island effect of the stone.
Transplanting and Placement
When placing stone, ensure a minimum joint width of 1/8 inch for sand penetration. Use a hori-hori knife to clear debris from the crevices. Sweep the sand in layers; vibrating the stones with a plate compactor to eliminate air pockets.
Pro-Tip: Use the principle of auxin suppression. By keeping the joints tightly packed with sand, you limit the light reaching the soil surface; preventing the germination of weed seeds that would otherwise compete for nutrients with your primary specimens.
Establishing the Hardscape
Once the sand is swept, mist the area with a fine spray. Do not flood the joints. The water triggers the chemical bond in polymeric sands. Allow 24 to 48 hours for a full cure before heavy foot traffic.
Pro-Tip: Phototropism can cause border plants to lean over your new stone path. Prune aggressively during the establishment phase to encourage upright growth and prevent the accumulation of organic leaf litter in the new joints.
The Clinic:
Physiological disorders in the garden often manifest at the interface of hardscapes and softscapes.
- Symptom: Efflorescence (white powdery residue on stone).
- Solution: This is caused by soluble salts migrating to the surface. Scrub with a solution of 1 part white vinegar to 5 parts water.
- Symptom: Iron Chlorosis in adjacent plants.
- Solution: High-pH jointing sand may be leaching lime. Apply chelated iron and elemental sulfur to lower the pH to 6.5.
- Symptom: Moss and Algae growth in joints.
- Solution: Increase drainage by replacing standard sand with a permeable aggregate. Ensure the area receives at least 6 hours of sunlight.
Fix-It for Nitrogen Chlorosis: If plants near the stone path show yellowing of older leaves, apply a quick-release 21-0-0 (Ammonium Sulfate) fertilizer to compensate for the high carbon-to-nitrogen ratio often found in new construction sites.
Maintenance:
A professional garden requires precise inputs. Use a soil moisture meter to ensure the plants bordering the stone receive exactly 1.5 inches of water per week at the drip line. Excess water will degrade the jointing sand over time.
Every spring, inspect the joints for "washout." Use bypass pruners to remove any invasive roots that have penetrated the sand. If the sand has settled more than 1/4 inch below the stone surface, top-dress with additional kiln-dried sand to maintain the interlocking bond. Clear organic debris weekly; as decomposing leaves create humic acid which can soften certain polymeric binders.
The Yield:
While stone does not produce a harvest, the health of the surrounding plants is your yield. For "steppable" herbs like Thyme or Corsican Mint grown in the joints, harvest by clipping the top one-third of the plant. This stimulates lateral budding and keeps the growth habit dense. To maintain "day-one" freshness for harvested herbs, plunge the stems into 40-degree Fahrenheit water immediately after cutting to maintain turgor pressure.
FAQ:
How much polymeric sand do I need for flagstone?
Calculate volume by multiplying joint length by width and depth. Generally, one 50-pound bag covers 60 to 75 square feet for narrow joints or 20 to 25 square feet for wide flagstone joints.
Can I use regular play sand for stone joints?
Play sand is rounded and lacks the angularity needed for mechanical interlocking. It will wash out during the first heavy rain and provides no protection against weed germination or insect tunneling.
Why is my jointing sand washing away?
This usually indicates improper compaction or insufficient wetting during the activation phase. Ensure the sand is packed to within 1/8 inch of the stone top and cured for 48 hours without rain.
Is polymeric sand safe for vegetable garden paths?
Most modern polymeric sands are non-toxic once cured. However, for organic certifications, use a pure kiln-dried silica sand or a stabilized organic binder to ensure no synthetic polymers leach into the edible rhizosphere.