8 Modern Ways How to Build a Privacy Wall
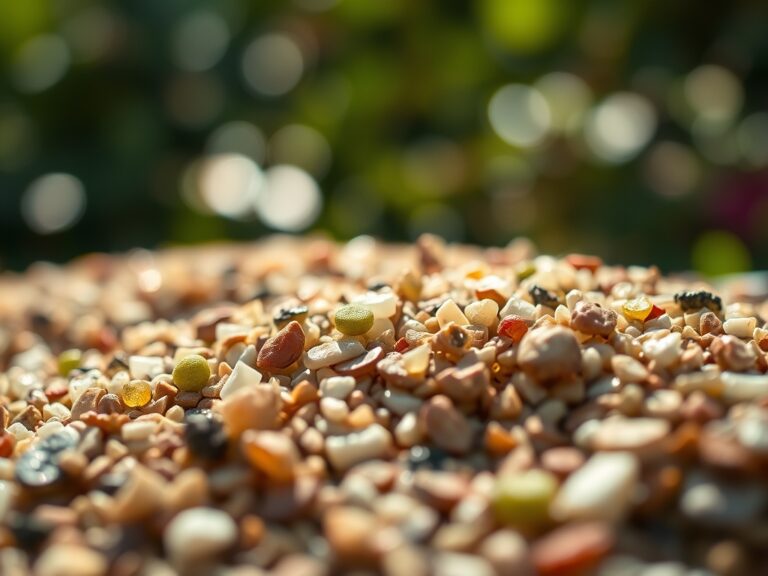
Crush a handful of friable silt loam and you will feel the grit of sand against the smoothness of clay. This tactile feedback indicates a high cation exchange capacity; a foundational requirement for sustained vegetative growth. When considering how to build a privacy wall, you are not merely erecting a barrier but managing a living biological system. High turgor pressure within the vascular tissue ensures that the vertical structure remains rigid against wind shear and environmental stressors.
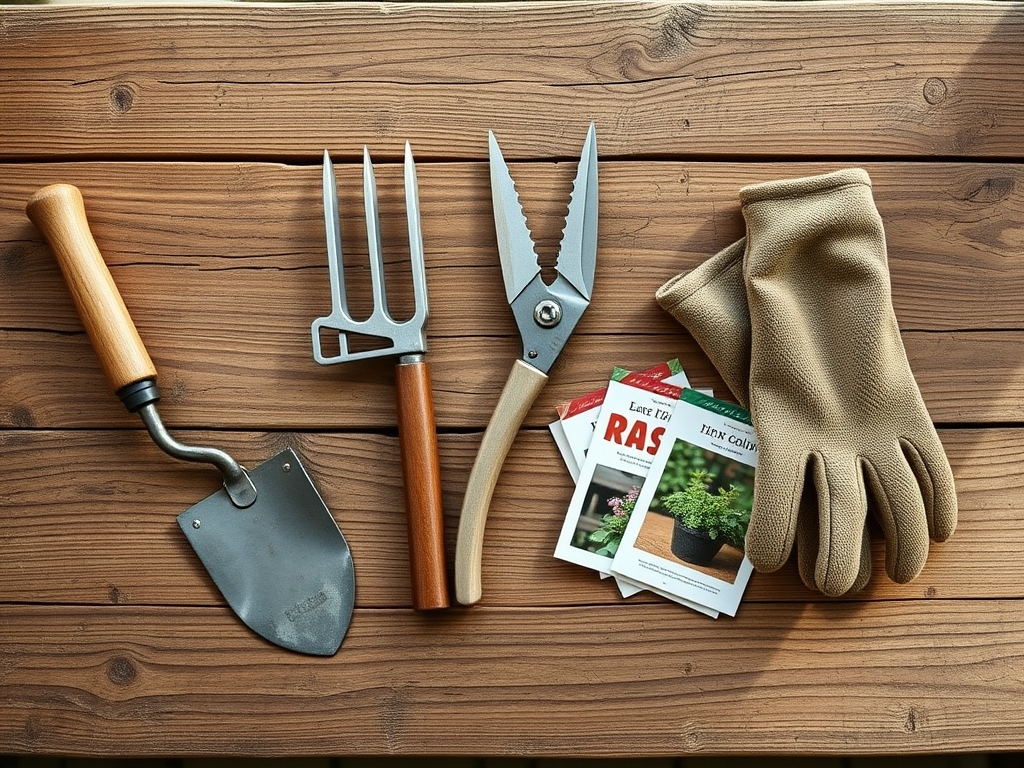
Materials:
The success of a living privacy wall depends on the chemical composition of the rhizosphere. Most screening species, such as Thuja occidentalis or Taxus, require a soil pH between 6.0 and 7.5. If the pH drops below 5.5, aluminum toxicity can inhibit root elongation. For the initial establishment phase, utilize a fertilizer with an NPK ratio of 10-10-10 to provide balanced support for root development and foliar expansion.
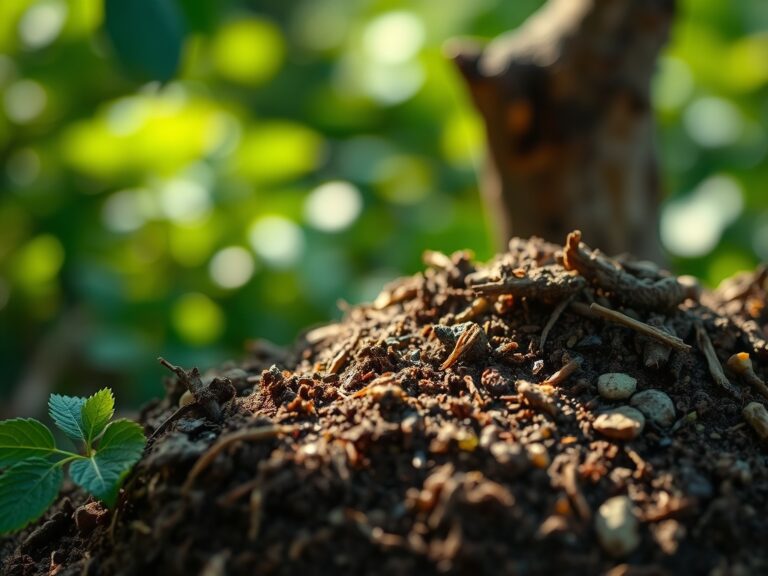
The substrate must be a friable loam with a high organic matter content of at least 5 percent. This ensures adequate pore space for oxygen diffusion to the root hairs. If your soil is heavy clay, incorporate expanded shale or coarse organic compost to prevent anaerobic conditions. High clay soils often have a high cation exchange capacity (CEC), but without proper drainage, they lead to root rot. Aim for a soil bulk density of less than 1.3 grams per cubic centimeter to allow for unhindered root penetration.
Timing:
In USDA Hardiness Zones 5 through 8, the optimal window for installation is either early spring or mid autumn. Planting when the soil temperature is between 50 and 65 degrees Fahrenheit encourages root proliferation before the plant enters the high transpiration demands of summer.
The biological clock of a privacy wall is governed by the transition from vegetative growth to dormancy. During the photoperiod of late summer, the plant begins to shift resources from apical meristems to the root system. This is the "hardening off" phase. Avoid high nitrogen applications after August 15th in northern latitudes; late season nitrogen induces tender new growth that lacks the cellular lignin necessary to survive the first frost.
Phases:
Sowing and Selection
Select specimens that exhibit strong central leaders. For a living wall, spacing is determined by the mature width of the species. Plant Leyland Cypress at 8 foot intervals, while smaller Boxwoods require 24 inch spacing. Verify that the root ball is moist and the roots are not circling the container, which indicates a pot bound state.
Pro-Tip: Before backfilling the hole, scarify the sides of the planting pit. This prevents the "flowerpot effect" where roots fail to penetrate the interface between the potting soil and the native earth; this promotes mycorrhizal symbiosis, allowing fungal hyphae to extend the reach of the root system for water acquisition.
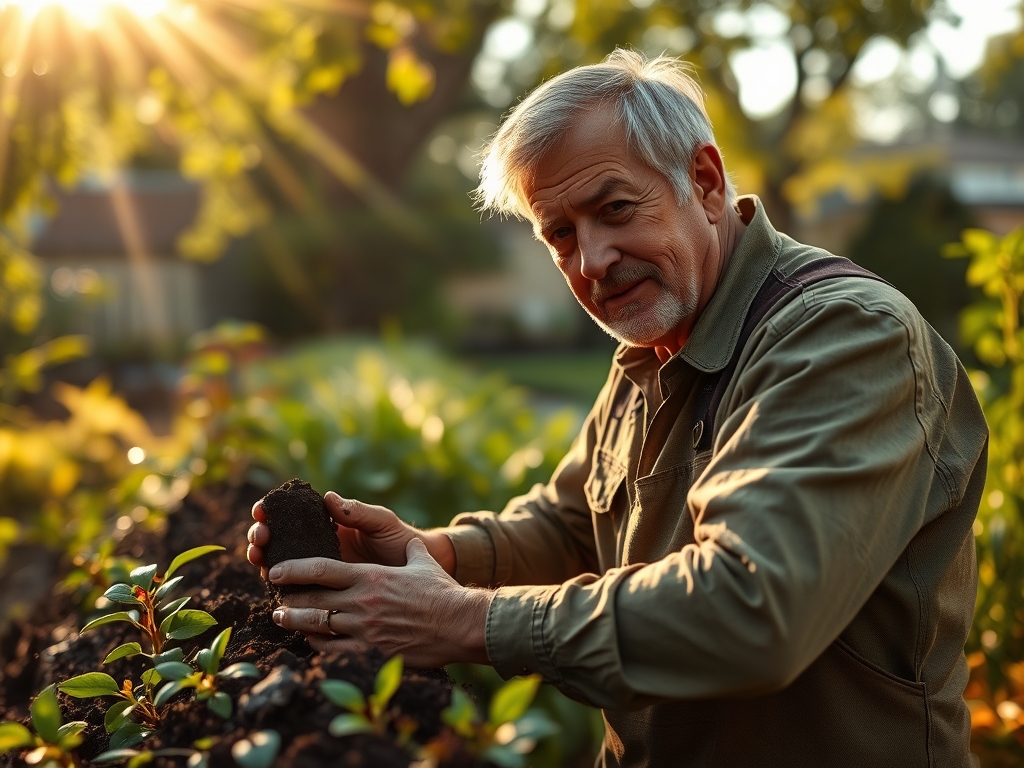
Transplanting
Dig a hole twice as wide as the root ball but no deeper. The root flare must remain at or slightly above the soil grade. Planting too deep leads to stem suffocation and the development of adventitious roots that can eventually girdle the main trunk. Backfill with native soil to maintain consistent hydraulic conductivity.
Pro-Tip: Apply a 3 inch layer of organic mulch around the base, keeping it 2 inches away from the trunk. This regulates soil temperature and prevents rapid evaporation, which maintains turgor pressure in the leaves during the critical first 48 hours after transplanting.
Establishing
During the first growing season, the focus is on root establishment rather than vertical height. Irrigate deeply to ensure water reaches the bottom of the root ball. Use a soil moisture meter to verify that the moisture levels remain between 60 and 80 percent of field capacity.
Pro-Tip: Avoid heavy pruning in the first year to prevent auxin suppression. Auxins are hormones produced in the apical buds that signal the roots to grow; removing too many branch tips early on can stunt the development of the root architecture.
The Clinic:
Physiological disorders often mimic infectious diseases. Accurate diagnosis requires a systematic review of environmental variables.
Symptom: Interveinal chlorosis on new growth.
Solution: This typically indicates an iron or manganese deficiency caused by high soil pH. Apply a chelated iron drench to lower the pH locally and restore chlorophyll production.
Symptom: Needle browning from the inside out.
Solution: This is often a sign of insufficient light penetration or "shading out." Thin the outer canopy to allow light to reach the interior branches, preventing premature senescence of the inner foliage.
Symptom: Marginal leaf burn or "scorch."
Solution: This is a symptom of potassium deficiency or salt accumulation. Flush the soil with 3 inches of water to leach excess salts and apply a 0-0-50 potassium sulfate fertilizer to strengthen cell walls.
Fix-It for Nitrogen Chlorosis: If the entire plant turns a pale lime green, it lacks nitrogen. Apply a quick release 20-0-0 liquid fertilizer to the foliage for immediate uptake, followed by a slow release granular application to provide long term support.
Maintenance:
Precision is the difference between a surviving wall and a thriving one. Provide 1.5 inches of water per week at the drip line during the growing season. Use a hori-hori knife to remove weeds that compete for nutrients within the first 24 inches of the trunk.
Pruning should be performed with sharp bypass pruners to ensure clean cuts that callus over quickly. For formal hedges, prune in a trapezoidal shape where the base is wider than the top. This ensures that the lower branches receive sufficient sunlight to prevent "legginess." Monitor the soil with a soil moisture meter twice weekly during heat waves. If the meter reads below 30 percent, immediate deep irrigation is required to prevent permanent wilting point.
The Yield:
While a privacy wall is primarily structural, if you utilize Laurus nobilis (Bay Laurel) or Juniperus (Juniper), you can harvest foliage or berries. Harvest bay leaves in the early morning when essential oil concentration is at its peak. Use sharp shears to remove no more than 20 percent of the total leaf area at one time. For berries, wait until they reach full color saturation. To maintain "day-one" freshness, place harvested cuttings in a sealed container at 40 degrees Fahrenheit to slow the metabolic rate and prevent moisture loss through the stomata.
FAQ:
How deep should I dig the post holes for a structural wall?
Dig holes to a depth of one third the total height of the post. In cold climates, the base of the post must sit 6 inches below the local frost line to prevent heaving during freeze-thaw cycles.
What is the fastest growing plant for a privacy wall?
Thuja x 'Green Giant' can grow up to 3 feet per year under optimal conditions. It requires full sun and well drained soil with a pH between 5.0 and 6.5 for maximum vigor and height.
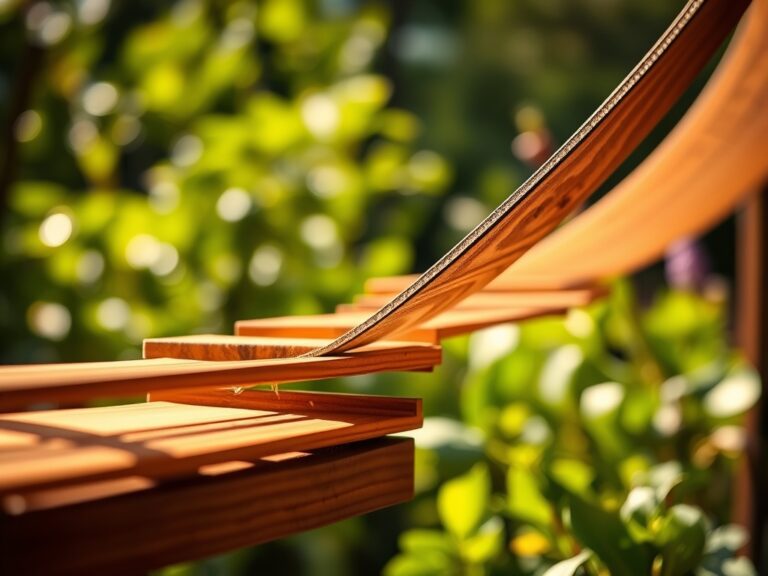
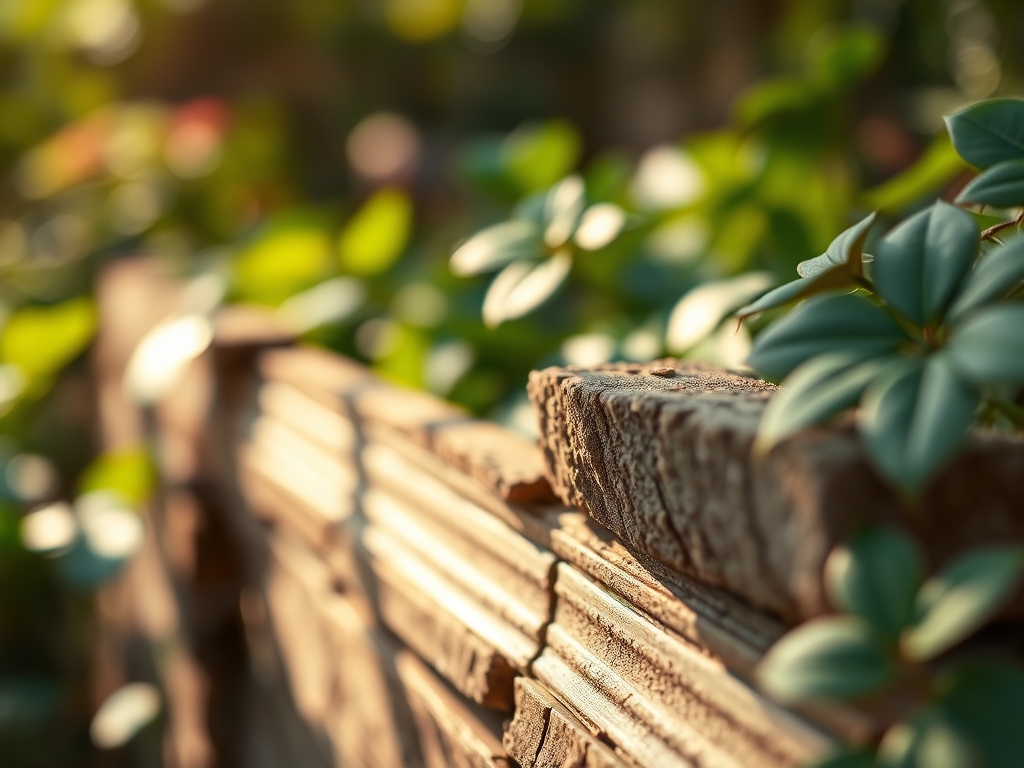
How do I prevent my wooden privacy wall from rotting?
Use pressure treated lumber rated for ground contact or naturally rot resistant species like Western Red Cedar. Ensure the soil is graded away from the base to prevent water from pooling against the structural members.
Can I build a privacy wall in a shaded area?
Yes, use shade tolerant species like Taxus (Yew) or Prunus laurocerasus (Cherry Laurel). These plants have higher concentrations of chlorophyll to maximize photosynthesis in low light environments, though their growth rate will be slower.