7 Best Stains for Privacy Fences
The scent of rain-soaked cedar and the crisp turgor of a healthy leaf define the perimeter of a well-managed landscape. A privacy fence is more than a boundary; it is a structural windbreak that stabilizes the microclimate of your garden. Protecting this wood against ultraviolet degradation and moisture infiltration is essential for maintaining the integrity of the rhizosphere beneath it. Selecting the best stains for privacy fences requires an understanding of wood porosity and the chemical bonding of pigments to cellulose fibers. Without a high-quality sealant, the wood undergoes rapid senescence, silvering as lignin breaks down under solar radiation. A properly stained fence acts as a thermal buffer, reflecting heat away from sensitive perimeter plantings and preventing the rapid evaporation of soil moisture. This guide provides the technical framework for selecting and applying professional-grade stains to ensure structural longevity and aesthetic cohesion.
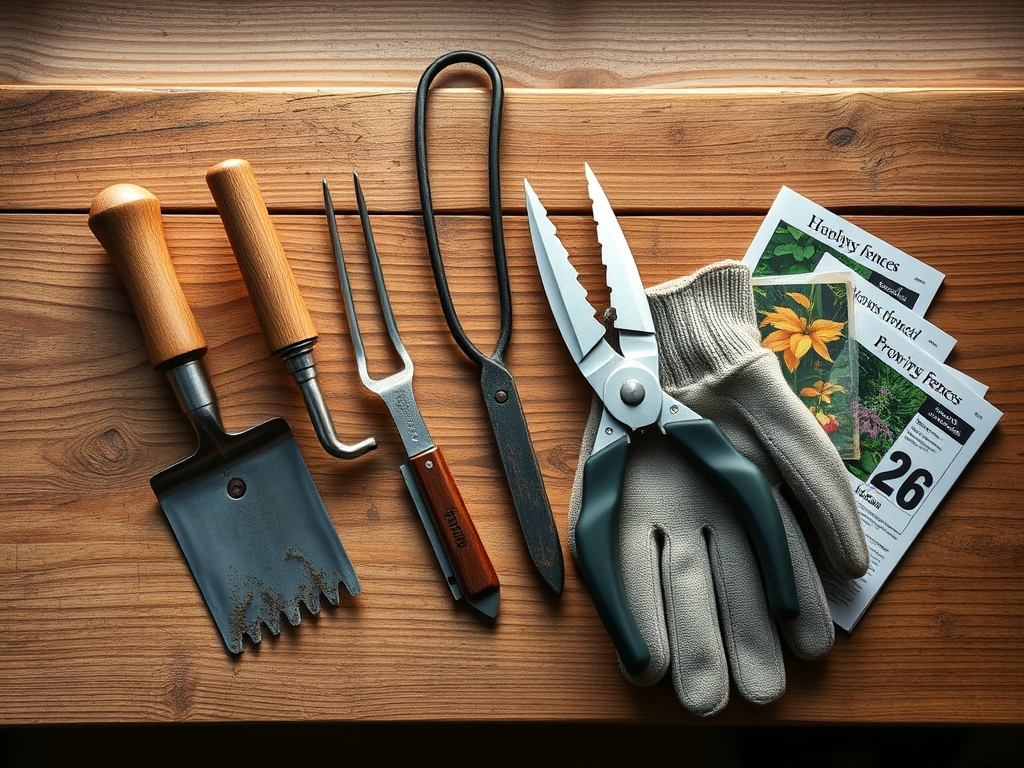
Materials:
While the fence provides the structure, the soil at its base dictates the health of your perimeter plants. For a thriving border, aim for a **friable loam** with a **Cation Exchange Capacity (CEC) between 15 and 25**. The soil pH should be maintained at a **6.2 to 6.8 range** to ensure maximum nutrient bioavailability. When prepping the area near your fence, incorporate organic matter to achieve a **3:1:2 NPK ratio** for vegetative vigor. Use a **10-5-10 slow-release fertilizer** if you are planting heavy feeders like hydrangeas against the boards. The substrate must be porous enough to allow oxygen to reach the root zone while retaining sufficient moisture to prevent wilting during high-heat periods.
Timing:
Successful staining and planting are dictated by the frost-date windows of your specific Hardiness Zone (Zones 3 through 10). The biological clock of the garden transitions from the vegetative stage to the reproductive stage as the photoperiod shifts. For staining, you must wait for a window of 48 hours with temperatures between 50 and 90 degrees Fahrenheit and humidity levels below 60 percent. In the garden, this coincides with the "Goldilocks" period after the last spring frost but before the intense heat of the summer solstice. Applying stain during high humidity prevents the resins from curing, while planting in frozen soil leads to root desiccation and cellular collapse.
Phases:
Sowing and Preparation
Before the stain touches the wood, the surrounding soil must be stabilized. Clear all detritus within 12 inches of the fence line. Use a hori-hori knife to remove deep-rooted perennials that may compete for nutrients. If sowing seeds for a living screen, ensure the soil temperature has reached a consistent 65 degrees Fahrenheit.
Pro-Tip: Maintain a gap between the soil and the bottom of the fence pickets to prevent capillary action, which draws moisture into the wood and invites fungal pathogens. This air gap facilitates gas exchange in the rhizosphere.
Transplanting
When moving container-grown plants to the fence line, dig a hole twice the width of the root ball. This encourages lateral root expansion into the native soil. Ensure the root flare is level with the soil surface to prevent stem rot.
Pro-Tip: Inoculate the planting hole with mycorrhizal fungi. This symbiotic relationship extends the root system's reach, increasing the plant's ability to uptake phosphorus and water through an expanded biological network.
Establishing
Once the best stains for privacy fences are applied and the plants are in the ground, the establishment phase begins. This requires consistent monitoring of turgor pressure. If leaves droop, the plant is losing water faster than the xylem can transport it.
Pro-Tip: Use auxin suppression techniques, such as pinching off early flower buds, to redirect the plant's energy toward root development rather than seed production during the first growing season.
The Clinic:
Physiological disorders often manifest as visible distress in the foliage. Use the following data to diagnose and treat common issues.
- Nitrogen Chlorosis: Symptoms include the yellowing of older, lower leaves while veins remain green. Solution: Apply a liquid seaweed extract or a high-nitrogen foliar spray to quickly restore chlorophyll production.
- Iron Deficiency: Symptoms show as interveinal chlorosis in new growth, often caused by a soil pH above 7.5. Fix-It: Lower the pH using elemental sulfur or apply chelated iron directly to the root zone.
- Powdery Mildew: A white, flour-like fungal growth on leaves caused by poor airflow. Solution: Prune for increased ventilation using bypass pruners and ensure the fence stain is a breathable, non-film-forming oil to reduce localized humidity.
- Leaf Scorch: Brown, necrotic edges on leaves. This occurs when transpiration exceeds water uptake. Fix-It: Increase irrigation to 2 inches per week during heat waves and apply a thick layer of organic mulch.
Maintenance:
Precision is the hallmark of a master horticulturist. Your fence and garden require a systematic approach to hydration and nutrition. Deliver 1.5 inches of water per week at the drip line using a soaker hose to minimize evaporation. Use a soil moisture meter to verify that the root zone is damp at a depth of 6 inches.
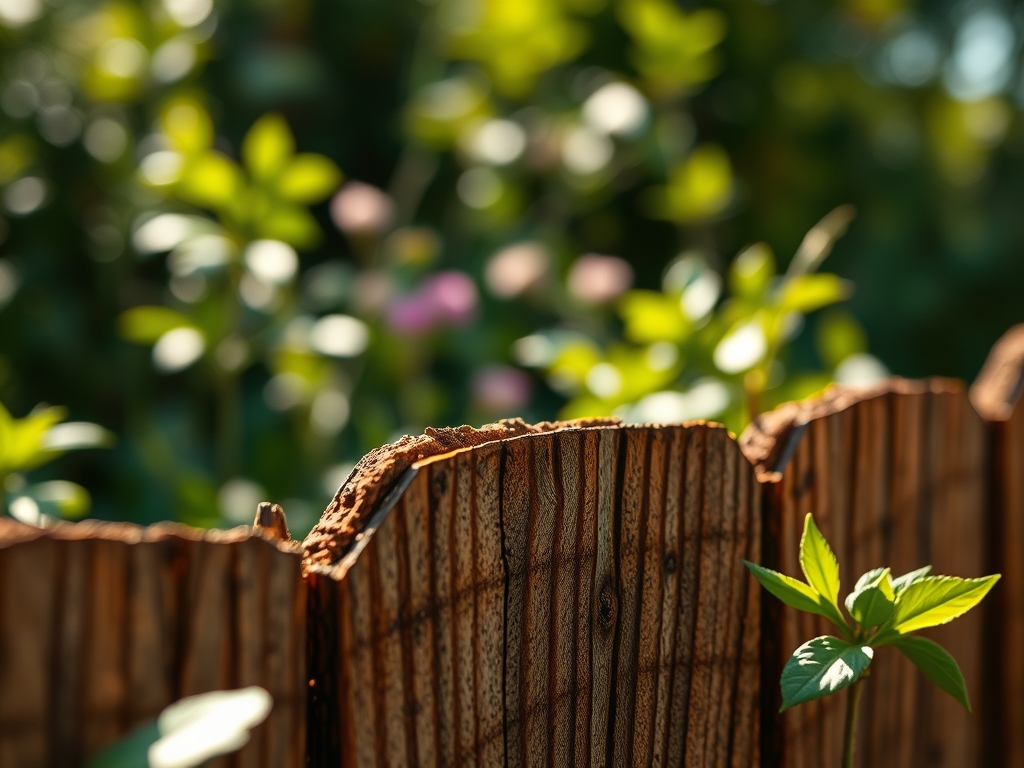
Every spring, inspect the fence for "graying," which indicates the stain's UV inhibitors have exhausted their efficacy. Re-apply a penetrating oil stain every 3 to 5 years depending on solar exposure. Use bypass pruners to keep climbing vines from infiltrating the gaps between fence pickets; this prevents structural "heaving" and allows the wood to dry after rain events.
The Yield:
For those growing fruiting hedges or cut flowers along a privacy fence, timing the harvest is a matter of sugar and acid balance. Harvest berries when they reach full color saturation and detach easily from the stem with a gentle tug. For flowers, cut in the early morning when turgor pressure is at its peak. Use a sharp, sterilized blade to avoid crushing the vascular tissue. Immediately submerge the stems in 110-degree Fahrenheit water to remove air bubbles from the xylem, ensuring "day-one" freshness and maximum vase life.
FAQ:
What are the best stains for privacy fences in high-moisture areas?
Penetrating oil-based stains are superior. They saturate the wood fibers and displace moisture, preventing the growth of mold and mildew. Unlike film-forming stains, they do not peel or crack when the wood expands and contracts.
How soon can I plant after staining my fence?
Wait at least 48 to 72 hours for the stain to fully cure and the VOCs to dissipate. This prevents chemical drift from affecting sensitive seedlings or disrupting the delicate microbial balance in the topsoil.
Why is my fence turning gray even after staining?
This is a sign of lignin degradation caused by UV radiation. It occurs if a clear sealer was used instead of a pigmented stain. Pigments act as a physical barrier against the sun's rays.
How do I prevent wood rot at the base of the fence?
Maintain a 2-inch clearance between the wood and the soil. Use a hori-hori knife to keep mulch from piling against the pickets. Ensure the area has adequate drainage to prevent standing water from saturating the timber.