9 Winter Steps to Install a Pond Heater
Cold water holds more dissolved oxygen than warm water, but ice creates a lethal seal. The smell of anaerobic decomposition; sulfurous and sharp; signals a gas buildup that threatens the turgor of aquatic plant cells. To prevent winter kill, you must master the steps to install a pond heater before the surface tension freezes solid. This process is not about warming the entire water column; it is about maintaining a gas exchange portal. A pond heater, or de-icer, functions as a thermal regulator that prevents the accumulation of toxic carbon dioxide and methane beneath the ice. Without this vent, the delicate balance of the benthic zone collapses. Successful overwintering requires a technical understanding of thermal stratification and the metabolic rates of submerged flora. You must integrate the device into the ecosystem while the water temperature remains above 40 degrees Fahrenheit to ensure the biological load can adjust to the shifting thermocline. Precision during this installation window dictates the survival of the rhizosphere and the oxygen levels available to dormant life forms.
Materials:
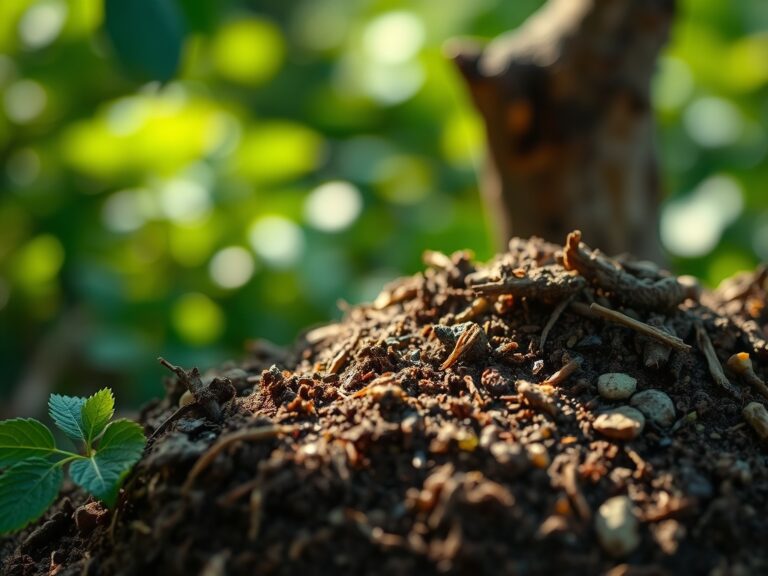
Substrate management is critical when installing equipment near the pond floor. The ideal pond perimeter consists of a **friable loam** with a high Cation Exchange Capacity (CEC) to buffer nutrient runoff. For aquatic containers, use a heavy clay loam with a **pH between 6.5 and 7.5**. Avoid standard potting soils; their high organic matter content leads to rapid senescence in anoxic conditions. When fertilizing aquatic plants before the heater installation, utilize slow-release tablets with an **NPK ratio of 10-14-8**. This phosphorus-heavy blend supports root architecture without triggering excessive vegetative growth that would rot in winter. You will also require a **GFCI-protected electrical outlet**, a **stainless steel pond thermometer**, and a **weighted tether** to prevent the heating element from drifting into shallow marginal shelves where it could damage liner integrity.
Timing:
Hardiness Zones 3 through 7 require proactive installation. In these regions, the "Biological Clock" shifts from the vegetative stage to dormancy as the photoperiod shortens. Monitor the water temperature daily using a digital probe. Installation must occur when the water consistently hits 45 degrees Fahrenheit (7.2 degrees Celsius). This precedes the first hard frost date by approximately two weeks. At this temperature, the metabolic rate of nitrifying bacteria slows significantly. If you wait until the ice forms, you risk damaging the cellular structure of marginal plants by disturbing the ice shelf. The goal is to have the unit operational before the pond reaches the 39 degree Fahrenheit (4 degree Celsius) mark, which is the temperature of maximum water density where the thermocline stabilizes.
Phases:

Sowing the Strategy
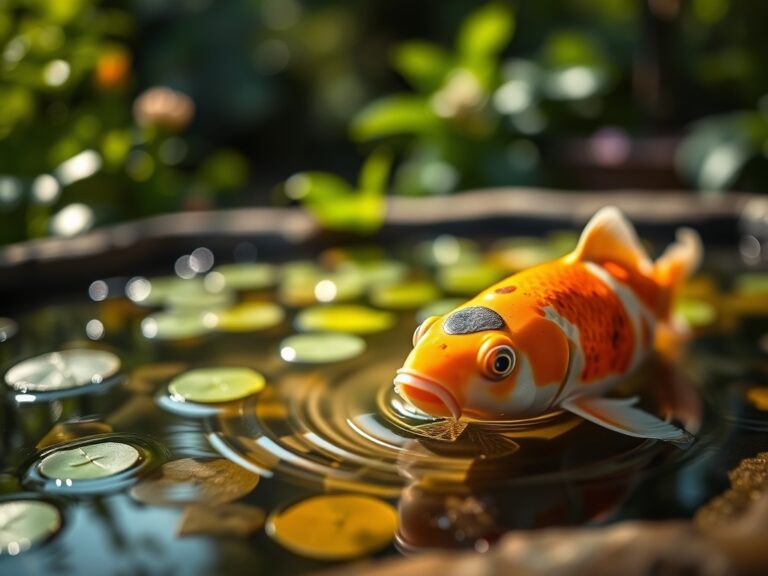
Positioning is the first of the steps to install a pond heater. Place the unit in the deepest part of the pond, but away from the pump intake to avoid thermal interference. Ensure the heating element is submerged at a depth of at least 12 inches to avoid contact with surface ice.
Pro-Tip: Positioning the heater over the deepest zone utilizes the principle of thermal stratification. Since water is densest at 39 degrees Fahrenheit, it sinks to the bottom. Keeping a hole open directly above this zone prevents the "corking" effect, allowing gases to escape via diffusion.
Transplanting Power
Connect the heater to a dedicated 15 or 20-amp circuit. Use a weather-resistant cord cover for all connections. Secure the unit with a nylon tether anchored to a heavy stone on the pond bank. This prevents the wind from pushing the heater into the shallows where it could melt the EPDM liner.
Pro-Tip: Secure the cord with enough slack to account for water level fluctuations. If the water level drops due to evaporation or a leak, the heater must remain floating or submerged. A dry-firing heater will experience rapid thermal fatigue and catastrophic failure of the internal thermostat.
Establishing the Vent
Once the unit is powered, monitor the surface for 48 hours. The heater should maintain a hole in the ice approximately 6 to 12 inches in diameter. Do not attempt to heat the entire pond; this would accelerate the metabolism of fish and plants, exhausting their stored energy reserves prematurely.
Pro-Tip: Maintain a small opening to facilitate gas exchange. Mycorrhizal fungi in the submerged root zones require oxygen to survive the winter. If the pond seals, carbon dioxide levels rise, causing a drop in pH and inducing cellular acidosis in the submerged flora.
The Clinic:
Physiological disorders in the winter pond often stem from gas imbalances rather than temperature alone.
- Symptom: Blackening of submerged foliage (Anoxia).
- Solution: Increase the surface area of the ice opening. Use a secondary aerator in conjunction with the heater to drive gas exchange.
- Symptom: Floating root masses (Ice Heave).
- Solution: Ensure the heater is placed near the most sensitive aquatic perennials. The thermal plume prevents the expansion of ice from dislodging shallow-rooted species.
- Symptom: Rapid pH drop (Carbonic Acid Buildup).
- Solution: Test the KH (carbonate hardness). If levels are below 100 ppm, add crushed limestone to the substrate to buffer the water against acidity caused by trapped CO2.
Fix-It: Nitrogen Chlorosis
If plants show yellowing in early spring, the winter nitrogen cycle was likely interrupted. Apply a low-dose 5-0-0 liquid fertilizer once water temperatures exceed 50 degrees Fahrenheit to jumpstart chlorophyll production without causing an algal bloom.
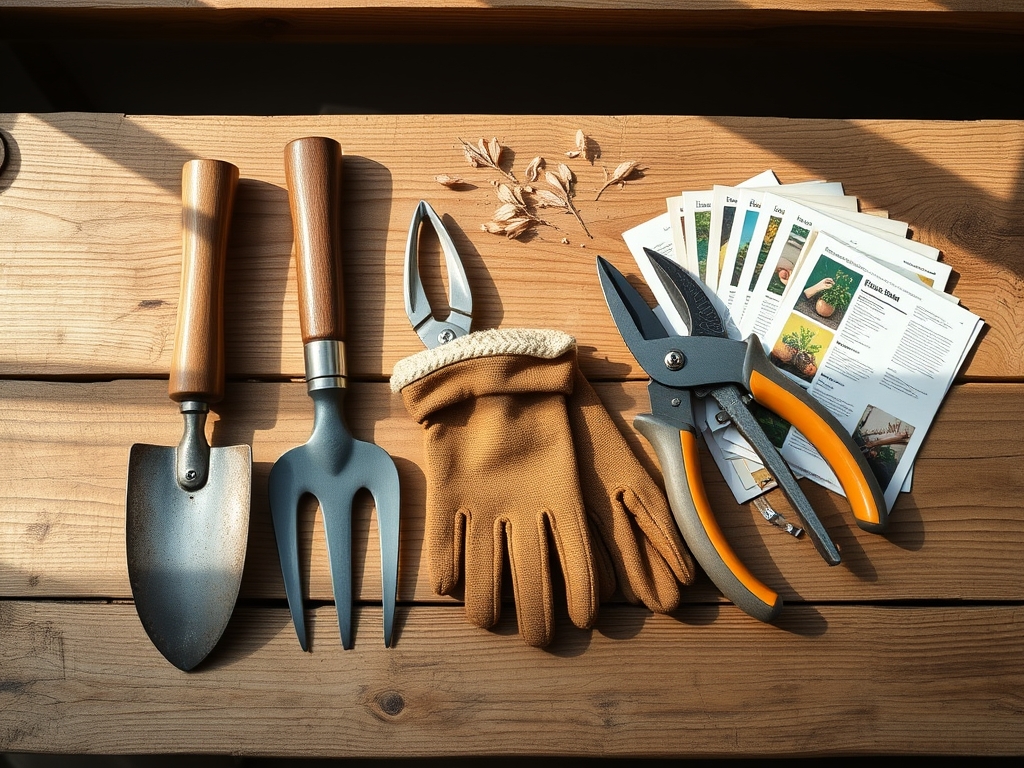
Maintenance:
Winter maintenance requires a soil moisture meter for the surrounding terrestrial plants and a stainless steel thermometer for the water. Check the heater's operation weekly. If the hole closes, do not use a hammer; the shockwaves can rupture the swim bladders of dormant fish and damage the vascular tissue of plants. Instead, melt the ice with a kettle of hot water. Use a hori-hori knife to clear away dead organic matter from the pond edge that could blow into the open hole and decay. Prune back any overhanging deciduous branches with bypass pruners before they drop tannins into the water, which can lower the pH and stain the liner. Ensure the water level remains within 2 inches of the overflow line to maintain the heater's buoyancy and efficiency.
The Yield:
While winter is a period of senescence, the yield of a well-heated pond is the survival of the "Day-One" freshness of your aquatic perennials in spring. By maintaining the gas vent, you preserve the integrity of the rhizosphere. When the photoperiod lengthens in March, the plants will emerge from dormancy with high turgor pressure and immediate nutrient uptake capabilities. This prevents the "spring stall" where plants struggle to recover from toxic winter conditions.
FAQ:
Where is the best place to put a pond heater?
Place the heater in the deepest area of the pond, away from the pump. This location ensures the vent stays open over the warmest water pocket, facilitating maximum gas exchange for the entire ecosystem during the winter freeze.
Can I leave my pond heater on all winter?
Yes, most modern heaters utilize an internal thermostat that only activates when temperatures drop below 35 degrees Fahrenheit. Leaving it plugged in ensures the unit responds immediately to sudden cold fronts, protecting the pond from sealing over.
Does a pond heater use a lot of electricity?
A standard 1250-watt heater costs significantly more to run than a 100-watt de-icer. Choose a unit based on your Hardiness Zone. In Zone 6 or higher, a low-wattage de-icer is usually sufficient to maintain a vent.
What happens if the pond freezes over completely?
A complete freeze traps toxic gases like methane and carbon dioxide. This leads to hypoxia and a rapid drop in pH. If the pond seals, use hot water to melt a hole; never strike the ice with force.