10 Technical Steps to Install Porcelain Pavers
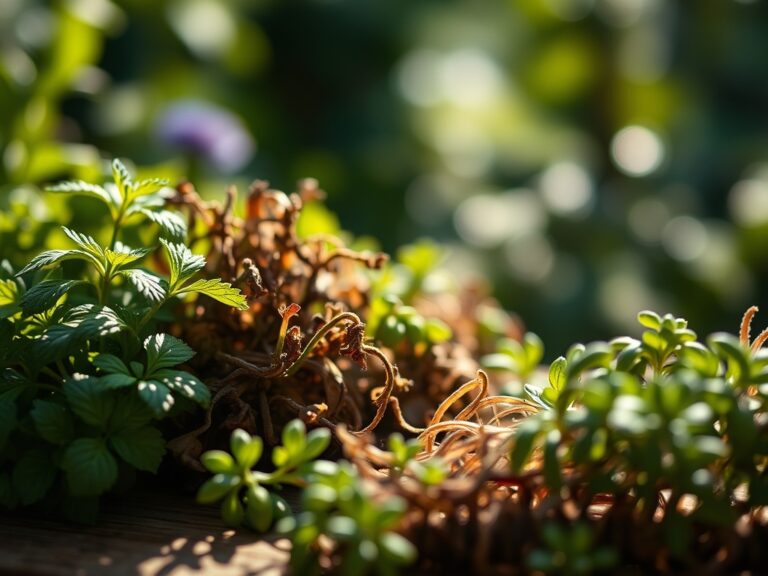
The smell of damp earth and the gritty texture of crushed limestone signify the transition from raw soil to a structured landscape. Successful hardscaping requires more than aesthetic choice; it demands an understanding of soil compaction and structural integrity. Learning the technical steps to install porcelain pavers ensures a non-porous surface that resists frost heave and chemical erosion. Porcelain differs from concrete due to its density and water absorption rate of less than 0.5 percent. This low porosity prevents the internal expansion of water during freeze-thaw cycles, protecting the structural turgor of the installation. A master horticulturist views the patio not as a static object, but as a lid on the rhizosphere that must manage drainage and gas exchange for surrounding flora. Precision in excavation and base preparation dictates the longevity of the project. If the substrate fails, the porcelain will crack under the pressure of shifting subsoils. We treat the ground as a living foundation, balancing the mechanical requirements of stone with the biological needs of the garden perimeter.
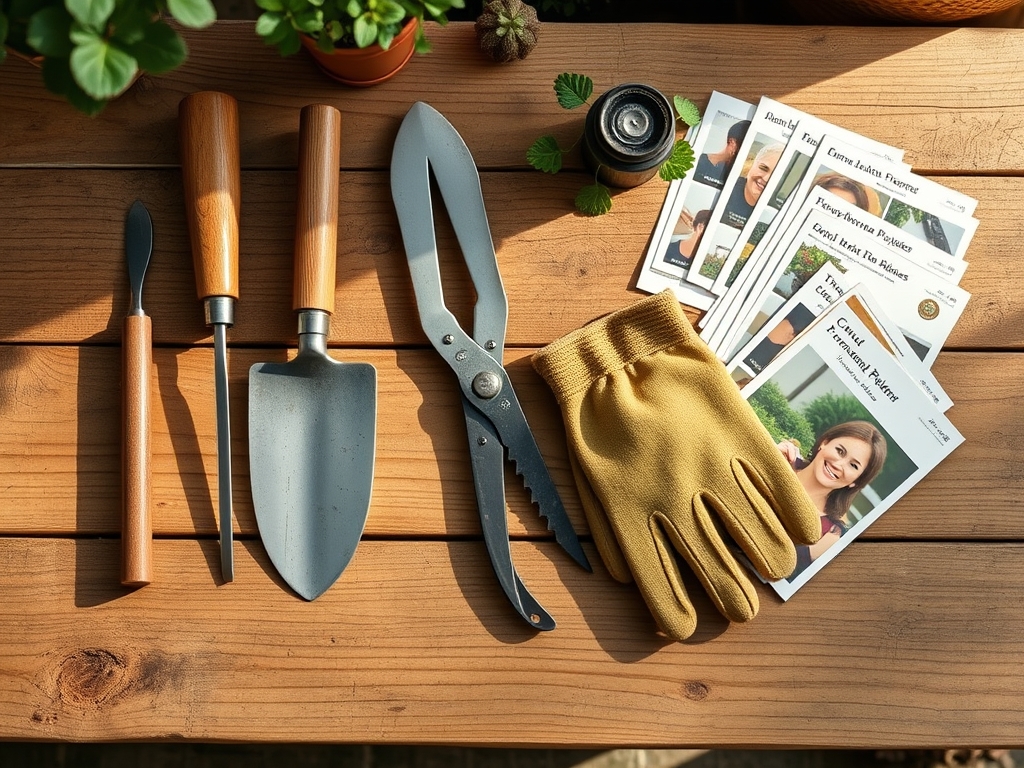
Materials:
The ideal substrate for a porcelain installation is a friable loam surrounding a rigid, well-drained core. Before laying stone, analyze the soil pH of the surrounding beds; a neutral pH of 6.0 to 7.0 is optimal for most companion plantings. For the structural base, you require **Type 1 MOT crushed limestone** or a similar aggregate with high Cation Exchange Capacity (CEC) if using organic stabilizers.
Nitrogen, Phosphorus, and Potassium (NPK) ratios are critical for the reclamation of the area after construction. Use a 10-10-10 NPK starter fertilizer for peripheral turf repair. The physical texture of the bedding sand must be sharp and angular, not rounded, to facilitate mechanical interlocking. You will also need SBR-fortified priming slurry to create a chemical bond between the non-absorbent porcelain and the mortar bed.
Timing:
Hardscaping should align with specific Hardiness Zones and frost-date windows. In Zones 4 through 7, installation must occur at least six weeks before the first hard frost to allow the mortar and subbase to settle without ice crystal formation. The biological clock of the surrounding landscape dictates the schedule. Perform heavy excavation during the plant's dormant phase to minimize root shock and auxin suppression in nearby trees.
Avoid installation during periods of high humidity or extreme heat, typically above 85 degrees Fahrenheit, as rapid evaporation can lead to "flash drying" of the bonding slurry. This causes a failure in the crystalline structure of the cement, leading to delamination. Aim for a soil temperature of 55 to 65 degrees Fahrenheit for optimal compaction density.
Phases:
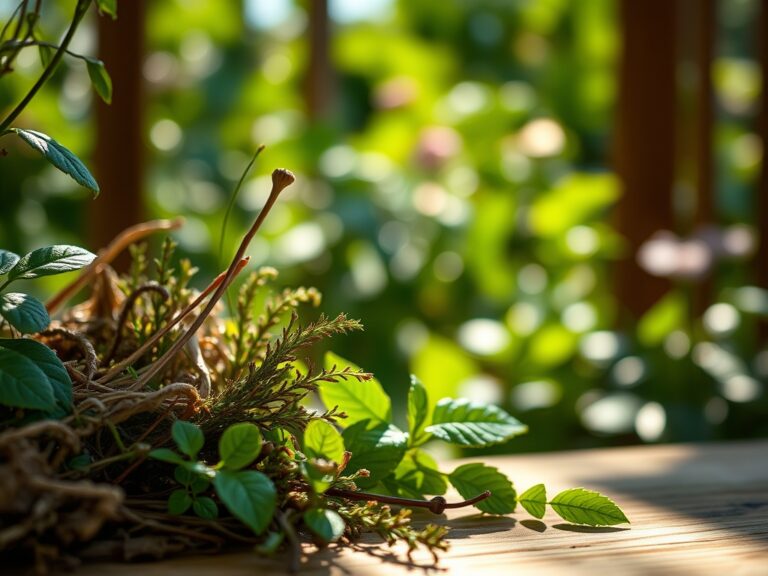
Sowing the Foundation
Excavate the area to a depth of 8 to 10 inches. This depth accounts for 6 inches of compacted aggregate, 1 inch of bedding sand, and the 20mm thickness of the porcelain paver. Ensure a 1:60 fall away from permanent structures to prevent water pooling in the rhizosphere of foundation plants.
Pro-Tip: Proper drainage prevents anaerobic conditions in the soil. Without oxygen, roots suffer from hypoxia, halting the process of respiration and nutrient uptake.
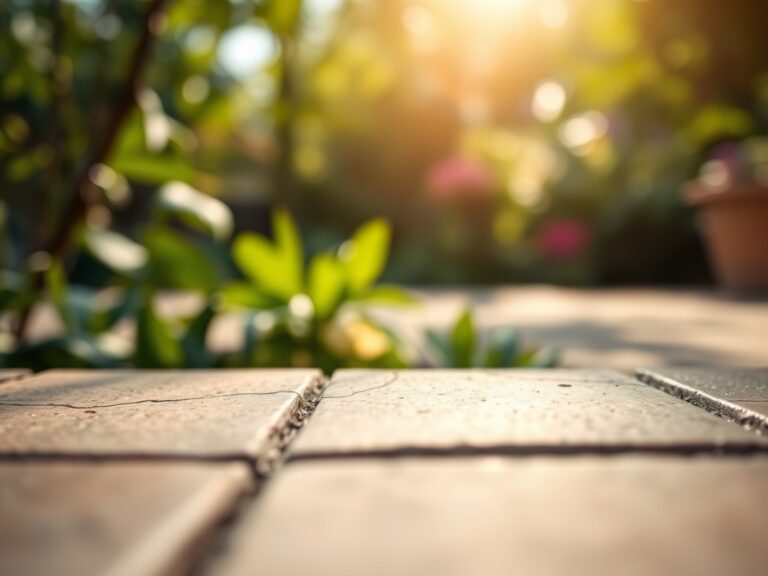
Transplanting the Pavers
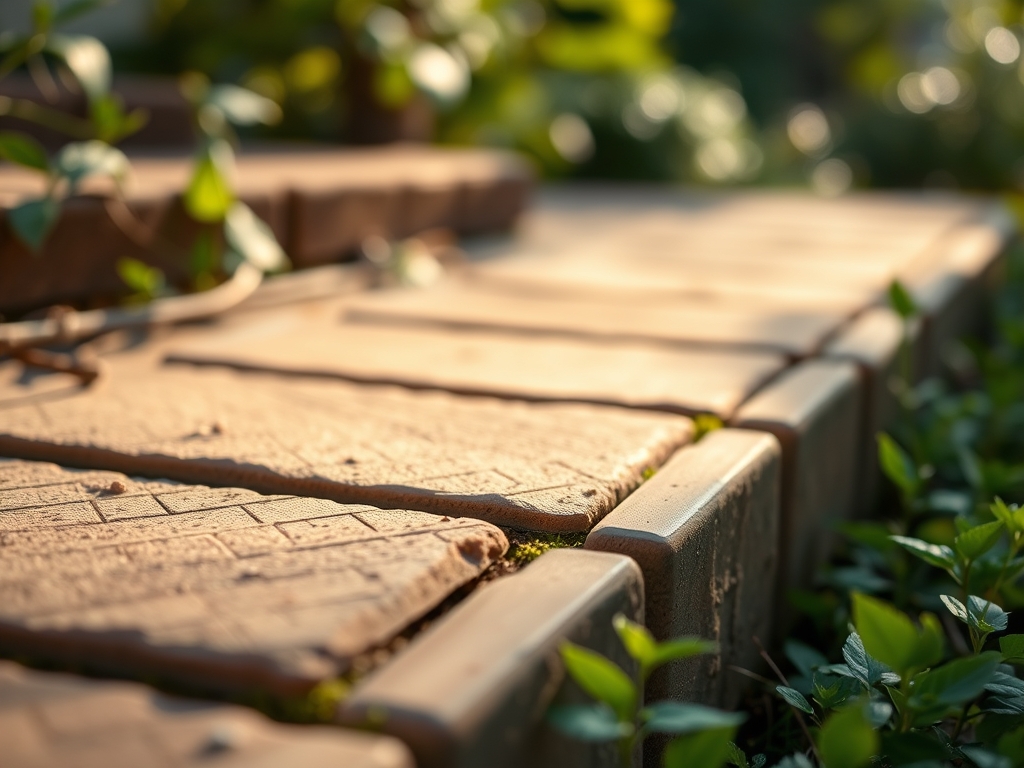
Apply a 2mm thick layer of priming slurry to the back of each tile. Lay the tile onto a wet mortar bed consisting of a 4:1 sharp sand to cement ratio. Use a rubber mallet to set the height, checking for level consistency every three tiles. Maintain a 3mm to 5mm joint gap to allow for thermal expansion.
Pro-Tip: Porcelain has zero capillary action. The slurry creates a mechanical bridge, mimicking the way mycorrhizal symbiosis connects fungal hyphae to root systems for increased surface area and stability.
Establishing the Surface
Once the pavers are set, wait 24 to 48 hours before applying exterior-grade grout or polymeric sand. If using polymeric sand, ensure the surface is completely dry to prevent premature activation of the polymers. Sweep the sand into the joints and compact using a plate compactor with a protective rubber mat.
Pro-Tip: Joint stabilization prevents weed seeds from reaching the soil. This reduces competition for light and nutrients, preventing the phototropic stretching of nearby desirable species.
The Clinic:
Physiological disorders in a landscape often stem from poor installation. Observe the following symptoms and solutions.
Symptom: Efflorescence (White powdery residue).
Solution: This is a mineral salt migration. While porcelain is resistant, the mortar bed underneath can "wick" salts. Use a pH-neutral cleaner to remove the deposits without damaging the surrounding soil chemistry.
Symptom: Nitrogen Chlorosis in perimeter plants.
Solution: Construction runoff can spike soil alkalinity. Apply chelated iron or ammonium sulfate to lower pH and restore the deep green color associated with healthy chlorophyll production.
Symptom: Paver "Rocking" or Instability.
Solution: This indicates poor compaction or "heaving." Dig out the affected area and replace the base with crushed granite, ensuring a compaction rate of 95 percent Proctor density.
Fix-It for Nutrient Deficiencies: If surrounding foliage shows yellowing between veins, apply a magnesium sulfate (Epsom salt) solution at a rate of 1 tablespoon per gallon of water to correct interveinal chlorosis caused by compaction-induced stress.
Maintenance:
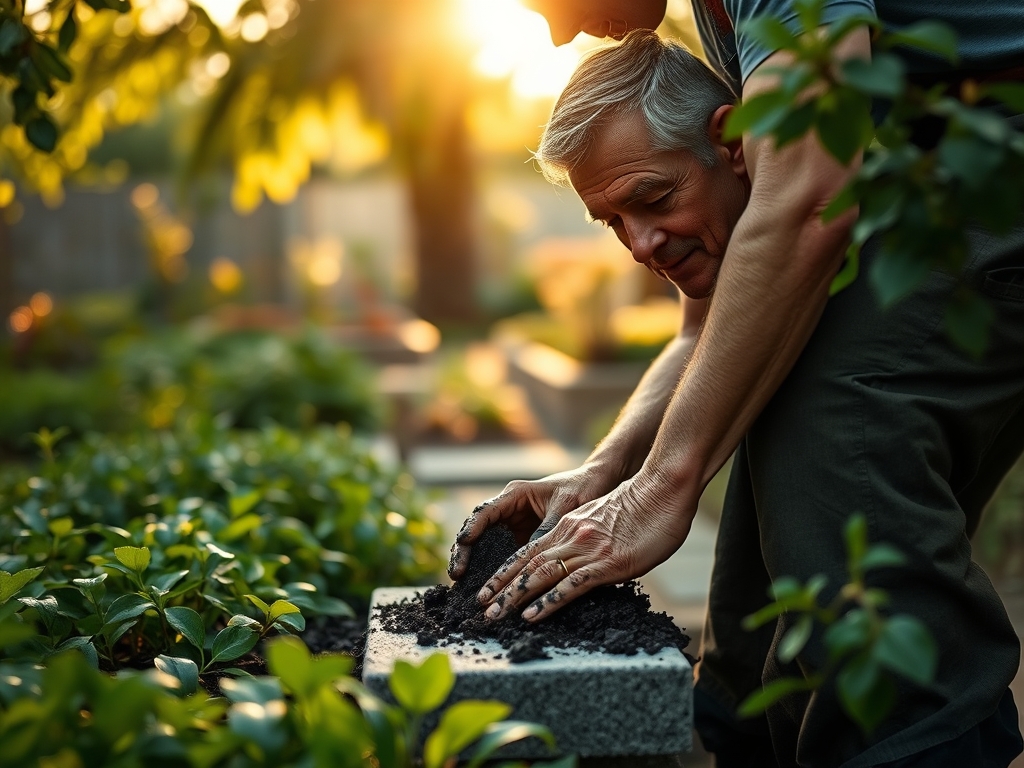
Maintain the installation and the surrounding ecosystem with precision. Provide 1.5 inches of water per week at the drip line of any plants adjacent to the pavers to compensate for the "heat island" effect caused by the stone surface. Use a soil moisture meter to verify that the subbase is not holding excess water, which could lead to root rot.
For seasonal cleanup, use a hori-hori knife to remove any stubborn organic debris from the expansion joints. Prune overhanging branches with bypass pruners to prevent tannin staining from fallen leaves. Avoid harsh de-icing chemicals; use sand for traction to protect the Cation Exchange Capacity of the adjacent soil.
The Yield:
While porcelain pavers do not grow, the "yield" of a successful installation is the health of the integrated garden. Handle the transition zones with care post-installation. Top-dress the perimeter with 2 inches of organic mulch to retain moisture and suppress weed germination. This ensures "day-one" freshness for the landscape, where the hardscape and softscape exist in a functional equilibrium.
FAQ:
How deep should I dig for porcelain pavers?
Excavate to a total depth of 8 to 10 inches. This allows for a 6-inch compacted subbase, a 1-inch mortar or sand bed, and the 20mm paver. Proper depth ensures structural stability and prevents frost heave in colder climates.
Do I need a primer for porcelain?
Yes. Porcelain has a water absorption rate near zero, meaning mortar cannot grip it. An SBR-fortified priming slurry must be applied to the back of each paver to create a chemical bond between the stone and the bedding layer.
Can I lay porcelain pavers on sand?
While possible for foot traffic, a wet mortar bed is preferred for longevity. Sand beds can shift over time, leading to lippage or cracked joints. A rigid base is essential for the brittle nature of high-fired porcelain tiles.
How do I prevent weeds between pavers?
Use polymeric sand or an exterior-grade grout to fill the 3mm to 5mm joints. These materials harden to create a barrier that prevents wind-blown seeds from reaching the soil and establishing a root system in the gaps.