10 Vital Steps to Install Garden Windows
Crush a handful of friable loam and you will feel the grit of sand and the slickness of silt; this is the physical foundation of any successful indoor cultivation. When you master the steps to install garden windows, you transition from simple windowsill pots to a controlled microclimate that maximizes turgor pressure and photosynthetic efficiency. These glass enclosures extend the growing season by capturing solar radiation, allowing for a localized increase in ambient temperature. Success requires more than just a level and a drill. It demands an understanding of how light intensity and humidity levels fluctuate within a protruding glass structure. You are creating a biological engine. Every seal must be airtight to prevent thermal bridging, and every shelf must be positioned to optimize the photoperiod for specific cultivars. By following precise mechanical and horticultural protocols, you ensure that the internal rhizosphere remains stable regardless of external meteorological shifts.
Materials:

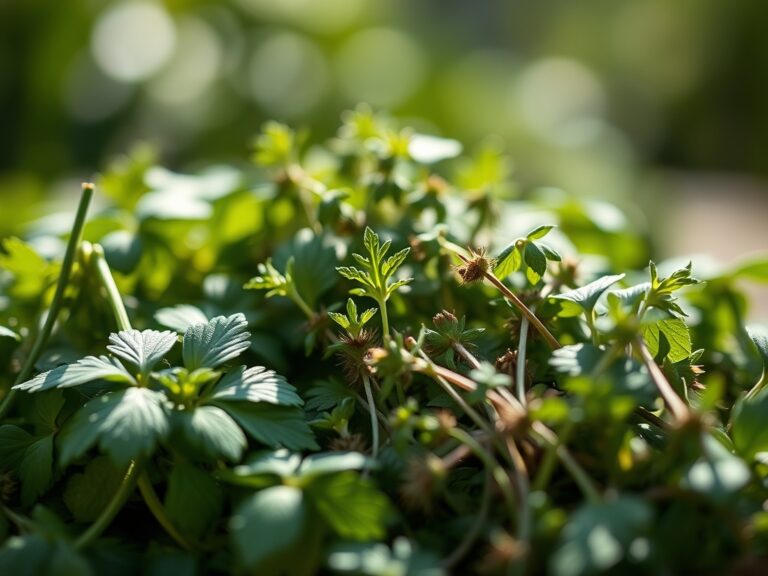
The substrate used within a garden window must be engineered for high **Cation Exchange Capacity (CEC)** to ensure nutrient availability. Use a professional-grade potting mix with a **pH range of 6.0 to 6.8**. For heavy feeders, incorporate a slow-release fertilizer with an **NPK ratio of 10-10-10**; for flowering species, pivot to a **5-10-5 ratio** to prioritize phosphorus for root and bloom development. The physical texture must be a **friable loam** consisting of 40 percent sand, 40 percent silt, and 20 percent clay. This ratio prevents compaction and allows for oxygen diffusion to the root zone. You will also require high-grade silicone sealant, flashing tape, a power drill with masonry or wood bits, and a heavy-duty level to ensure the unit pitches slightly outward at a **1 or 2 degree angle** for moisture runoff.
Timing:
Installation should occur during periods of atmospheric stability to prevent moisture entrapment within the wall cavity. In Hardiness Zones 4 through 7, the ideal window is between the last spring frost and the first autumn freeze. This aligns with the plant's Biological Clock, specifically the transition from the vegetative stage to the reproductive stage. Installing during the vegetative phase allows the plant to acclimate to the new light intensity of a three-sided glass enclosure before it begins the energy-intensive process of flowering. Monitor the local photoperiod; garden windows are most effective when they receive at least six hours of direct solar radiation daily.
Phases:

Sowing and Preparation
Before the window is set, prepare the rough opening. Remove the existing sash and inspect the jack studs for rot. The opening must be square within 1/8 of an inch to ensure the garden window frame seats properly. Apply a self-adhering flashing membrane to the sill to prevent liquid water infiltration into the subfloor.
Pro-Tip: Proper flashing prevents anaerobic conditions in the wall framing. Excess moisture leads to fungal pathogens that can migrate into the rhizosphere of your plants through airborne spores.
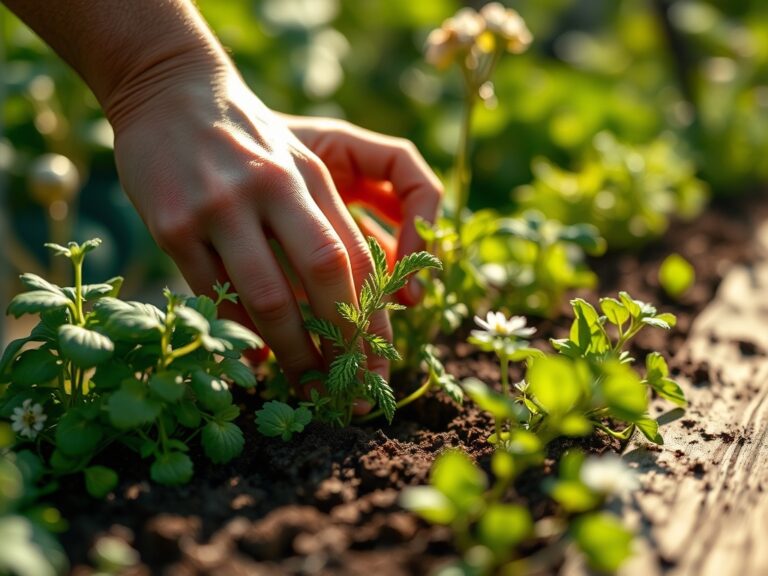
Transplanting into the Unit
Once the window is secured with 3-inch stainless steel screws, introduce your containers. Use pots with drainage holes to prevent salt buildup. When moving plants from a standard room to the garden window, do so gradually to avoid photoinhibition, where excessive light damages the photosynthetic apparatus.
Pro-Tip: Gradual exposure allows the plant to adjust its auxin levels. Auxins are hormones that regulate growth; sudden light changes can cause "leaf drop" as the plant attempts to reallocate resources.
Establishing the Microclimate
Monitor the internal temperature. A garden window can reach 100 degrees Fahrenheit on a clear summer day. Use integrated vents to manage heat. Aim for a daytime temperature of 70 to 75 degrees and a nighttime drop of no more than 10 degrees to maintain metabolic balance.
Pro-Tip: Utilize the principle of Mycorrhizal Symbiosis. By inoculating your potting media with beneficial fungi, you increase the surface area of the root system, improving water uptake and resilience against temperature fluctuations.
The Clinic:
Physiological disorders often manifest through visual cues on the foliage.
- Symptom: Interveinal chlorosis (yellowing between green veins) on new leaves.
Solution: This indicates an Iron deficiency, often caused by a pH above 7.0. Lower the pH using sulfur or iron chelates. - Symptom: Tip burn or marginal necrosis on older leaves.
Solution: This is typically a sign of salt accumulation from tap water. Flush the substrate with distilled water until the electrical conductivity (EC) of the runoff drops. - Symptom: Elongated, weak stems (etiolation).
Solution: The plant is experiencing low light. Increase the photoperiod or use supplemental LED lighting with a blue-heavy spectrum.
Fix-It for Nitrogen Chlorosis: If the entire leaf turns pale green or yellow, the plant lacks Nitrogen. Apply a liquid fertilizer with an NPK of 20-0-0 for a rapid response, but do not exceed 200 ppm to avoid root burn.
Maintenance:
Precision is the difference between a thriving system and a failing one. Use a soil moisture meter to ensure the substrate remains at a "moist but not saturated" state. Most species in a garden window require 1.5 inches of water per week, delivered directly to the soil surface to avoid wetting the foliage. Use a hori-hori knife to occasionally aerate the top inch of soil, preventing the formation of a hydrophobic crust. Prune dead or senescent tissue using sharp bypass pruners to prevent the spread of botrytis. Sanitize tools with 70 percent isopropyl alcohol between plants to prevent cross-contamination of pathogens.
The Yield:
For those growing culinary herbs or micro-greens in their garden windows, harvest timing is critical. Harvest herbs just before they flower, as this is when the concentration of essential oils is highest. Use sharp shears to cut just above a node; this stimulates lateral branching and increases future yields. For leafy greens, harvest the outer leaves first to allow the central meristem to continue producing new growth. Post-harvest, submerge greens in 40-degree Fahrenheit water for ten minutes to remove field heat and maintain turgor pressure, ensuring "day-one" freshness and crispness.
FAQ:
How do I prevent heat buildup in a garden window?
Utilize the built-in side vents to encourage convective cooling. On peak summer days, use a 30 percent shade cloth to reduce solar heat gain and protect sensitive foliage from cellular damage caused by excessive infrared radiation.
What is the best orientation for a garden window?
A south-facing orientation provides the maximum Photosynthetically Active Radiation (PAR) in the Northern Hemisphere. East-facing windows are suitable for low-light plants, as they receive cooler morning sun, while west-facing windows can become excessively hot in the afternoon.
Can I install a garden window in a bathroom?
Yes, provided the framing can support the weight. The high humidity in bathrooms benefits tropical species by reducing the Vapor Pressure Deficit (VPD), which helps the plant maintain hydration through its stomata without excessive transpiration.
Do garden windows require special glass?
Standard double-pane insulated glass is the baseline. However, for high-performance horticulture, look for glass with a Low-E coating that is specifically designed to allow high levels of visible light while reflecting unwanted heat energy.