10 Pro Tips How to Trim Dead Leaves
The smell of damp earth and the snap of a leaf with high turgor pressure define a healthy garden. When foliage begins the process of senescence, it is not merely an aesthetic issue; it is a physiological drain on the plant resources. Learning how to trim dead leaves correctly prevents the spread of pathogens and redirects carbohydrates to active growth points. Precise cuts maintain the structural integrity of the vascular system and ensure the rhizosphere remains undisturbed by decaying organic matter.
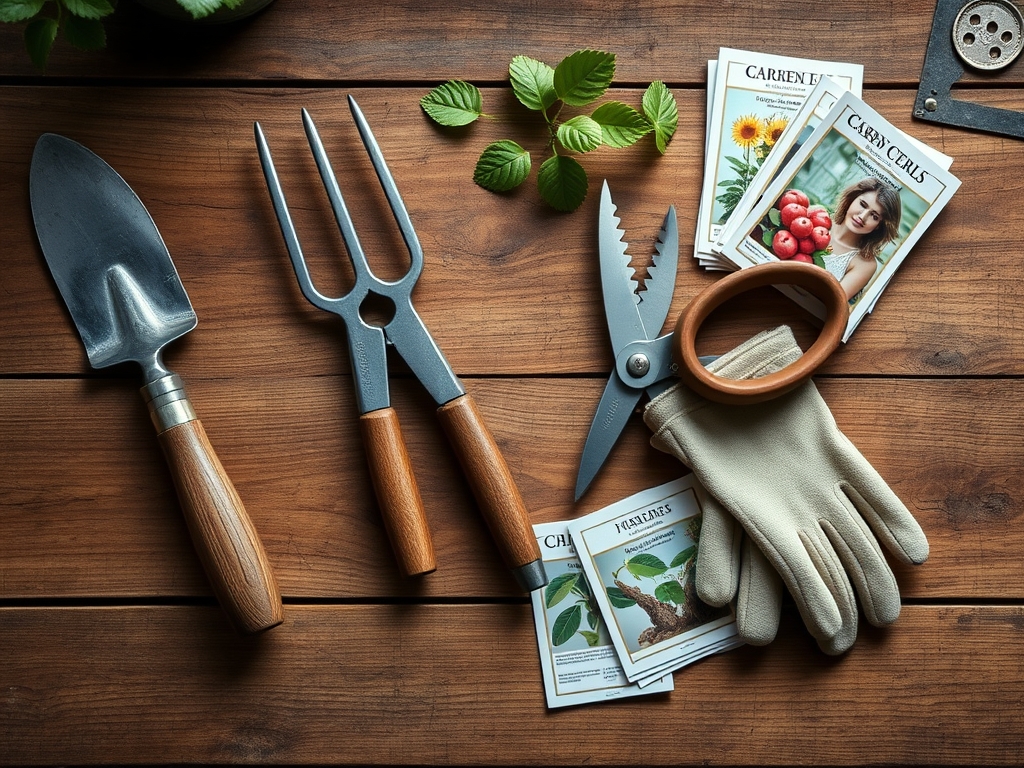
Materials:
Trimming is ineffective if the underlying substrate is compromised. For most perennials and shrubs, maintain a friable loam with a **soil pH between 6.2 and 6.8**. This range ensures optimal bioavailability of micronutrients. Before pruning, verify the Cation Exchange Capacity (CEC) of your soil; a higher CEC indicates the soil can hold more essential cations like Potassium and Magnesium.
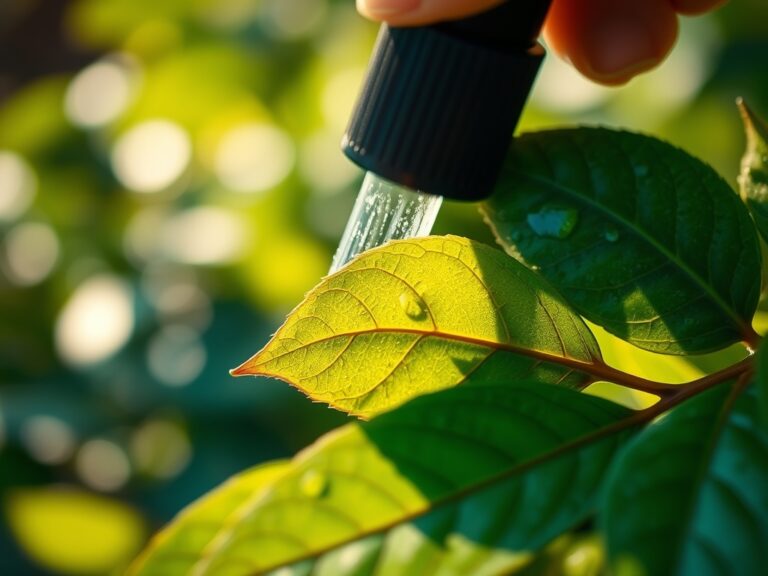
When supporting new growth post-trim, use a balanced NPK ratio of 10-10-10 for general maintenance. For flowering species, transition to a 5-10-5 ratio to prioritize phosphorus for root and bloom development over vegetative nitrogen. The physical texture of the soil should be crumbly; if the soil is compacted, the roots cannot support the rapid healing required after a heavy pruning session. Ensure your tools are sterilized with 70 percent isopropyl alcohol to prevent cross-contamination of fungal spores.
Timing:
Timing is dictated by the USDA Hardiness Zones and the specific photoperiod requirements of the species. In Zones 5 through 7, the primary window for heavy structural trimming opens after the last spring frost, typically between April 15 and May 15. Trimming during the vegetative stage is ideal; once a plant enters the reproductive stage, its ability to seal wounds via callus tissue slows down significantly.
The biological clock of the plant determines the success of the trim. Avoid pruning during the heat of the day when transpiration rates are at their peak. Aim for early morning when turgor pressure is highest. This ensures the plant cells are fully hydrated, leading to cleaner cuts that minimize the surface area of the wound. For deciduous varieties, the transition to dormancy in late autumn is the secondary window, provided the temperature remains above 32 degrees Fahrenheit to prevent frost damage to the fresh cuts.
Phases:
Sowing and Initial Growth
During the initial growth phase, focus on removing cotyledons once the first true leaves have fully expanded. This prevents the seedling from wasting energy on temporary structures.
Pro-Tip: Removing lower, non-functional leaves early improves airflow. This is a "Biological Why" rooted in pathogen avoidance; reducing humidity at the base of the stem prevents the germination of fungal spores that thrive in stagnant microclimates.
Transplanting and Root Establishment
When moving a plant to its permanent location, trim any foliage that shows signs of chlorosis or mechanical damage. This reduces the total leaf surface area, which in turn reduces the demand for water while the root system is recovering from transplant shock.
Pro-Tip: Strategic trimming during transplanting leverages auxin suppression. By removing the apical meristem or damaged lateral tips, you break apical dominance. This forces the plant to redistribute growth hormones to the root system, accelerating mycorrhizal symbiosis and overall establishment.
Establishing Mature Architecture
As the plant matures, the focus shifts to maintaining the "center" of the plant. Remove any leaves that are shaded by the upper canopy and no longer contributing to net photosynthesis.
Pro-Tip: This process utilizes phototropism management. By removing dead or dying leaves from the interior, you allow light to penetrate the inner canopy. This triggers dormant buds to activate, creating a denser, more resilient plant structure.
The Clinic:
Physiological disorders often manifest in the leaves before the rest of the plant shows distress. Use these symptoms to diagnose and fix issues during your trimming routine.
-
Nitrogen Chlorosis:
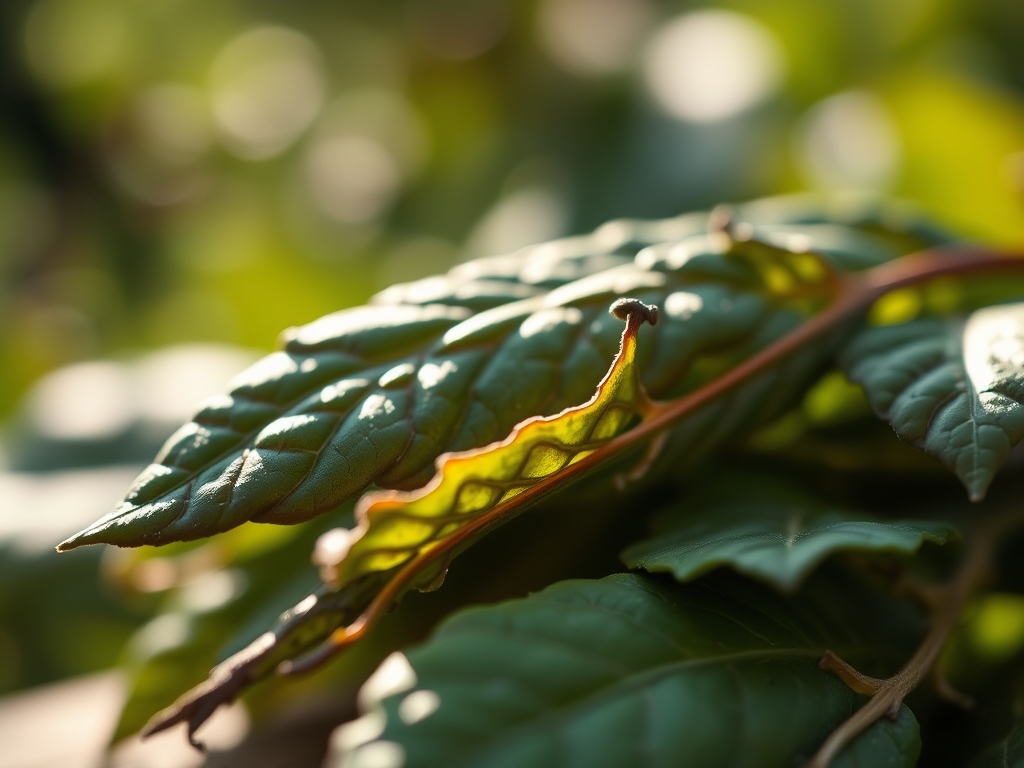
- Symptom: General yellowing of older, lower leaves while the leaf veins remain green.
- Solution: Trim the most severely affected leaves.
- Fix-It: Apply a high-nitrogen fertilizer (NPK 20-10-10) to restore chlorophyll production.
-
Interveinal Necrosis (Magnesium Deficiency):
- Symptom: Brown, dead patches between the veins of older leaves.
- Solution: Remove necrotic tissue to prevent secondary saprophytic fungal infections.
- Fix-It: Incorporate Epsom salts (Magnesium Sulfate) at a rate of 1 tablespoon per gallon of water.
-
Tip Burn (Calcium Deficiency or Over-fertilization):
- Symptom: Desiccated, brown edges on new growth.
- Solution: Trim the burnt tips at a 45-degree angle to mimic natural leaf shape.
- Fix-It: Check soil pH; if it is below 6.0, add lime to increase calcium availability.
-
Bacterial Leaf Spot:
- Symptom: Water-soaked spots with yellow halos.
- Solution: Immediate removal of all infected foliage.
- Fix-It: Increase spacing between plants and avoid overhead watering to reduce leaf wetness duration.
Maintenance:
Consistency is the foundation of plant health. Provide 1.5 inches of water per week at the drip line; do not saturate the crown of the plant. Use a soil moisture meter to verify that the root zone is moist at a depth of 4 to 6 inches.
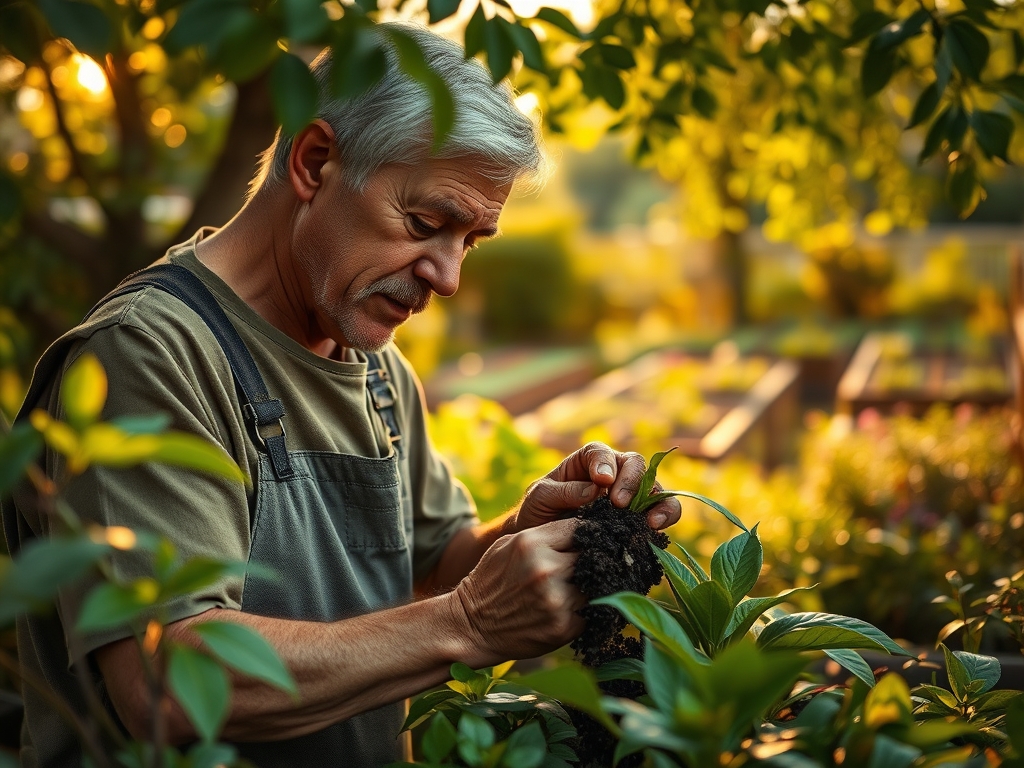
When executing the trim, use bypass pruners for living tissue and a hori-hori knife for removing dead stems at the soil line. Bypass pruners act like scissors, creating a clean slice that heals faster than the crushing action of anvil pruners. For delicate herbaceous plants, use micro-tip snips to ensure precision. Always cut at a slight angle away from the bud to ensure water runoff, which prevents rot at the node.
The Yield:
For flowering or fruiting plants, the final trim occurs just before harvest. This "defoliation" technique removes excess fan leaves to maximize light exposure to the fruit or flower clusters. For flowers, harvest in the early morning when the stems are most turgid.
Post-harvest handling is critical for "day-one" freshness. Immediately submerge the cut ends in 40-degree Fahrenheit water. This cold shock slows down the metabolic rate and preserves the sugars within the plant tissue. For edible greens, a quick rinse in cold water followed by centrifugal drying will maintain the crispness of the cell walls.
FAQ:
How do I know if a leaf is dead or just dormant?
Dead leaves are brittle, lack green pigment, and do not respond to hydration. Dormant leaves retain structural integrity and may show slight color, but the vascular tissue remains intact. Use the "scratch test" on the stem to check for green cambium.
Should I pull dead leaves off by hand?
Never pull leaves by hand as this can tear the delicate bark or epidermis. Tearing creates jagged wounds that are susceptible to infection. Always use sterilized snips to make a clean cut at the base of the petiole.
Can I compost the dead leaves I trim?
Only compost leaves that are free of pathogens and pests. If the leaves show signs of fungal spotting or bacterial blight, dispose of them in the trash. Composting infected material can spread diseases back into your garden beds next season.
How much of the plant can I trim at once?
Adhere to the "one-third rule." Never remove more than 33 percent of a plant's total leaf mass in a single session. Over-trimming triggers a stress response that can lead to stunted growth or total systemic failure.