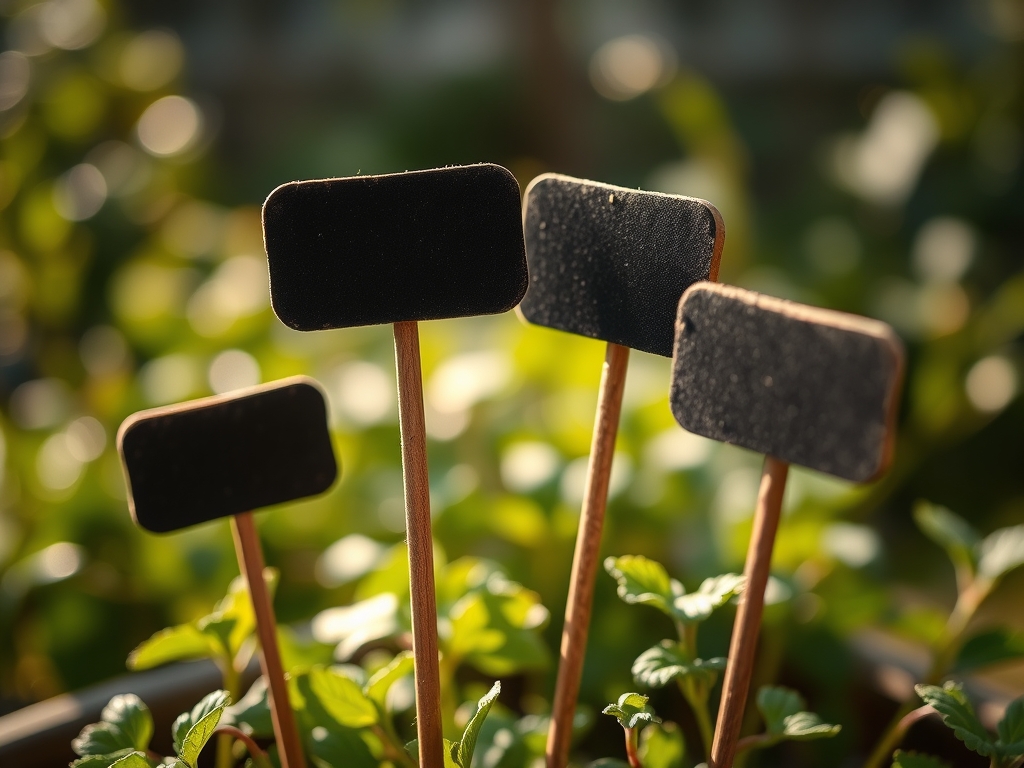
5 Expert Ways How to Use Blackboard Plant Stakes
The smell of damp, anaerobic decomposition signals a failure in soil aeration, while the firm turgor of a healthy leaf indicates a vascular system functioning at peak efficiency. Precision in the garden requires more than intuition; it demands a systematic approach to data management at the soil level. Learning how to use blackboard plant stakes allows a grower to bridge the gap between field observations and scientific record-keeping. These tools serve as localized data points for tracking cultivar performance, nutrient application dates, and specific phenological shifts within the rhizosphere.
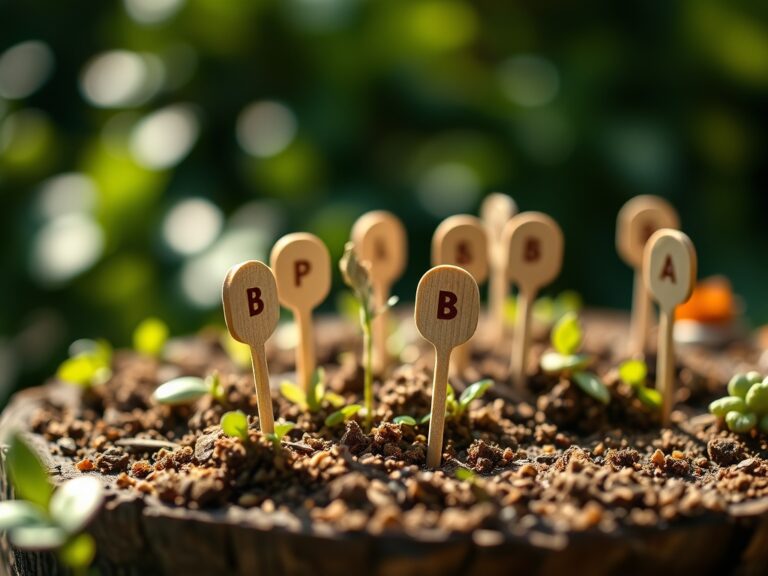
Success in high-density planting or complex crop rotations depends on the immediate identification of individual specimens. A blackboard stake provides a durable, reusable surface for recording sowing dates and genetic lineages. When managing a diverse botanical collection, these markers prevent the misidentification of species that exhibit similar morphological traits during their cotyledon stage. By integrating these stakes into a daily monitoring routine, a horticulturist ensures that every intervention is informed by historical data rather than guesswork.
Materials:
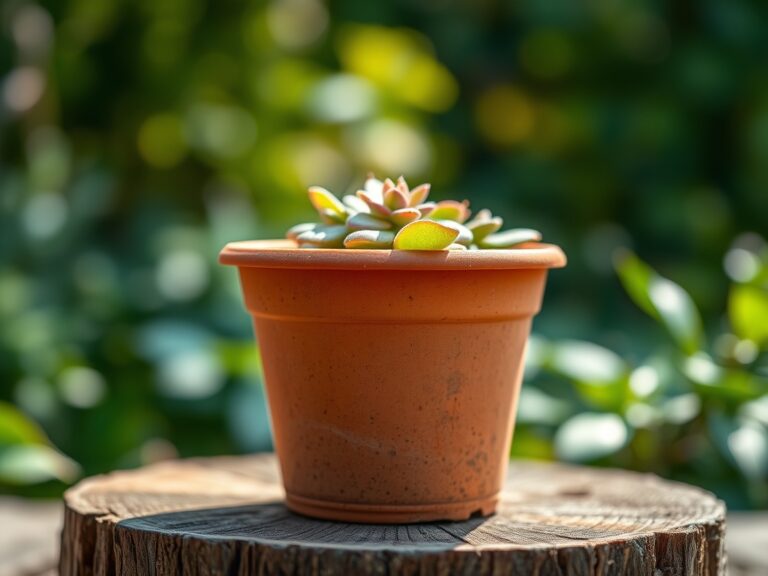
The efficacy of any planting system begins with the substrate. For optimal root penetration and nutrient mobility, utilize a friable loam with a Cation Exchange Capacity (CEC) between 15 and 25 meq/100g. This texture allows for the easy insertion of blackboard stakes without damaging the delicate root architecture.
Soil chemistry must be balanced based on the specific crop requirements. For vegetative growth, maintain a pH between 6.0 and 7.0 to ensure the bioavailability of macronutrients. A standard NPK ratio of 10-10-10 is suitable for general maintenance, but heavy feeders like Solanaceae require a 5-10-10 ratio during the transition to the reproductive stage to prevent excessive nitrogen-driven foliage at the expense of fruit. Ensure the soil contains at least 5 percent organic matter to support the microbial populations necessary for nutrient cycling.
Timing:
Timing is governed by the USDA Hardiness Zones and the specific photoperiod requirements of the plant. In Zones 5 through 7, the primary planting window opens after the last frost date, typically when soil temperatures consistently exceed 55 degrees Fahrenheit. Blackboard stakes should be deployed the moment seeds are sown or transplants are moved into the field to track the "Biological Clock" of the specimen.
The transition from the vegetative stage to the reproductive stage is triggered by changes in day length and thermal accumulation. For example, short-day plants require a photoperiod of less than 12 hours to initiate flowering. Use your stakes to record the exact date of "bolting" or flower bud initiation. This data allows you to calculate the Days to Maturity (DTM) accurately, ensuring that harvest occurs before the onset of senescence, when cellular breakdown reduces the nutritional and aesthetic value of the plant.
Phases:
Sowing and Labeling
Insert the blackboard stake at the head of the row immediately after seed placement. Record the cultivar name and the depth of sowing, which should generally be two to three times the width of the seed.
Pro-Tip: Proper labeling prevents the disruption of phototropism. By knowing exactly where a seed is buried, you avoid over-shading the site with mulch, allowing the emerging hypocotyl to detect light and begin photosynthesis without delay.
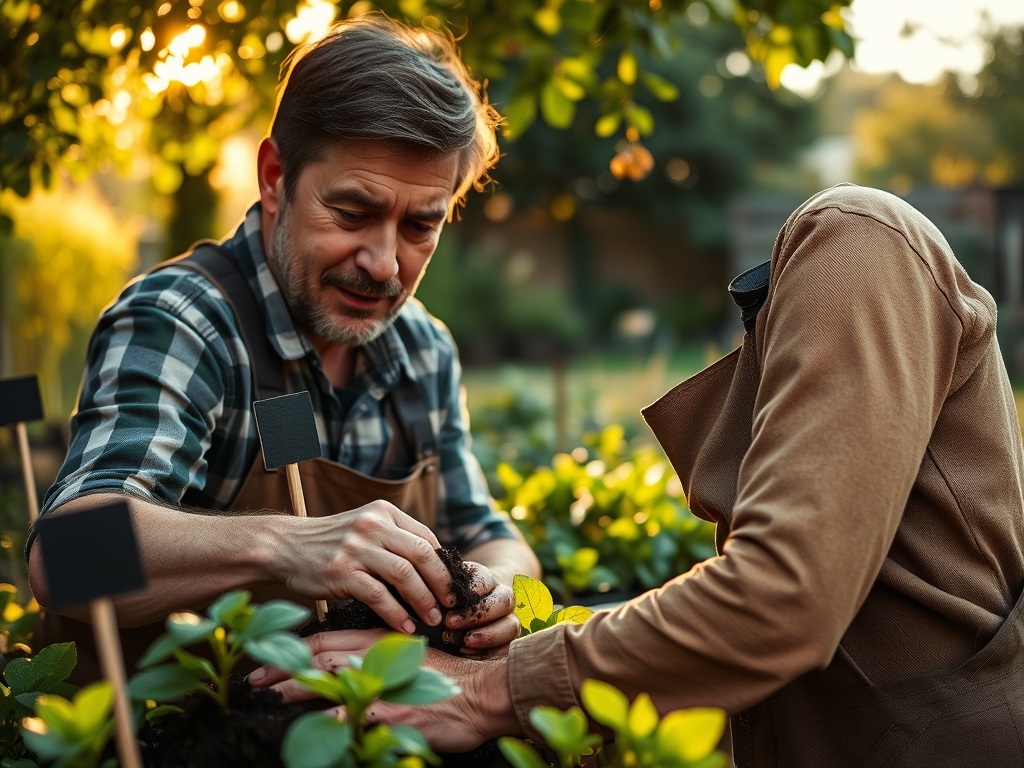
Transplanting and Tracking
When moving seedlings from a greenhouse to the field, use the stakes to note the date of "hardening off." This process involves gradual exposure to UV radiation and wind to thicken the waxy cuticle of the leaves.
Pro-Tip: Documenting transplant dates helps monitor for "transplant shock." This occurs when the root hairs are damaged, temporarily halting the uptake of water and nutrients. Recording this date allows you to track how long it takes for the plant to re-establish its mycorrhizal symbiosis with soil fungi.
Establishing and Monitoring
As the plant enters its rapid growth phase, use the blackboard stakes to record weekly height measurements or the application of supplemental fertilizers. This creates a localized growth curve for each specimen.
Pro-Tip: Monitoring growth rates helps identify the suppression of auxins. If a plant stops vertical growth prematurely, it may be a sign of apical dominance being challenged by environmental stress or pest pressure, requiring immediate intervention.
The Clinic:
Physiological disorders often mimic nutrient deficiencies. Use your blackboard stakes to log the appearance of symptoms for a precise diagnosis.
Symptom: Interveinal chlorosis on young leaves.
Solution: This typically indicates an Iron (Fe) deficiency, often caused by a pH above 7.5. Apply a chelated iron foliar spray and use elemental sulfur to lower the soil pH.
Symptom: Necrosis at the leaf margins of older growth.
Solution: This is a classic sign of Potassium (K) deficiency. Increase the application of potash to restore osmotic pressure and stomatal function.
Symptom: Blossom end rot in tomatoes or peppers.
Solution: This is caused by a localized Calcium (Ca) deficiency in the fruit, often due to inconsistent moisture levels. Maintain a steady watering schedule to ensure Calcium transport through the xylem.
Fix-It for Nitrogen Chlorosis: If the entire plant turns a pale lime green, it lacks Nitrogen. Apply a high-nitrogen fertilizer like blood meal or a 20-0-0 liquid feed to rapidly restore chlorophyll production.
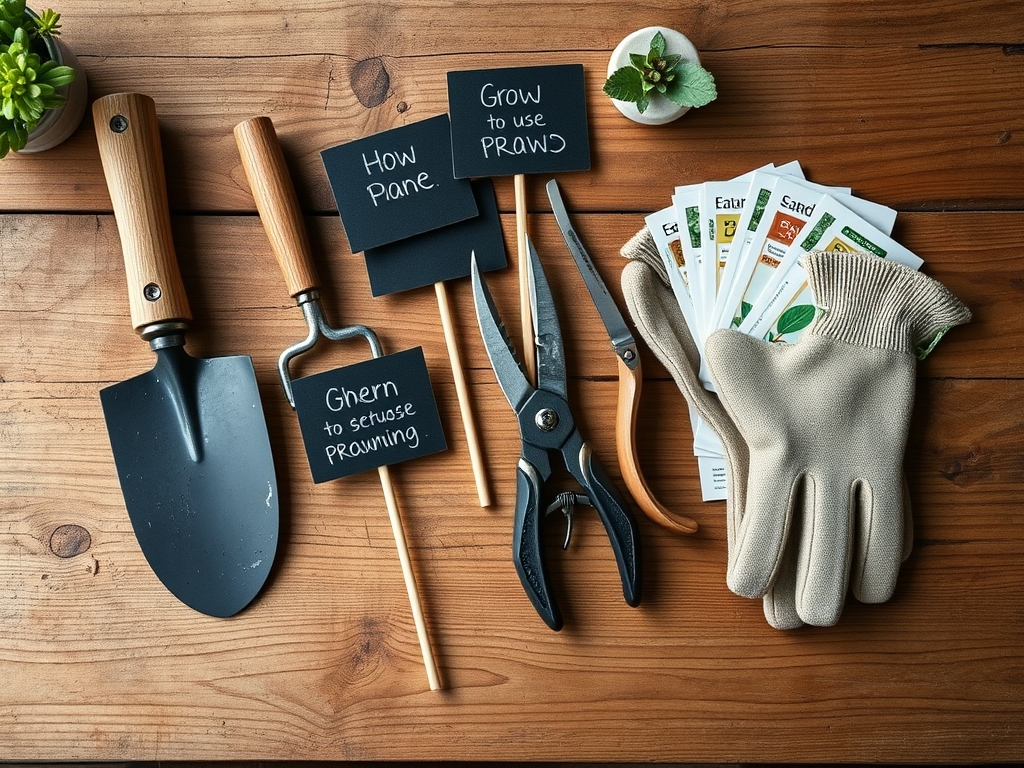
Maintenance:
Precision maintenance requires professional-grade tools. Use a soil moisture meter to ensure the root zone receives exactly 1.5 inches of water per week at the drip line. Avoid overhead irrigation to prevent the spread of fungal spores; instead, use drip tape or a soaker hose.
When pruning, utilize sharp bypass pruners to make clean cuts at a 45-degree angle just above a lateral bud. This encourages rapid wound healing and prevents the entry of pathogens. For weeding near the base of the plant, a hori-hori knife allows you to extract taproots without disturbing the shallow lateral roots of your primary crop. Clean your blackboard stakes with a 70 percent isopropyl alcohol solution between seasons to prevent the cross-contamination of soil-borne diseases.
The Yield:
Harvesting is the culmination of the biological cycle. For most fruiting crops, harvest when the fruit reaches its "breaker stage," which is the first sign of color change. This is the point where the fruit has reached physiological maturity but remains firm enough for handling. Use your hori-hori knife to sever the pedicel, leaving a small portion attached to the fruit to prevent moisture loss.
Post-harvest handling is critical for "day-one" freshness. Immediately move harvested items to a shaded, cool environment to remove "field heat." For leafy greens, a cold water dip can restore turgidity lost during the harvest process. Store produce at a consistent 34 to 40 degrees Fahrenheit with high humidity to slow the rate of respiration and prevent cellular senescence.
FAQ:
What is the best way to write on blackboard stakes?
Use a high-quality white paint marker or a grease pencil. These materials resist UV degradation and irrigation spray better than standard chalk, ensuring your data remains legible throughout the entire growing season.
Can blackboard stakes be reused across different seasons?
Yes. Clean the surface with a solvent like mineral spirits or a high-concentration alcohol to remove old markings. Sterilize the stake with a 10 percent bleach solution to eliminate any lingering fungal spores or bacterial pathogens.
How deep should I insert the stake into the soil?
Insert the stake at least 3 to 4 inches deep. This depth ensures stability against wind and heavy rain while keeping the marker clear of the primary root mass of most annual vegetable crops.
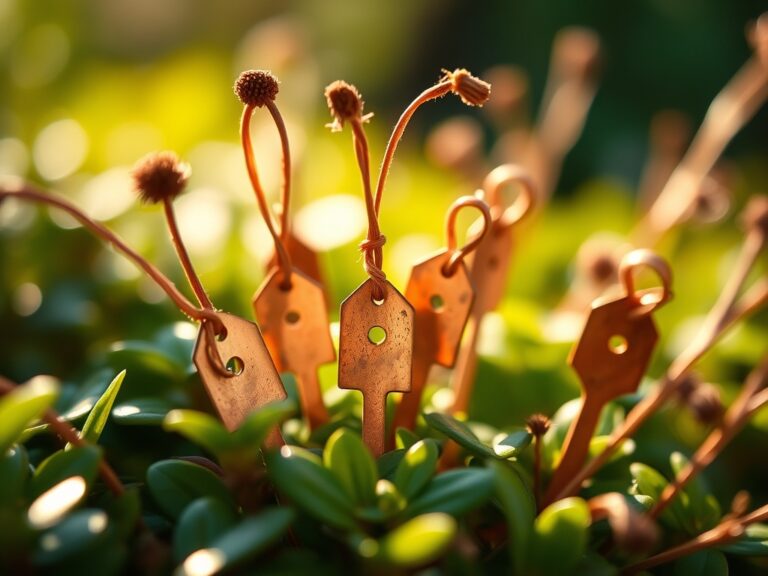
Do blackboard stakes affect soil pH?
High-quality slate or plastic stakes are chemically inert and will not alter the soil chemistry. Avoid using pressure-treated wood stakes, as they can leach copper or other chemicals into the rhizosphere of sensitive plants.