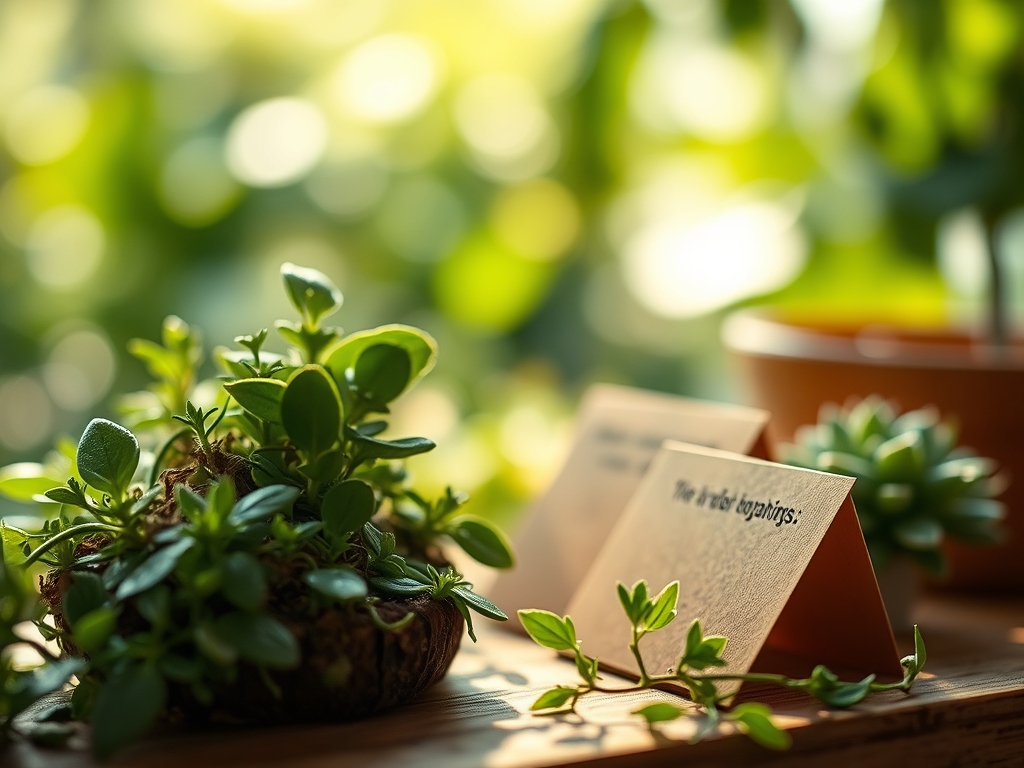
6 Simple Steps to Make Indoor Plant Labels
The scent of damp, pasteurized peat moss and the firm turgor of a healthy Monstera leaf define the precision of a controlled indoor environment. Without a rigorous tracking system, the specific physiological needs of a diverse collection become a guessing game that leads to senescence. Mastering the steps to make indoor plant labels ensures every specimen receives its calculated NPK dosage and photoperiod requirements. Precision in labeling prevents the fatal error of over-saturating a dormant succulent or under-watering a high-transpiration tropical.
Maintaining a collection requires more than aesthetic appeal; it demands data integrity. A label is a data point for the rhizosphere. When you document the date of the last repotting or the concentration of a liquid fertilizer application, you create a biological record. This prevents the accumulation of toxic salts in the substrate and ensures the Cation Exchange Capacity (CEC) remains optimal for nutrient uptake. Effective labeling is the first line of defense against the metabolic decline caused by inconsistent care routines.
Materials:

The foundation of any indoor growth cycle is the substrate. A **friable loam** with a **pH range of 6.0 to 7.0** provides the ideal chemical environment for most aroids and woody indoor plants. To support this, your labeling materials must withstand a high-humidity environment without degrading. Use UV-resistant acrylic or anodized aluminum stakes to prevent oxidation.
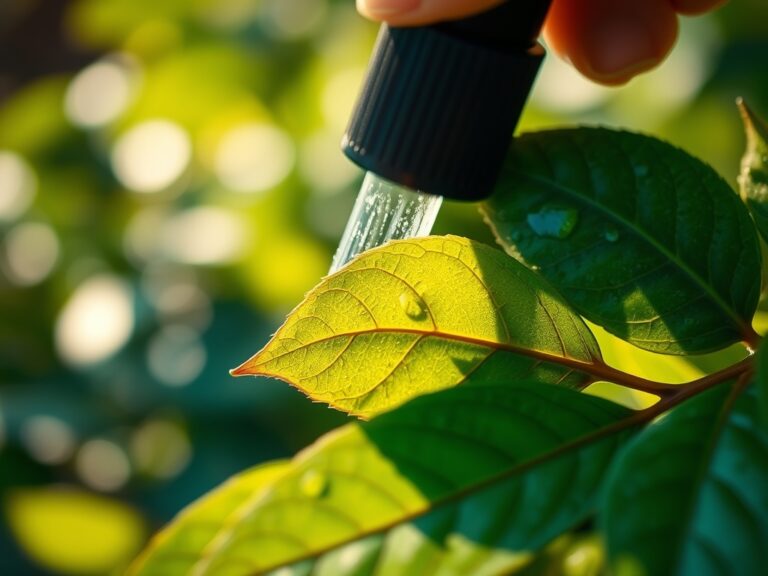
For the botanical data, use an industrial-grade paint pen or a thermal label printer. Standard ink fades under high-intensity discharge (HID) or full-spectrum LED grow lights. Your labels should include the species name, the date of the last soil refresh, and the specific NPK requirements. For example, a heavy feeder like a Ficus lyrata may require a 3-1-2 NPK ratio during its active vegetative state, while a Sansevieria thrives on a leaner 10-10-10 formula applied at half strength. Understanding the soil's ability to hold positively charged ions, known as the Cation Exchange Capacity, allows you to calibrate these applications with surgical accuracy.
Timing:
While indoor plants are shielded from outdoor Hardiness Zones, they still respond to the "Biological Clock" dictated by light duration and ambient temperature. Most indoor species originate from tropical regions (Zones 10 to 12) and lack a true dormancy period; however, they enter a state of reduced metabolic activity when daylight drops below 12 hours per day.
Labeling should coincide with the transition from the vegetative stage to the reproductive or maintenance stage. In the northern hemisphere, the shift typically occurs between late September and March. During this window, the plant's demand for nitrogen decreases as the rate of photosynthesis slows. Marking your labels with "Winter Mode" triggers a reduction in irrigation frequency, preventing root rot when the plant's transpiration rate is at its lowest.
Phases:

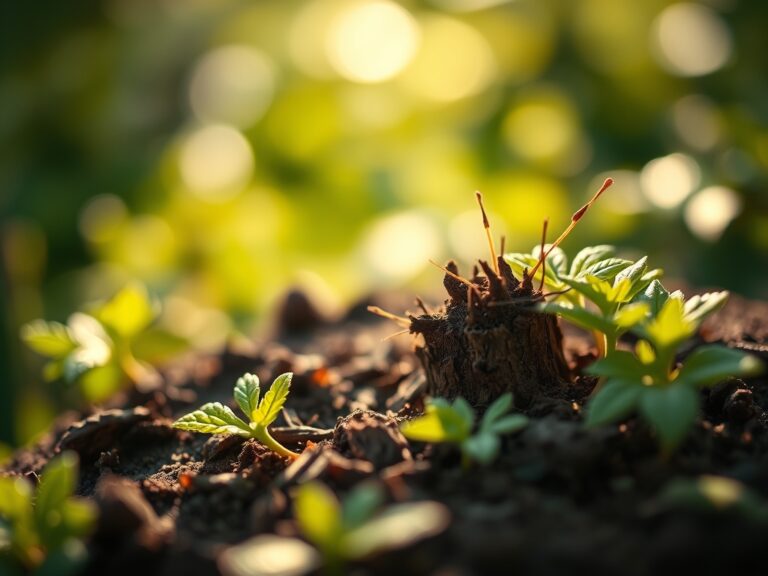
Sowing
When starting seeds indoors, temperature control is paramount. Maintain a consistent 70 to 75 degrees Fahrenheit for optimal germination. Labels at this stage must include the sowing date and the expected germination window. Use a fine-mist sprayer to keep the top 0.5 inches of the medium moist without displacing the seeds.
Pro-Tip: Monitor for phototropism, where the seedling leans toward the light source. This is caused by the elongation of cells on the shaded side of the stem due to the redistribution of auxins. Rotating the tray 90 degrees daily ensures a vertical, structurally sound stem.
Transplanting
Move specimens to a larger vessel once the root system begins to circle the perimeter of the current pot. This prevents the plant from becoming root-bound, which limits nutrient access. Use a hori-hori knife to gently loosen the root ball. Ensure the new container has adequate drainage to maintain an aerobic environment in the rhizosphere.
Pro-Tip: Incorporate mycorrhizal fungi into the transplant hole. This symbiotic relationship expands the root's surface area, significantly increasing the uptake of phosphorus and water through a network of hyphae.
Establishing
The first 21 days post-transplant are critical for root establishment. Avoid heavy fertilization during this period to prevent burning new, sensitive root hairs. Maintain a steady humidity level of 50% to 60% to reduce transpirational stress while the roots adjust to the new substrate.
Pro-Tip: Minimize auxin suppression by avoiding heavy pruning during establishment. The apical meristem produces hormones that signal root growth; removing too much foliage can stall the development of the root system.
The Clinic:
Physiological disorders often mimic pest damage but are usually rooted in environmental or nutritional imbalances.
Symptom: Interveinal chlorosis (yellowing between green veins) on new growth.
Solution: This indicates an Iron (Fe) deficiency, often caused by a pH above 7.0. Lower the pH using an elemental sulfur additive to increase iron availability.
Symptom: Leaf tip burn or marginal necrosis.
Solution: This is frequently a sign of "salt burn" from over-fertilization or high fluoride levels in tap water. Flush the substrate with three times the volume of the pot using distilled or deionized water.
Symptom: Soft, blackened stems at the soil line.
Solution: This is "Damping Off" or Pythium root rot. It results from anaerobic soil conditions. Increase airflow and allow the top 2 inches of soil to dry completely before the next irrigation cycle.
Fix-It for Nitrogen Chlorosis: If older leaves turn a uniform pale yellow, the plant is scavenging nitrogen for new growth. Apply a quick-release high-nitrogen fertilizer (e.g., 10-5-5) to restore chlorophyll production.
Maintenance:
Precision maintenance requires professional tools and strict schedules. Use a soil moisture meter to verify the volumetric water content before irrigating. Most tropicals require the substrate to reach a tension of 30-50 centibars before re-watering. Generally, provide 1.5 inches of water per week at the drip line for large floor plants.
Keep your bypass pruners sterilized with 70% isopropyl alcohol between every plant to prevent the mechanical transmission of pathogens. When pruning, make clean cuts at a 45-degree angle just above a node to encourage branching. Monitor the labels monthly; if a label indicates a plant has been in the same medium for over 24 months, schedule a substrate replacement to counteract soil compaction and acidification.
The Yield:
For indoor herbs or fruiting plants like dwarf citrus, harvest timing is determined by essential oil concentration or Brix levels. Harvest herbs just before the photoperiod begins, when essential oils are most concentrated in the foliage. Use sharp snips to avoid crushing the vascular tissue. For "day-one" freshness, plunge the cut stems into 40-degree Fahrenheit water immediately to maintain turgor pressure and slow the rate of respiration.
FAQ:
What information is essential for an indoor plant label?
Include the botanical name, date of last repotting, and specific light requirements (e.g., Foot-candles or PAR). Tracking the NPK ratio used during the last feeding prevents nutrient toxicity and ensures the plant stays within its optimal metabolic range.
How do I prevent my plant labels from fading?
Use UV-stable markers or thermal-printed polyester labels. Indoor grow lights, especially high-output LEDs, emit radiation that breaks down standard ink pigments. Industrial-grade acrylic or metal stakes provide the best longevity in high-humidity indoor environments.
Can I use wooden sticks for indoor plant labels?
Wooden stakes are prone to capillary action, drawing moisture from the soil which leads to fungal decay and mold. This can introduce pathogens into the rhizosphere. Use non-porous materials like plastic or metal to maintain a sterile growing environment.
How often should I update my plant labels?
Update labels during every seasonal transition or after a major physiological event like transplanting or a localized nutrient "Fix-It" treatment. Accurate records of the plant's history allow for better diagnostic precision if the specimen shows signs of stress later.