6 Basic Steps to Prune for Growth
The smell of damp earth and the sharp, metallic scent of sap signify the beginning of active management in the garden. When a gardener feels the rigid turgor of a healthy leaf, they are feeling the internal water pressure that drives cellular expansion. Mastering the steps to prune for growth requires more than just a sharp blade; it demands an understanding of how wounding a plant redirects its hormonal energy. By removing specific biomass, you manipulate the flow of auxins and cytokinins to stimulate lateral branching and increase overall vigor.
Effective pruning is not an act of destruction but a calculated surgical intervention. It forces the specimen to transition from maintaining old, inefficient tissue to generating fresh, photosynthetic surfaces. The goal is to optimize the light interception of the canopy while ensuring adequate airflow through the interior. This process begins with a clean cut at a 45 degree angle, positioned exactly 0.25 inches above a dormant bud. This precision prevents dieback and ensures the rapid formation of callus tissue, which seals the vascular system against pathogens.
Materials:
Before making the first cut, the substrate must be prepared to support the subsequent flush of new growth. The ideal substrate is a friable loam with a high Cation Exchange Capacity (CEC) to ensure nutrient availability. Aim for a soil pH between 6.2 and 6.8 for most temperate woody perennials. This range maximizes the bioavailability of phosphorus and micronutrients.
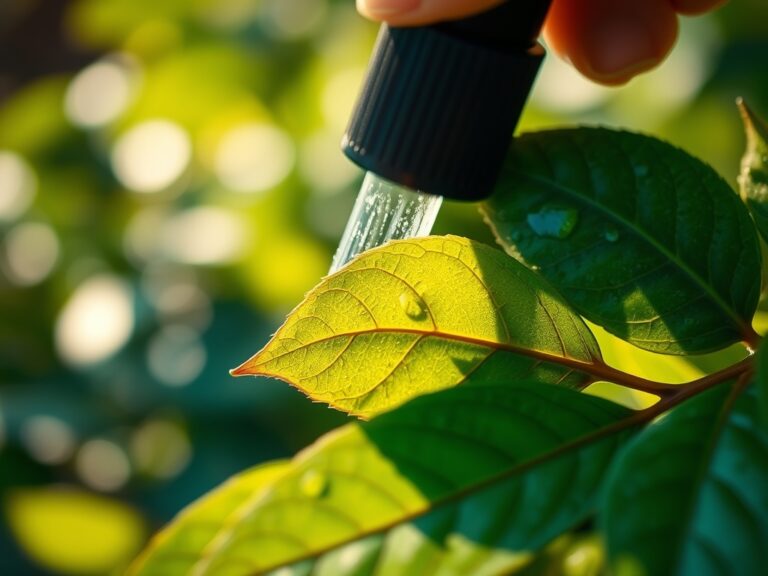
Post-pruning recovery requires a specific nutritional profile. Apply a balanced organic fertilizer with an NPK ratio of 10-10-10 or a slightly higher nitrogen formula like 12-6-6 to encourage vegetative development. Ensure the soil contains at least 5 percent organic matter to support the rhizosphere. High CEC soils, often rich in clay or organic humus, will hold onto the ammonium and potassium ions necessary for rebuilding cell walls after the stress of pruning.
Timing:
Pruning schedules must align with USDA Hardiness Zones and the specific biological clock of the species. In Zones 5 through 7, the primary pruning window occurs during late dormancy, typically from February to early March. This timing precedes the "spring flush" when sap flow increases and buds begin to swell.
The transition from the vegetative stage to the reproductive stage is a critical marker. Pruning too late in the spring can result in the loss of flower buds for the current season, as many species bloom on "old wood" produced the previous year. Conversely, pruning in late autumn is hazardous; it can stimulate tender new growth that lacks the lignification necessary to survive the first hard frost. Monitor the photoperiod; as day length increases, the plant shifts from dormancy to active metabolic states, making this the optimal time for structural corrections.
Phases:
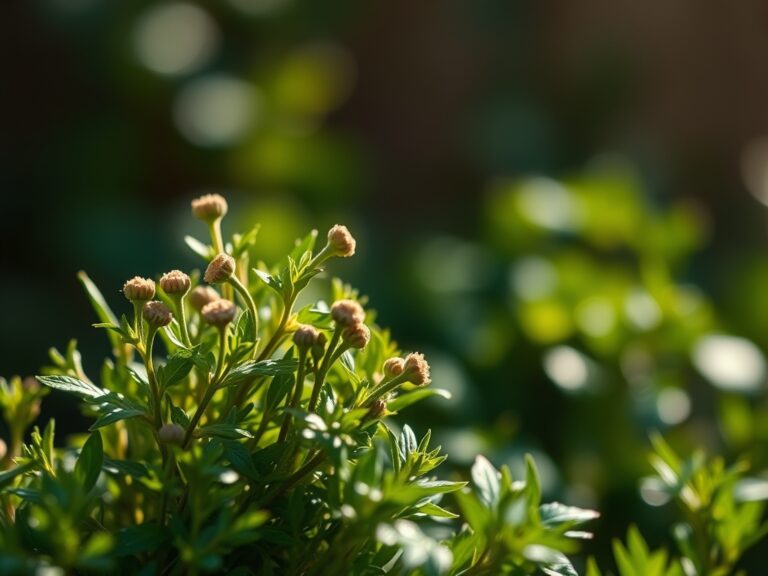
Sowing and Early Development
Initial growth phases require minimal pruning, focusing instead on apical dominance. During the first two years of a perennial's life, the goal is to establish a strong central leader. If the plant becomes leggy, a soft pinch of the terminal bud can encourage the first set of lateral branches.
Pro-Tip: Suppressing the apical meristem reduces the flow of auxins down the stem. This "auxin suppression" allows cytokinins from the roots to activate dormant lateral buds, creating a bushier, more structurally sound plant.
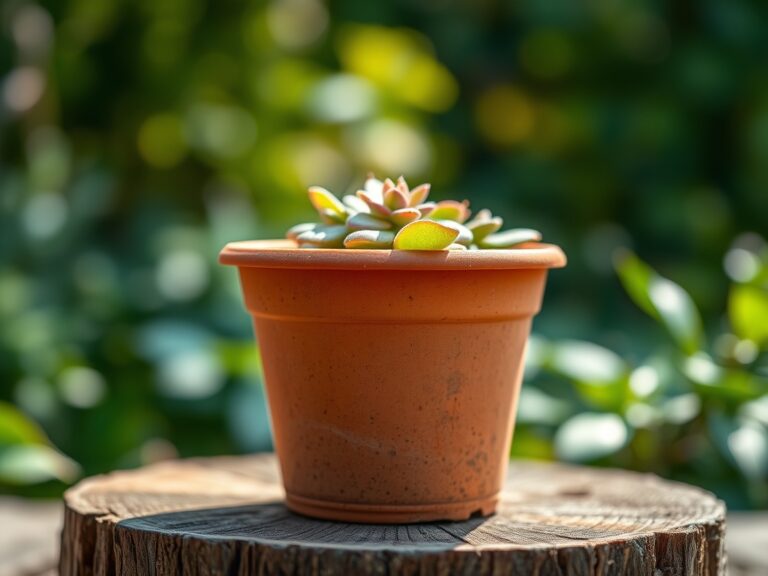
Transplanting and Root Management
When moving a plant, the root-to-shoot ratio often becomes unbalanced. Pruning the canopy by 20 percent during transplanting reduces the transpiration demand on the compromised root system. This ensures the plant maintains sufficient turgor pressure while the roots establish a new mycorrhizal symbiosis with the soil fungi.
Pro-Tip: Mycorrhizal fungi extend the reach of the root system by up to 100 times. Reducing the leaf surface area during transplanting prevents the plant from wilting before these fungal networks can effectively transport water and phosphorus to the xylem.
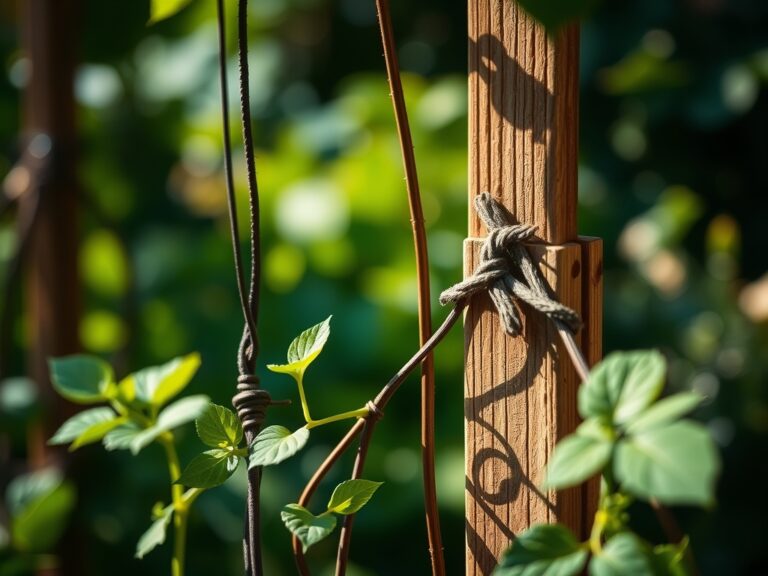
Establishing the Framework
Once the plant is established, the steps to prune for growth focus on the "Three Ds": dead, damaged, and diseased wood. Remove these branches first to prevent the spread of decay. Next, identify crossing branches that rub against each other, as these friction points create entry sites for wood-boring insects.
Pro-Tip: Removing internal "water sprouts" or vertical suckers improves light penetration to the lower canopy. This prevents the senescence of interior leaves, which occurs when they fall below their light compensation point and can no longer produce enough carbohydrates to sustain themselves.
The Clinic:
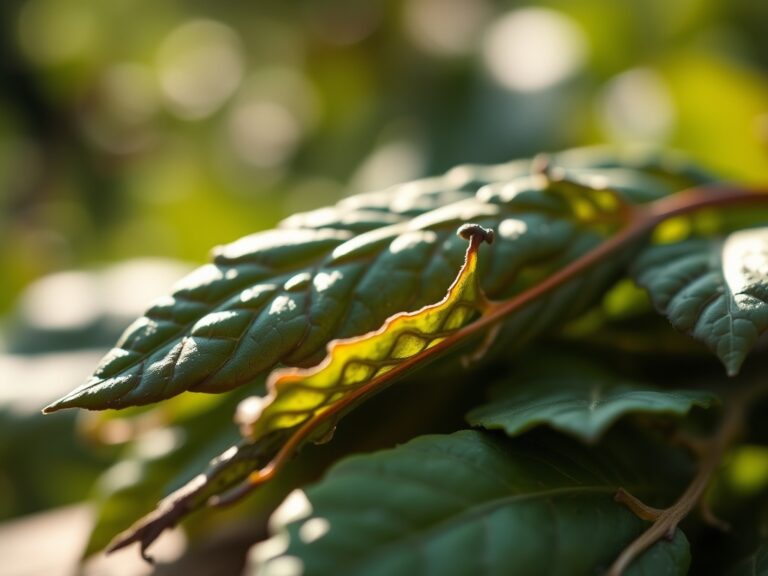
Physiological disorders often manifest as visual cues in the foliage or bark.
Symptom: Interveinal chlorosis (yellowing between green veins) on new growth.
Solution: This indicates an Iron deficiency, often caused by a soil pH above 7.0. Lower the pH using elemental sulfur or apply chelated iron.
Symptom: "Witches' Broom" or excessive, stunted clustering of twigs.
Solution: This is often a response to phytoplasmas or mites. Prune the affected area 12 inches below the visible deformity and sterilize tools with 70 percent isopropyl alcohol.
Symptom: Necrotic leaf margins on older leaves.
Solution: Potassium deficiency. Potassium is mobile within the plant; the organism moves the nutrient to new growth, leaving old leaves to die. Amend with sulfate of potash.
Fix-It for Nitrogen Chlorosis: If the entire plant appears pale green or yellow, it lacks nitrogen. Apply a quick-release nitrate fertilizer or a blood meal top-dressing to restore chlorophyll production.
Maintenance:
Post-pruning care determines the speed of recovery. Provide 1.5 inches of water per week, delivered at the drip line rather than the trunk, to encourage outward root expansion. Use a soil moisture meter to ensure the root zone stays between 20 and 40 percent volumetric water content.
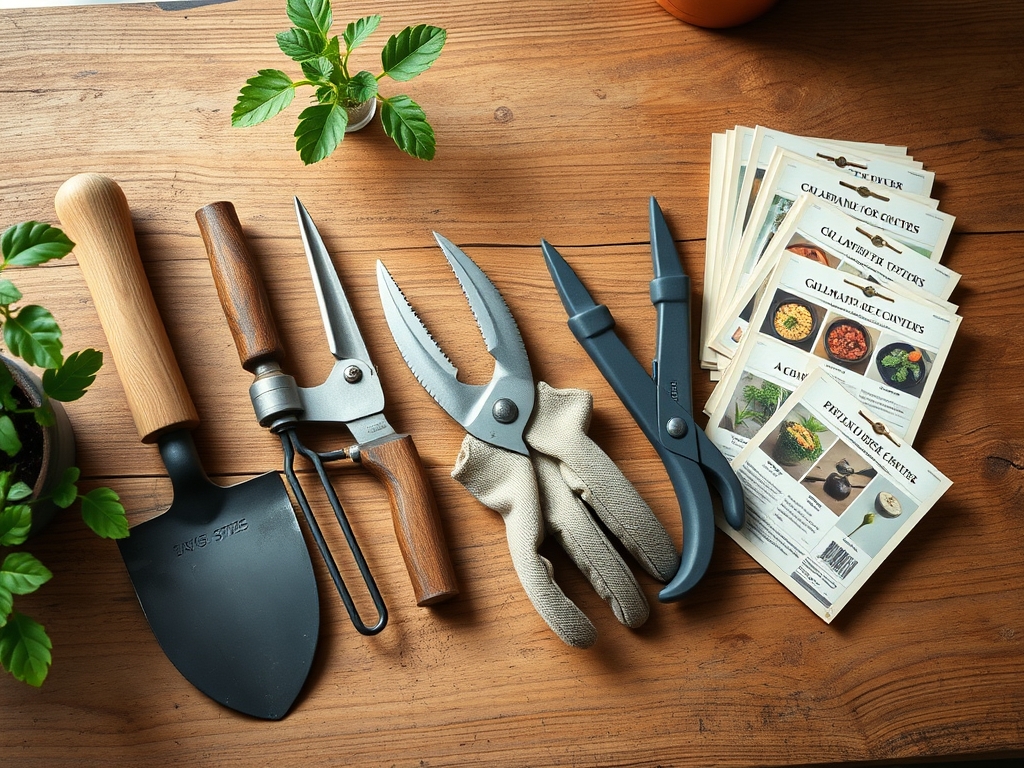
Utilize high-quality bypass pruners for clean cuts on living tissue; anvil pruners should be reserved for dead wood as they crush the vascular cambium. For weeding around the base without disturbing the shallow feeder roots, a hori-hori knife is the standard tool for precision extraction. Keep a 3-inch layer of organic mulch around the base, ensuring it does not touch the bark, to regulate soil temperature and moisture.
The Yield:
For fruiting or flowering plants, the yield is the ultimate metric of pruning success. Harvest when the fruit reaches its peak Brix level (sugar content), typically indicated by a color change and a slight softening of the tissue. Use sharp snips to leave a small portion of the pedicel attached to the fruit; this prevents tearing the skin and reduces the rate of respiration.
Post-harvest, cool the produce immediately to 40 degrees Fahrenheit to slow down metabolic senescence. For flowers, sear the stems in 110 degree water or use a floral preservative to maintain vascular flow and "day-one" freshness.
FAQ:
What is the best time to prune most shrubs?
Prune most deciduous shrubs in late winter or early spring while they are dormant. This prevents sap loss and allows the plant to direct its first burst of spring energy toward healing the cuts and producing new vegetative growth.
How much of a plant can I safely prune at once?
Never remove more than 25 to 30 percent of a plant's total canopy in a single season. Exceeding this limit starves the root system of necessary carbohydrates and can trigger a stress response that leads to weak, spindly regrowth.
Why should I cut at a 45 degree angle?
A 45 degree angle allows water to shed away from the bud, reducing the risk of fungal rot. It also provides a larger surface area for the cambium to form a callus, which is the plant's natural healing mechanism.
Do I need to use pruning paint on cuts?
Modern arboricultural research suggests pruning paint is unnecessary and can trap moisture, encouraging fungal growth. A clean, sharp cut made at the correct time allows the plant to seal itself naturally through the production of suberin and lignin.