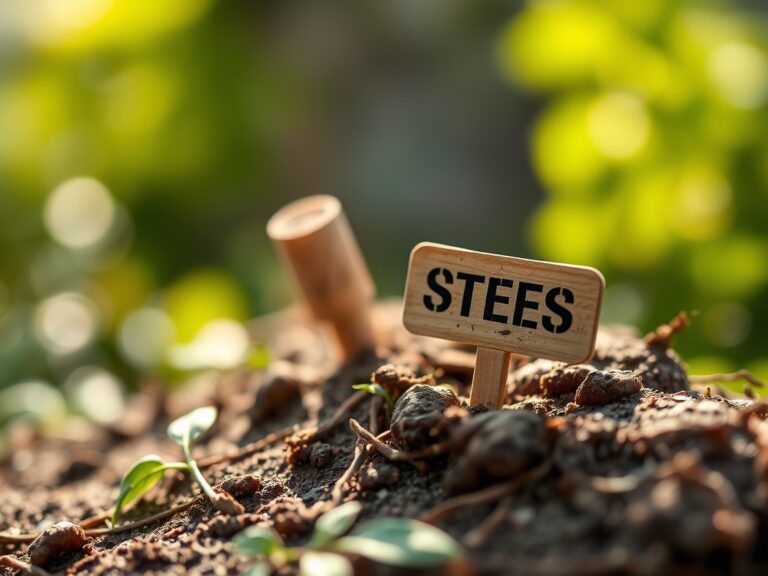
9 Simple Steps to Make DIY Plant Markers
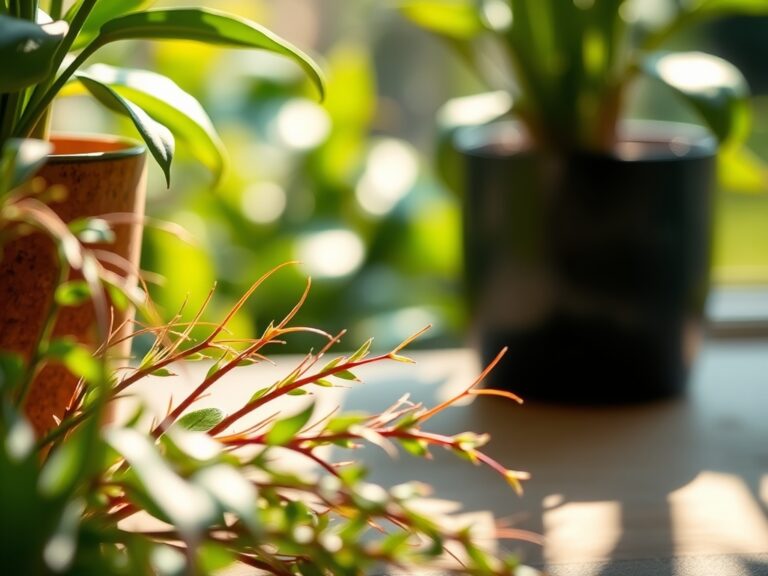
The smell of damp earth and the high turgor pressure of a healthy leaf define the success of a well organized garden. Precision in the field requires more than just intuition; it demands a systematic approach to data management at the soil level. Knowing exactly where your cultivars are located prevents the accidental disruption of the rhizosphere during early season cultivation. Following the steps to make diy plant markers ensures that every seedling, from high nitrogen feeders to phosphorus heavy root crops, is identified before the canopy closes.
Materials:

The foundation of a productive garden begins with a friable loam substrate. This soil texture allows for optimal root penetration and gas exchange. When preparing your garden beds for marked rows, aim for a soil pH between 6.2 and 6.8 to maximize nutrient availability.
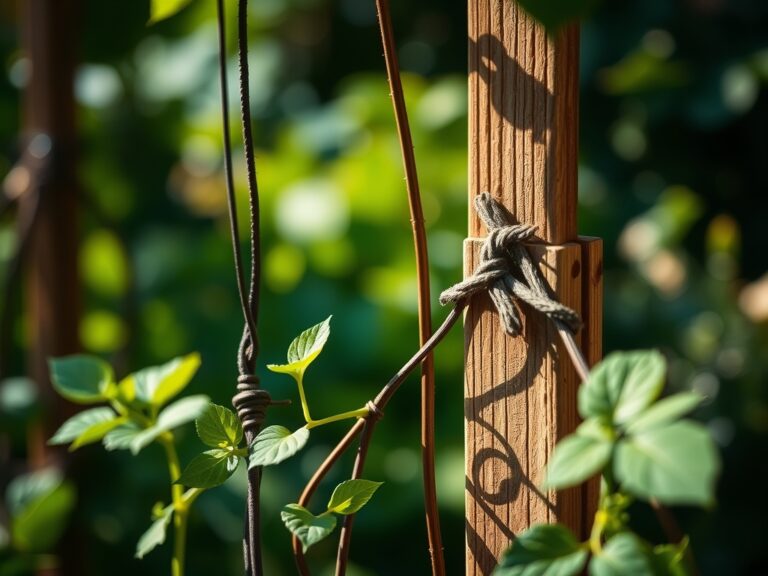
For heavy feeders like Brassicas, ensure an NPK ratio of 10-5-5 is present in the top six inches of the soil profile. For root crops, a 5-10-10 ratio promotes tuber development without excessive vegetative growth. High Cation Exchange Capacity (CEC) in your soil will hold these nutrients effectively, preventing leaching during heavy irrigation cycles. Your DIY markers must be constructed from materials that do not leach heavy metals or alter the local soil pH through chemical degradation. Use untreated cedar, slate, or food grade stainless steel to maintain the integrity of the soil microbiome.
Timing:
Successful labeling and planting must align with your USDA Hardiness Zone and local frost dates. In Zones 5 through 7, the transition from vegetative to reproductive stages is governed by the photoperiod and heat units. Markers should be installed during the sowing phase, typically 2 to 4 weeks before the last spring frost for cool season crops, or once soil temperatures consistently reach 65 degrees Fahrenheit for warm season varieties.
Understanding the "Biological Clock" of your plants is vital. As a plant moves from its juvenile vegetative state to senescence, its nutritional needs shift. Markers allow you to track these transitions, ensuring that side dressing with high potassium fertilizers occurs at the exact moment the plant initiates its reproductive cycle.
Phases:

Sowing
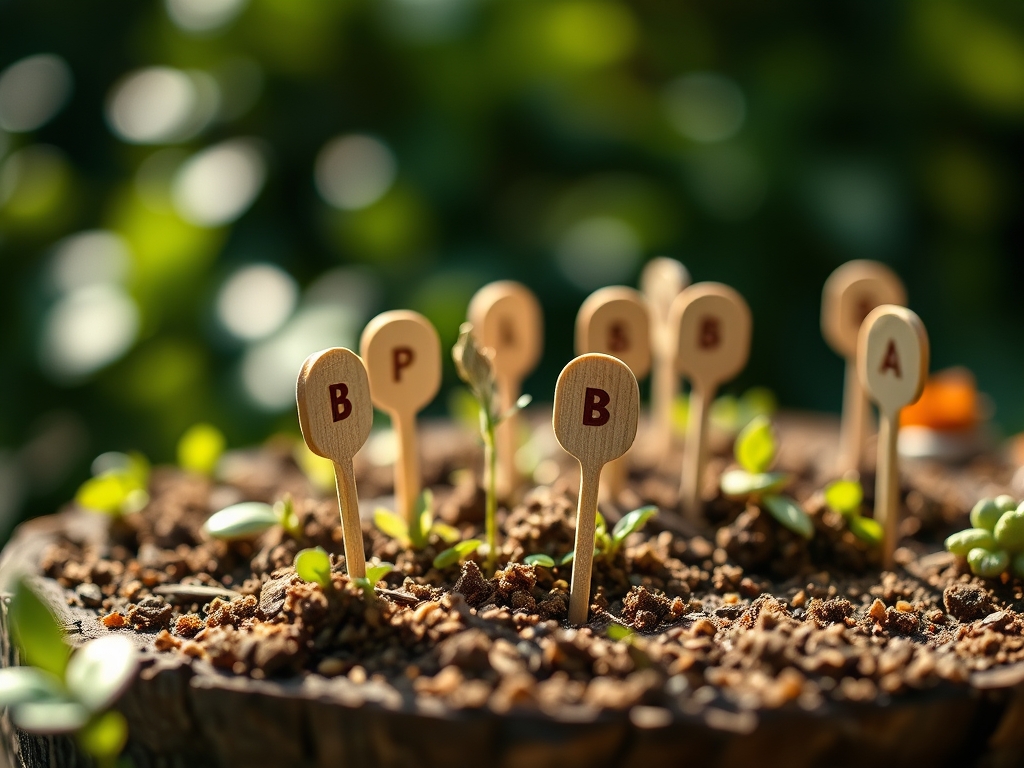
During the sowing phase, place your DIY markers at the head of each row immediately after seeds are tucked into the soil at a depth of twice their diameter. This prevents the double sowing of seeds and protects the delicate emerging radicle from mechanical disturbance.
Pro-Tip: Proper labeling prevents the disruption of phototropism. When you know exactly where a seed is buried, you can avoid shading it with mulch or neighboring equipment, ensuring the emerging plumule receives unobstructed solar radiation for immediate photosynthesis.
Transplanting
When moving starts from the greenhouse to the field, the risk of transplant shock is high. Use your markers to denote the specific date of transplanting. This data helps you monitor the "establishment window," which usually lasts 7 to 10 days.
Pro-Tip: Mycorrhizal symbiosis is critical during this phase. By marking the exact location of your transplants, you can apply targeted inoculants directly to the root zone, fostering a fungal network that increases water uptake and phosphorus absorption.
Establishing
As the plant establishes its root system, the markers serve as a guide for irrigation. Directing water toward the drip line rather than the stem reduces the risk of fungal pathogens while encouraging lateral root expansion.
Pro-Tip: Auxin suppression is often necessary for bushier growth. Markers help you identify which plants have reached the correct node count for apical pruning, which redirects growth hormones to lateral buds and increases overall yield.
The Clinic:
Physiological disorders often mimic nutrient deficiencies. Use this guide to diagnose issues marked in your garden.
-
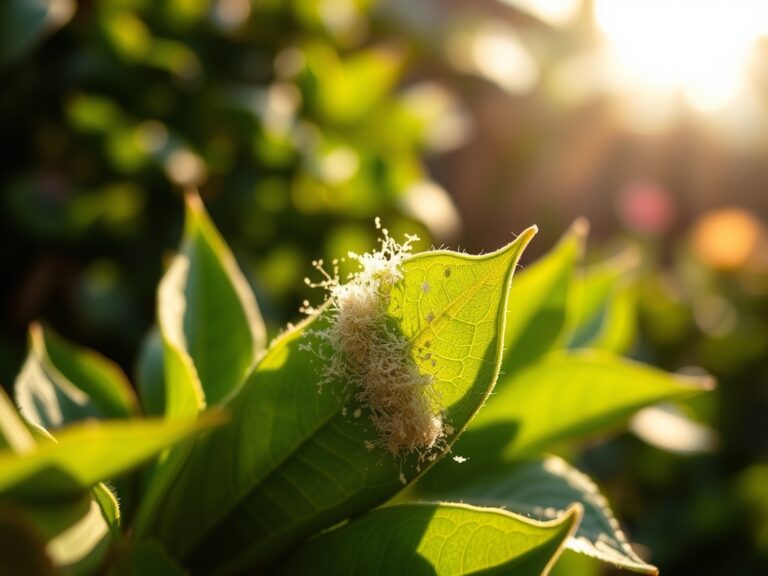
Symptom: Interveinal chlorosis on older leaves.
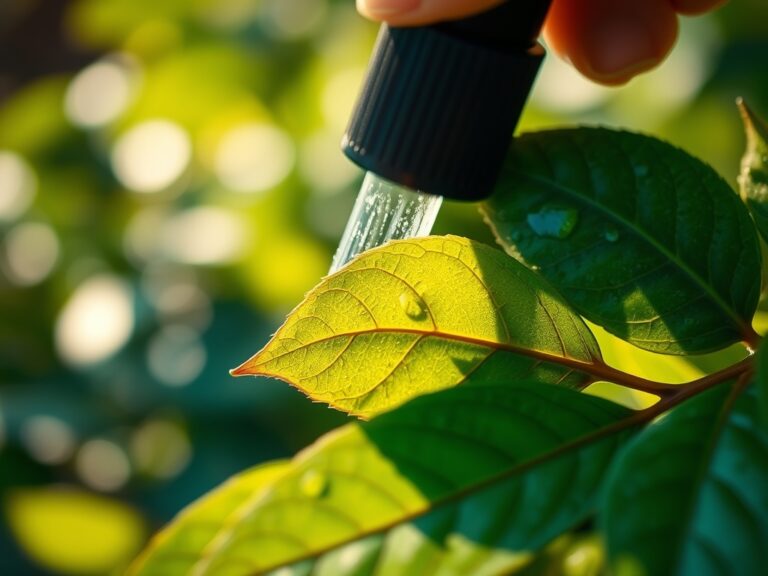
Solution: This indicates Magnesium deficiency. Apply a foliar spray of Epsom salts (1 tablespoon per gallon of water) to restore chlorophyll production. -
Symptom: Blossom end rot on fruit.
Solution: This is caused by localized Calcium deficiency, often due to inconsistent moisture. Maintain a steady soil moisture level to ensure Calcium ions move through the xylem. -
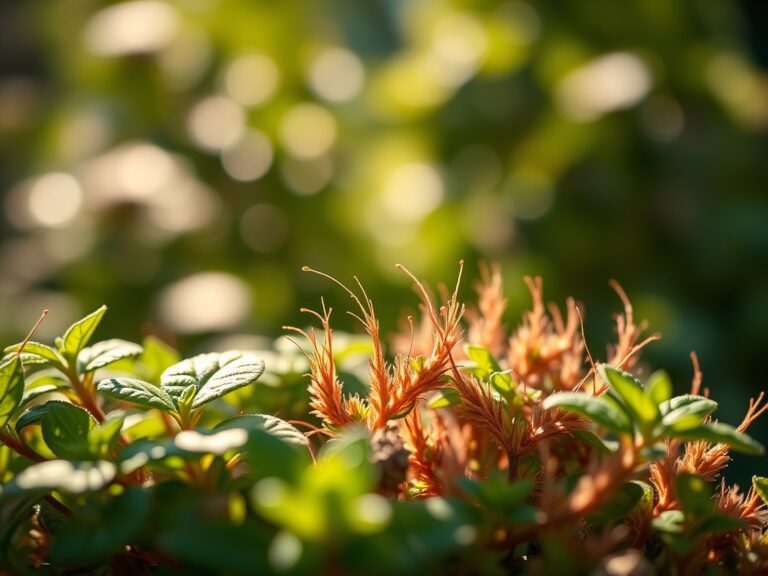
Symptom: Purple tinting on the underside of leaves.
Solution: This is a classic sign of Phosphorus deficiency. Check soil temperatures; if the soil is below 60 degrees Fahrenheit, Phosphorus uptake is biologically restricted regardless of soil concentration. -
Symptom: Nitrogen chlorosis (general yellowing of the entire plant).
Fix-It: Apply a high nitrogen organic fertilizer like blood meal or fish emulsion. Ensure the NPK ratio is weighted toward the first number to stimulate rapid vegetative recovery.
Maintenance:
Precision maintenance is the difference between a surviving plant and a thriving one. Deliver exactly 1.5 inches of water per week at the drip line. Use a soil moisture meter to verify that the water is penetrating at least 6 inches deep. For weeding near the markers, use a hori-hori knife to extract taproots without disturbing the lateral roots of your primary crop.
Keep your bypass pruners sharp and sanitized with a 10 percent bleach solution to prevent the spread of pathogens. If a marker becomes obscured by foliage, relocate it to the edge of the bed while maintaining its alignment with the main stem. This ensures that even during peak biomass production, your data remains accessible.
The Yield:
Harvesting at the peak of physiological maturity ensures maximum nutrient density and shelf life. For leafy greens, harvest in the early morning when turgor pressure is at its highest. This prevents wilting and maintains the structural integrity of the cell walls.
For fruiting crops, use the "slip test" or check for specific color changes at the abscission zone. Post harvest, cool the produce immediately to remove field heat and slow the rate of respiration. This "cold chain" management preserves the sugars and acids developed during the ripening process, ensuring day one freshness for several days.
FAQ:
What is the best material for DIY plant markers?
Untreated cedar or slate are superior choices. These materials resist decay in high moisture environments and do not leach synthetic chemicals into the rhizosphere, maintaining a stable soil pH and protecting the delicate microbial balance.
How deep should I place my markers?
Drive markers at least 3 to 4 inches into the substrate. This depth ensures stability against wind and heavy irrigation while remaining shallow enough to avoid damaging the primary root architecture or interfering with subterranean drip lines.
Can I use permanent markers on plastic tags?
Industrial grade paint pens are preferred over standard permanent markers. Standard inks degrade rapidly under high UV radiation and irrigation, leading to data loss. Paint pens provide an opaque, weather resistant layer that remains legible throughout the season.
How do I prevent markers from attracting pests?
Avoid using porous organic materials like untreated plywood, which can harbor earwigs or slugs. Stick to smooth surfaces like metal, stone, or hardwood. Ensure the area around the marker is clear of decaying organic matter to discourage pest colonization.