10 Vital Steps to Seal Bridge Timber
Damp earth carries the scent of geosmin and decomposing organic matter; it is the smell of a high Cation Exchange Capacity (CEC) at work. In the landscape, a timber bridge acts as a structural extension of the garden, yet it remains vulnerable to the same fungal pathogens and moisture fluctuations that affect the rhizosphere. Wood fibers must maintain structural integrity against the constant pressure of hydraulic expansion and contraction. To prevent premature senescence of the wood cells, you must master the steps to seal bridge timber. This process requires more than a superficial coating; it demands an understanding of cellular saturation and the mitigation of ultraviolet degradation. Without a rigorous sealing protocol, the timber will succumb to rot, losing its turgor-like rigidity and collapsing under the weight of the surrounding flora. Proper sealing ensures the wood remains hydrophobic, repelling the 40 to 60 inches of annual rainfall common in temperate zones. You are not merely painting a surface; you are creating a chemical barrier that preserves the lignin and cellulose matrix for decades of service.
Materials:
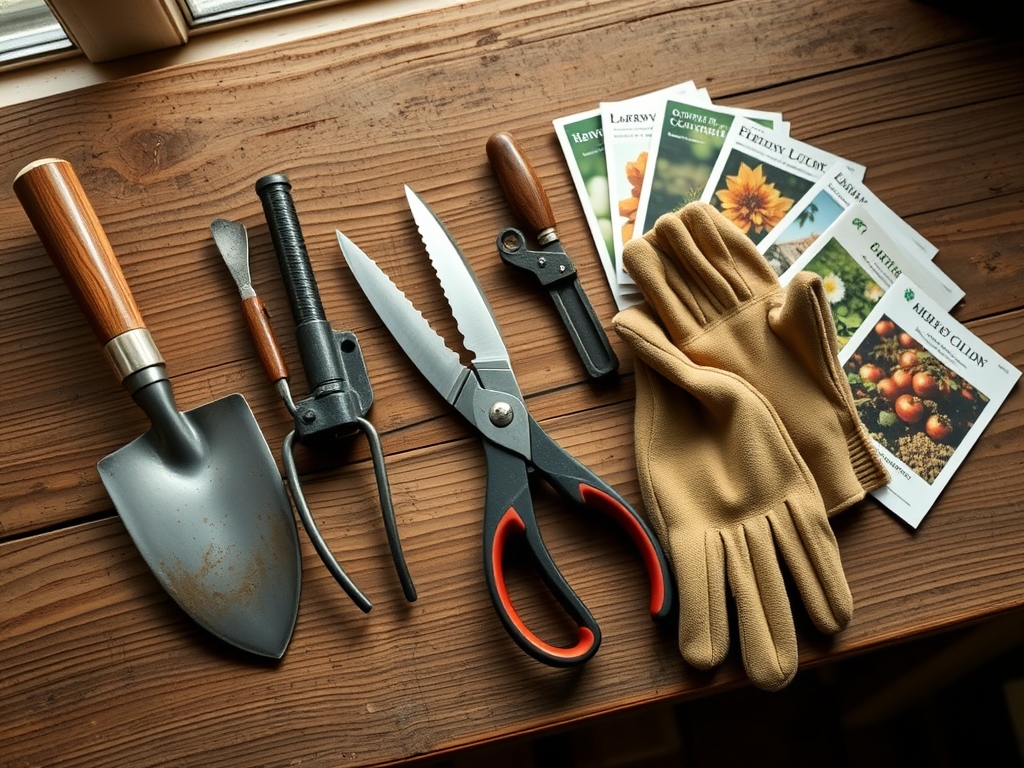
The foundation of any structural timber project begins with the ground it rests upon. Bridge footings should be set in a **friable loam** with a **pH of 6.0 to 7.0** to minimize corrosive mineral interactions. For the timber itself, you require a high-solids, oil-based penetrating sealer. Avoid water-based acrylics that sit on the surface; you need a product that migrates into the tracheids of the wood. Ensure you have a supply of **Oxygen Bleach (Sodium Percarbonate)** for cleaning, which is safer for the surrounding microbial life than chlorine bleach. If you are planting near the bridge, use a balanced **10-10-10 NPK fertilizer** to support the surrounding vegetation without causing excessive salt buildup near the wood. High nitrogen levels (above 20%) can encourage rapid fungal growth in the soil, which may migrate to the bridge if the wood is not properly sealed.
Timing:
Successful sealing is dictated by the atmospheric conditions of your USDA Hardiness Zone. In Zones 5 through 7, the ideal window is late spring or early autumn when the ambient temperature remains between 50 and 80 degrees Fahrenheit. The "Biological Clock" of the wood is its moisture content; the timber must be in a state of relative desiccation, ideally below 15% moisture content as measured by a digital meter. If you seal during the vegetative stage of the surrounding plants, be mindful of pollen counts. High pollen loads can become trapped in the wet sealer, providing a food source for mold spores. Aim for a period of three consecutive dry days with low humidity (below 60%) to ensure the solvents evaporate at a controlled rate, allowing the solids to bond with the wood fibers.
Phases:

Sowing the Preparation
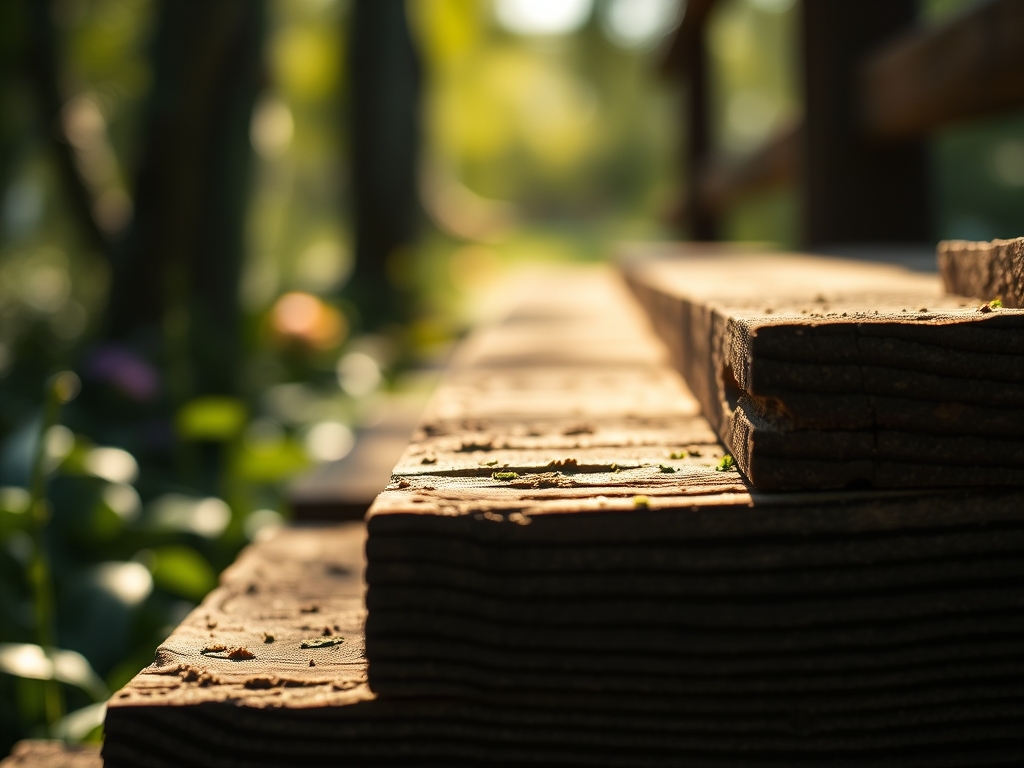
The first phase involves mechanical and chemical cleaning. Use a stiff-bristled brush to remove lichen and moss that have colonized the wood. Apply the sodium percarbonate solution and allow it to dwell for 20 minutes before rinsing with a low-pressure spray (under 1500 PSI). Excessive pressure will destroy the wood's latewood and earlywood transition zones, creating a "fuzzy" texture that traps moisture.
Pro-Tip: Removing surface biofilm is essential because of microbial succession. If you seal over active fungi, the sealer creates an anaerobic environment where certain rot-inducing bacteria thrive, accelerating internal decay.
Transplanting the Sealer
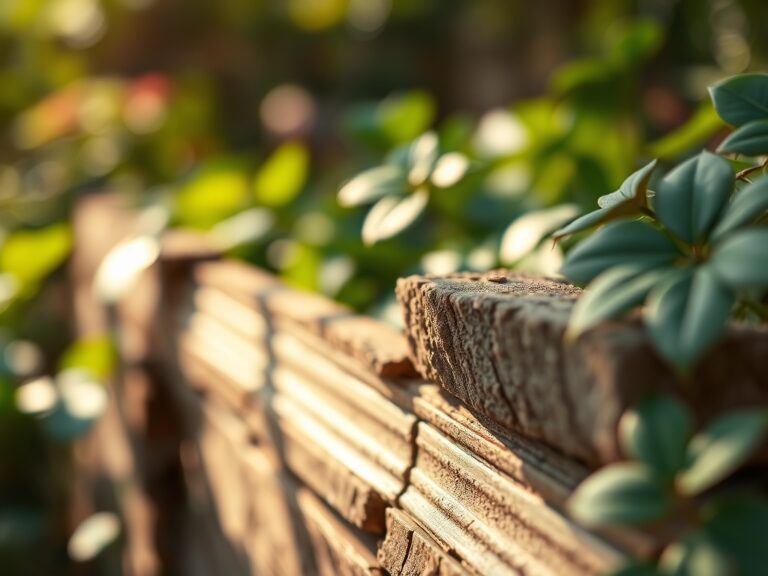
Apply the first coat of penetrating oil using a natural bristle brush or a high-volume, low-pressure (HVLP) sprayer. Start at the highest point of the bridge and work downward, following the grain. The wood should be saturated until it no longer "drinks" the liquid. Pay specific attention to the end-grain, which is 20 times more absorbent than the face-grain due to the longitudinal arrangement of the xylem vessels.
Pro-Tip: Capillary action pulls the sealer deep into the wood through the same pathways that once transported water and nutrients. By saturating the end-grain, you block the primary entry point for moisture-driven rot.
Establishing the Barrier
After the first coat has cured for 24 to 48 hours, apply a second, thinner coat. This layer acts as the primary UV shield, containing trans-oxide pigments that reflect solar radiation. These pigments prevent the breakdown of lignin, the "glue" that holds wood cells together. Ensure the bridge remains free of foot traffic for at least 72 hours to allow the resins to polymerize fully.
Pro-Tip: This secondary layer utilizes photoprotection principles. Just as plants produce anthocyanins to protect leaves from light stress, these pigments prevent UV rays from photo-degrading the wood's structural polymers.
The Clinic:
Monitor the timber for physiological disorders similar to plant stress.
- Symptom: Graying or "silvering" of the wood surface.
- Solution: This is UV degradation. Sand the surface with 80-grit sandpaper and reapply a pigmented sealer to restore the lignin shield.
- Symptom: Black spotting or localized staining.
- Solution: This indicates mildew or tannin bleed. Clean with an oxalic acid solution to neutralize the tannins and kill the fungal hyphae.
- Symptom: Deep longitudinal cracks (checking).
- Solution: This is caused by rapid moisture loss. Fill large checks with a wood-safe epoxy to prevent water from reaching the untreated core.
For nutrient-related issues in the surrounding soil, watch for Nitrogen Chlorosis (yellowing of older leaves). If found near the bridge, apply a chelated iron supplement or a 5-10-5 NPK fertilizer to correct the soil chemistry without over-stimulating the growth of wood-decaying fungi.
Maintenance:
A bridge requires the same precision as a prize specimen. Use a soil moisture meter to ensure the ground around the footings is not waterlogged; excess moisture leads to anaerobic soil conditions and wood rot. Maintain a clear zone of 6 inches between the timber and any mulch or groundcover to prevent "wicking." Prune overhanging branches using bypass pruners to allow maximum airflow and sunlight, which aids in rapid drying after rain. Every spring, inspect the joints using a hori-hori knife to probe for soft spots. If the knife penetrates more than 0.25 inches into the timber, the area must be dried, treated with a borate-based preservative, and resealed immediately.
The Yield:
While a bridge does not produce a harvest, its "yield" is measured in structural longevity and aesthetic integration. A properly sealed bridge will maintain its "day-one" structural integrity for 15 to 20 years with minimal intervention. Post-sealing, the wood should exhibit "beading," where water forms distinct spheres on the surface due to high surface tension. This indicates the hydrophobic barrier is active. To maintain this state, perform a "splash test" every 12 months. If the water soaks in within 30 seconds, it is time for a maintenance coat of oil.
FAQ:
How often should I seal bridge timber?
Perform a maintenance check annually. Generally, a full resealing is required every 2 to 3 years depending on UV exposure and precipitation levels. If water no longer beads on the surface, the protective resins have degraded.
Can I use pressure-treated wood sealer?
Yes, but ensure the wood has "weathered" for at least 6 months. New pressure-treated lumber has a high moisture content and chemical salts that prevent sealer penetration. Use a moisture meter to verify it is below 15%.
What is the best temperature for sealing?
Apply sealers when the ambient temperature is between 50 and 80 degrees Fahrenheit. Avoid direct midday sun, as rapid evaporation prevents the oil from penetrating the deeper cellular layers of the timber.
Is it necessary to sand before sealing?
Sanding with 60 to 80 grit is recommended for older timber. This opens the "pores" or tracheids of the wood, allowing for maximum absorption of the sealer and removing dead, grayed wood fibers that inhibit adhesion.