5 Easy Ways How to Dust Plant Leaves
The scent of damp earth and the firm turgor of a healthy leaf define a successful indoor microclimate. When particulate matter accumulates on the foliage, it creates a physical barrier that disrupts the gas exchange and light absorption necessary for survival. Learning how to dust plant leaves is a fundamental requirement for maintaining the photosynthetic efficiency of your collection. A layer of dust can reduce light penetration by up to 50 percent; this creates a deficit in the plant's energy budget and leads to stunted growth or premature senescence.
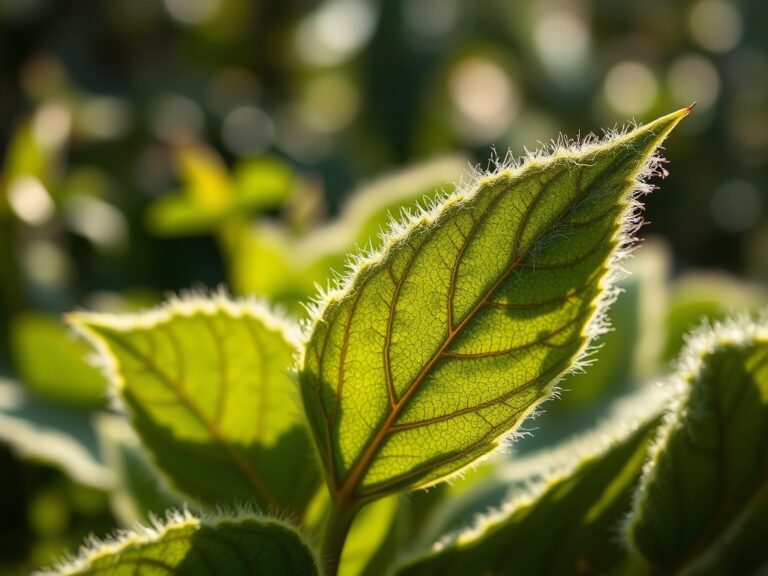
Maintaining clean foliage is not an aesthetic choice but a physiological necessity. Dust clogs the stomata, which are the microscopic pores responsible for transpiration and carbon dioxide intake. When these pores are obstructed, the plant cannot regulate its internal temperature or maintain the pressure needed to transport nutrients from the rhizosphere to the canopy. Regular cleaning ensures that the plant maximizes its photoperiod and maintains a high rate of metabolic activity. This guide provides the technical protocols required to keep your botanical specimens functioning at peak capacity through five precise methods.
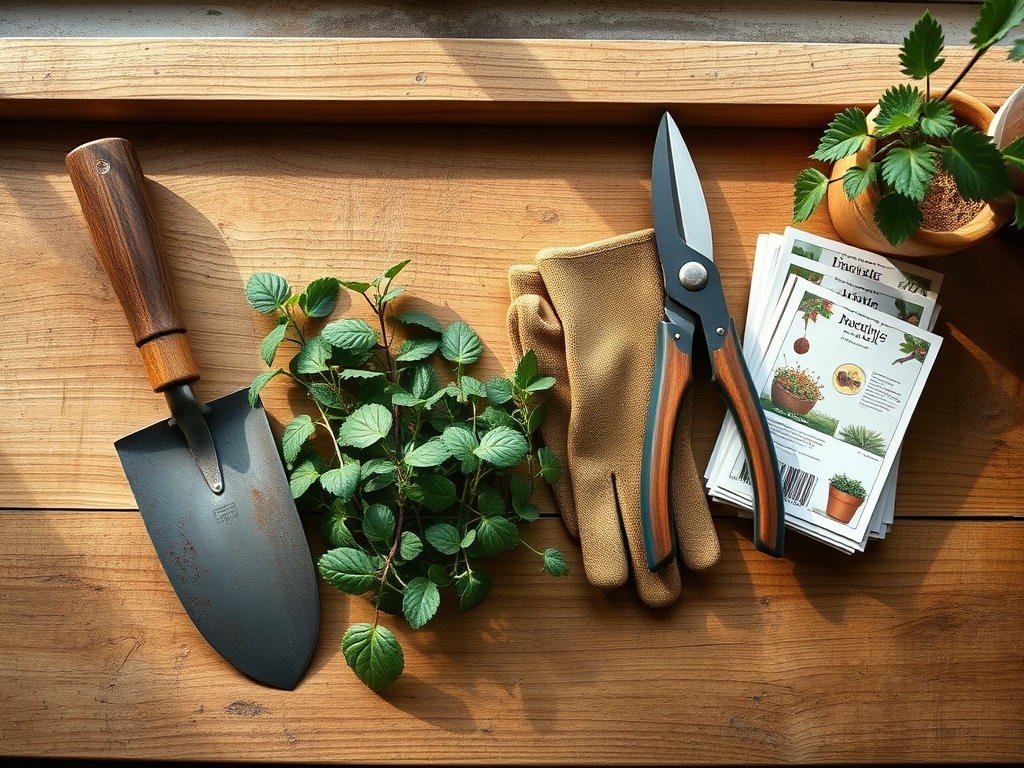
Materials:
To support the plant during cleaning, ensure the growing medium is a **friable loam** with a high Cation Exchange Capacity (CEC). A robust CEC ensures that the plant has sufficient mineral reserves to recover from the minor stress of handling. The soil pH should be maintained between **6.0 and 7.0** for most tropical indoor species to optimize nutrient bioavailability.
During the active growth phase, use a fertilizer with an NPK ratio of 10-15-10 to promote leaf thickness and cuticle strength. A thicker cuticle is more resistant to dust adhesion and easier to clean without causing mechanical damage. Essential tools include microfiber cloths, a soft-bristled brush, a pressure sprayer calibrated to 15-20 PSI, and distilled water to prevent mineral buildup.
Timing:
The timing of leaf maintenance should align with the plant's biological clock. In Hardiness Zones 7 through 10, indoor plants often experience a surge in vegetative growth between March and September. Dusting should be performed every 14 to 21 days during this period to accommodate the increased metabolic rate. Avoid heavy cleaning during the frost-date windows of late autumn, as plants enter a period of reduced activity where mechanical stress can trigger dormancy too early.
Cleaning is best performed in the early morning. This allows any residual moisture on the leaf surface to evaporate before the temperature drops at night; this prevents the germination of fungal spores. Ensure the plant is in its vegetative stage rather than the reproductive stage, as flowering plants divert energy toward bloom production and may be more sensitive to physical disturbance.
Phases:

Sowing and Initial Surface Prep
Before applying water, use a dry microfiber cloth to remove the heavy top layer of particulates. This prevents the formation of "mud" on the leaf surface, which can be pushed into the stomatal openings. Work from the base of the leaf toward the tip, supporting the underside with your palm to prevent snapping the midrib.
Pro-Tip: Supporting the leaf prevents micro-tears in the tissue. These tears can trigger an auxin suppression response, where the plant halts upward growth to divert resources toward wound healing.
Transplanting and Deep Cleaning
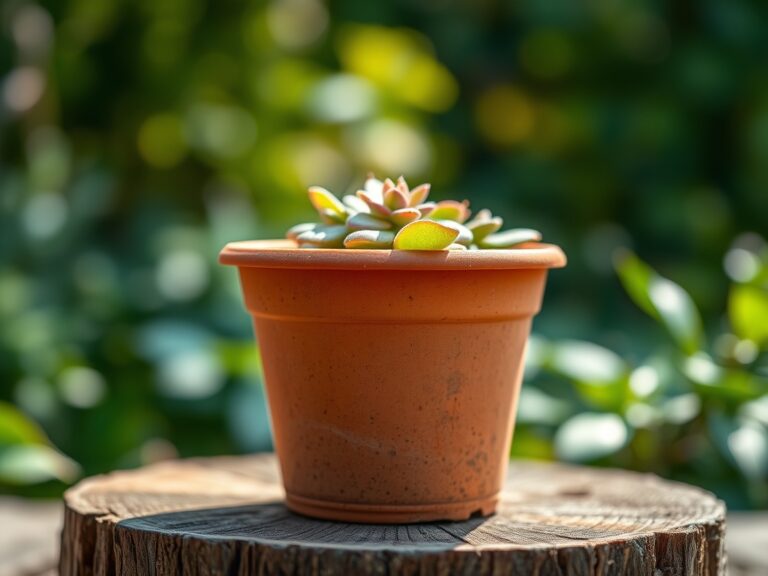
For plants with small or textured leaves, such as ferns or succulents, use a soft-bristled brush or a gentle stream of tepid water. If the plant is small enough, move it to a sink and rinse the foliage thoroughly. Ensure the water temperature is between 65 and 75 degrees Fahrenheit to avoid thermal shock to the root system.
Pro-Tip: Rinsing mimics natural rainfall, which stimulates thigmomorphogenesis. This is a biological response where physical touch or water pressure strengthens the stem and leaf attachment points.
Establishing a Protective Barrier
Once the leaves are clean, avoid using commercial leaf shine products that contain oils or waxes. These substances can permanently seal the stomata and interfere with the transpiration pull. Instead, use a solution of 95 percent distilled water and 5 percent lemon juice to dissolve mineral spots without leaving a residue.
Pro-Tip: Maintaining a clean surface facilitates phototropism. When the leaf is free of debris, the photoreceptors can more accurately detect light direction, allowing the plant to orient its leaves for maximum energy capture.
The Clinic:
Physiological disorders often manifest when cleaning is neglected or performed incorrectly.
Symptom: Yellowing of lower leaves (Chlorosis).
Solution: This often indicates a Nitrogen deficiency. If the leaves are also dusty, the plant cannot process the Nitrogen it has. Clean the leaves and apply a 5-1-1 fish emulsion to provide immediate bioavailable nutrients.
Symptom: Brown, crispy leaf edges.
Solution: This is typically caused by low humidity or tap water chemicals like chlorine. Use distilled water for cleaning and maintain a humidity level of 50 to 60 percent.
Symptom: White, chalky spots on leaves.
Solution: These are mineral deposits from hard water. Wipe the leaves with a diluted vinegar solution (1 teaspoon per quart of water) to lower the pH and dissolve the calcium carbonate.
Fix-It for Nitrogen Chlorosis: If cleaning does not restore color within 10 days, check the soil pH. If the pH is above 7.5, Nitrogen is locked out. Amend the soil with elemental sulfur to bring the pH back to the 6.5 range.
Maintenance:
Consistency is the core of horticultural success. Monitor the substrate daily using a soil moisture meter. Most indoor tropicals require the top 1 to 2 inches of soil to dry out before the next irrigation cycle. When watering, apply approximately 1.5 inches of water at the drip line to ensure the entire root ball is saturated and salts are flushed from the medium.
Keep a hori-hori knife and bypass pruners sterilized and ready. Use the pruners to remove any leaves showing more than 30 percent necrosis. Removing dead tissue prevents the spread of pathogens and allows the plant to focus energy on new, clean growth. Check the undersides of leaves during every dusting session for signs of pests that thrive in dusty, dry conditions.
The Yield:
While leaf dusting is primarily for foliage health, it directly impacts the yield of indoor fruit or flower producers. For species like Citrus or Gardenia, clean leaves mean more carbohydrates are available for fruit and flower development. When harvesting, use sharp snips to make a clean cut at a 45-degree angle above a node. To maintain "day-one" freshness for cut greens or flowers, submerge the stems in 100-degree Fahrenheit water immediately after cutting to break air bubbles in the xylem and ensure maximum hydration.
FAQ:
How often should I dust my plants?
Dust your plants every two to three weeks. If you live in a high-dust environment or near a construction site, increase the frequency to every seven days to prevent stomatal blockage and maintain photosynthetic efficiency.
Can I use dish soap to clean leaves?
Only use a highly diluted, mild castile soap (1 teaspoon per gallon). Avoid harsh detergents, as they can strip the protective waxy cuticle, leaving the plant vulnerable to desiccation and pathogens.
Should I mist my plants after dusting?
Misting is not a substitute for dusting. While it can temporarily raise local humidity, it often leaves mineral deposits that attract more dust. Focus on wiping the leaves dry to ensure the stomata remain clear.
What is the best cloth for dusting?
A microfiber cloth is the superior choice. The synthetic fibers are designed to lift and trap dust particles rather than pushing them around. This prevents mechanical abrasion on the delicate leaf epidermis during the cleaning process.