6 Easy Ways How to Pot Up in Steps
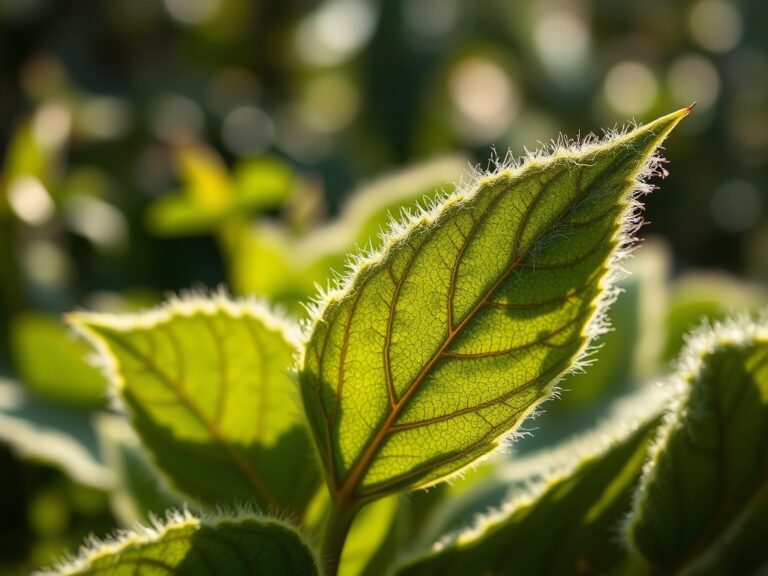
The smell of damp peat and the gritty friction of perlite against your palms signal the start of a successful transplant. When a plant reaches the limits of its container, its turgor pressure begins to fluctuate and root tips press against the plastic walls; this is the critical moment to learn how to pot up in steps. This technical transition ensures the rhizosphere remains oxygenated and the plant avoids the stunted growth associated with becoming root-bound.
Successful potting requires more than just a larger vessel. It involves a calculated intervention in the plant's life cycle to maximize its Cation Exchange Capacity (CEC) and nutrient uptake. If you wait until the lower leaves show senescence, you have waited too long. The goal is to move the specimen while it is in its active vegetative state, ensuring the root system can immediately colonize the new substrate. By following a structured protocol, you maintain the hydraulic conductivity of the xylem and prevent the physiological shock that often kills less hardy species.
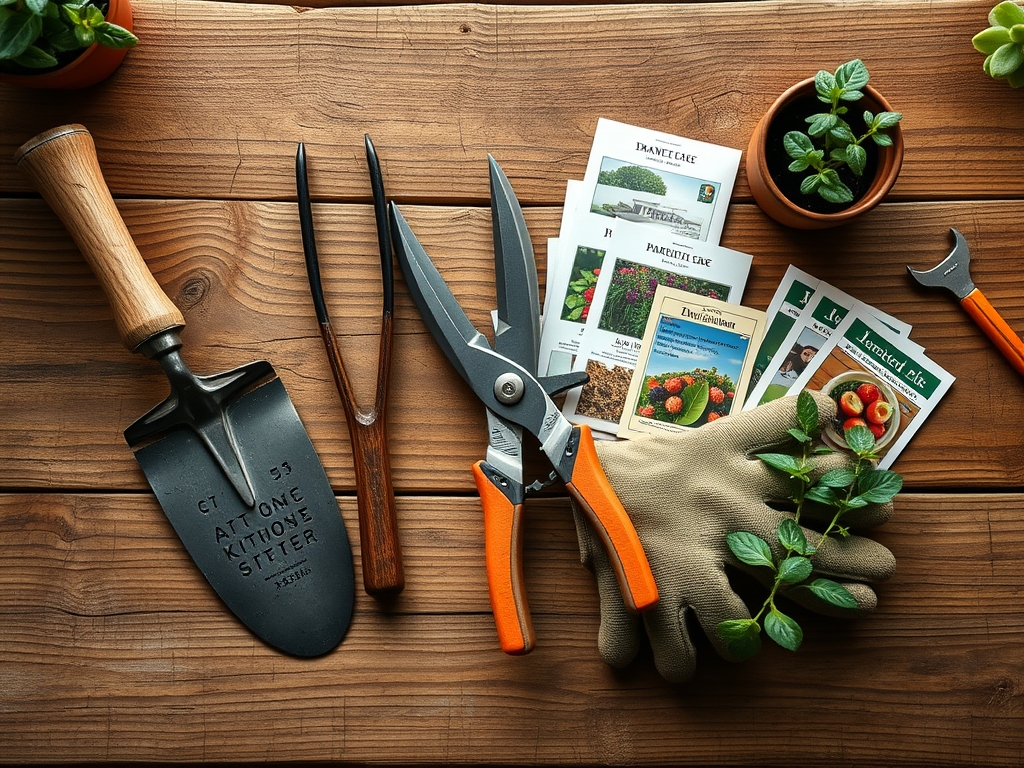
Materials:
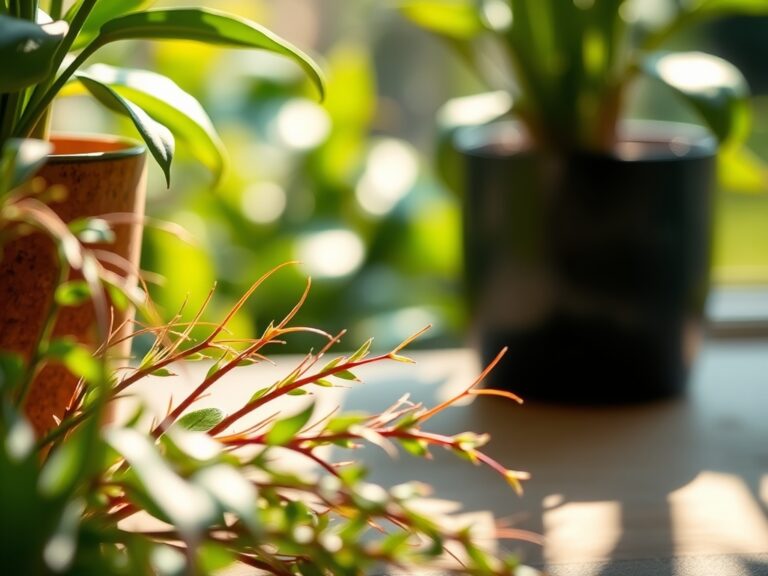
The foundation of any container system is the substrate. For most temperate species, you require a friable loam with a pH range of 6.0 to 6.5. This acidity level ensures that micronutrients like iron and manganese remain bioavailable. Avoid heavy garden soil; it lacks the porosity needed for container drainage.
Your primary potting mix should feature a base NPK ratio of 5-10-5. The higher phosphorus content encourages root initiation without forcing excessive, weak top growth. Incorporate coarse sand or perlite to maintain a macropore space of at least 20 percent. This physical structure prevents anaerobic conditions at the base of the pot. Ensure your containers have adequate drainage holes; a 12 inch pot requires at least four half inch apertures to prevent waterlogging.
Timing:
In Hardiness Zones 5 through 8, the primary window for potting up occurs between the last spring frost and the summer solstice. For indoor specimens, timing depends on the photoperiod. Most plants respond best when day lengths are increasing, as this triggers the production of auxins that stimulate root elongation.
The biological clock of the plant dictates that you must pot up before the transition from the vegetative stage to the reproductive stage. Once a plant begins to set buds or flowers, its energy is diverted away from root development. Potting up during the flowering phase often results in abscission, where the plant drops its blooms due to the stress of the move. Aim for a temperature window where the ambient air is between 65 and 75 degrees Fahrenheit to minimize transpiration stress during the move.
Phases:
Sowing and Initial Growth
Start with clean, sterilized trays. Use a seed-starting mix with a low CEC to prevent salt burn on delicate radicles. Keep the substrate consistently moist at a moisture tension of 10 to 30 centibars.
Pro-Tip: Maintain a consistent soil temperature of 70 degrees Fahrenheit to optimize enzyme activity. This biological why is centered on thermomorphogenesis, where specific temperatures regulate the rate of cellular division in the apical meristem.
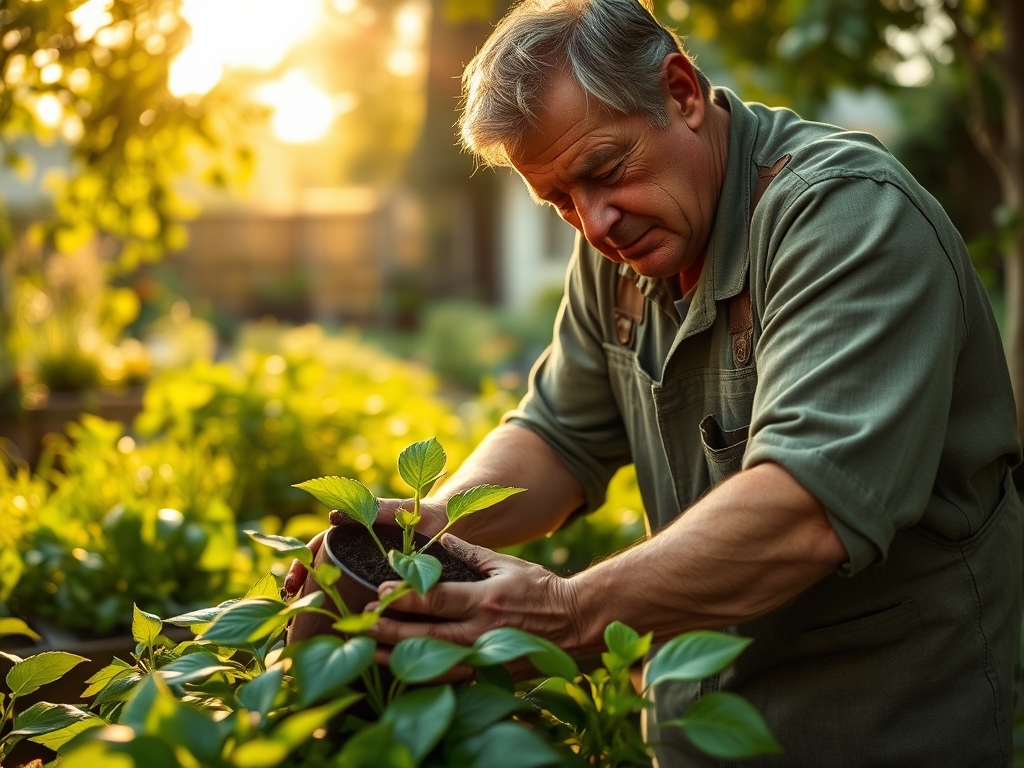
Transplanting to the Intermediate Pot
When the first set of true leaves appears, move the seedling to a 4 inch container. Use your hori-hori knife to lift the plug, ensuring the root ball remains intact. Do not bury the stem deeper than it was previously, as this can lead to adventitious root rot.
Pro-Tip: Dust the roots with a mycorrhizal inoculant. This facilitates a mycorrhizal symbiosis where fungal hyphae extend the root system's reach, increasing phosphorus uptake by up to 300 percent.
Establishing in the Final Container
The final move occurs when roots are visible through the drainage holes of the intermediate pot. Gently tease out any circling roots to prevent "girdling." Place the plant in the center of the new vessel and firm the soil to remove large air pockets, but do not compact it so tightly that you destroy the soil structure.
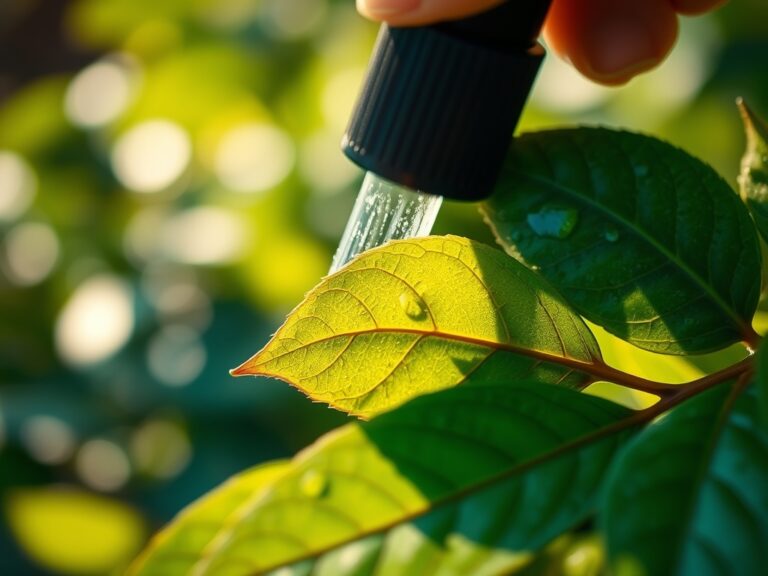
Pro-Tip: Water the plant immediately after the move with a seaweed-based solution. The natural hormones in the seaweed help in auxin suppression of stress signals, allowing the plant to resume normal metabolic functions within 24 hours.
The Clinic:
Physiological disorders often manifest shortly after potting up. Identifying these symptoms early is the difference between a thriving plant and a total loss.
-
Symptom: Interveinal Chlorosis.
Solution: This is often a sign of Magnesium deficiency. Apply a solution of one tablespoon of Epsom salts per gallon of water to restore the chlorophyll molecules. -
Symptom: Leaf Curl and Stunted Tips.
Solution: This indicates Calcium deficiency or erratic watering. Maintain a consistent vapor pressure deficit (VPD) and ensure your potting mix includes dolomitic lime to stabilize calcium levels. -
Symptom: Immediate Wilting despite wet soil.
Solution: This is "Transplant Shock" or root suffocation. Use a soil moisture meter to verify that you are not overwatering. If the soil is saturated, provide temporary shade to reduce the transpiration rate until the roots can recover.
Fix-It for Nitrogen Chlorosis: If the oldest leaves turn a uniform pale yellow, the plant is scavenging nitrogen for new growth. Apply a water-soluble fertilizer with an NPK of 10-5-5 to quickly boost nitrate levels in the rhizosphere.
Maintenance:
Precision maintenance is required to sustain the plant in its new environment. Provide 1.5 inches of water per week delivered directly at the drip line to encourage outward root expansion. Use your bypass pruners to remove any dead or crossing branches; this improves airflow and reduces the risk of fungal pathogens.
Monitor the soil with a soil moisture meter daily. For most species, you should wait until the top 2 inches of soil are dry before re-watering. This "dry-down" period is essential for gas exchange. If the plant becomes too dense, use a hori-hori knife to prune the root edges every two years to maintain a healthy root-to-shoot ratio without moving to an even larger pot.
The Yield:
If you are growing edibles or flowering annuals, harvest timing is determined by the sugar content (Brix level) and cellular turgidity. Harvest in the early morning, specifically before 9:00 AM, when the plant is at its maximum hydration. This ensures "day-one" freshness and a longer shelf life.
Use sharp, sterilized snips to make clean cuts at a 45 degree angle. This minimizes the surface area of the wound and prevents pathogens from entering the vascular system. Immediately place the harvested material in a cool, shaded area to slow the rate of respiration and preserve the volatile oils or sugars within the tissues.
FAQ:
How do I know it is time to pot up?
Check the drainage holes. If roots are protruding or the plant requires water more than once a day, the root mass has outgrown the substrate volume. The plant may also exhibit stunted growth and frequent wilting.
What size pot should I choose?
Increase the pot diameter by 2 inches for small plants and 4 inches for larger specimens. Avoid "over-potting," which leads to a large volume of sour, saturated soil that the roots cannot reach, causing root rot.
Can I reuse old potting soil?
It is not recommended. Old soil loses its porosity and may harbor pathogens or accumulated salts. Always start with fresh substrate to ensure a high Cation Exchange Capacity and proper nutrient balance for the new root system.
Why are my leaves turning yellow after potting?
This is likely Nitrogen chlorosis or transplant shock. Check the soil moisture first. If the soil is correct, apply a balanced liquid fertilizer to provide immediate nutrients while the roots establish themselves in the new medium.