9 Best Tuned Chimes for Gardens
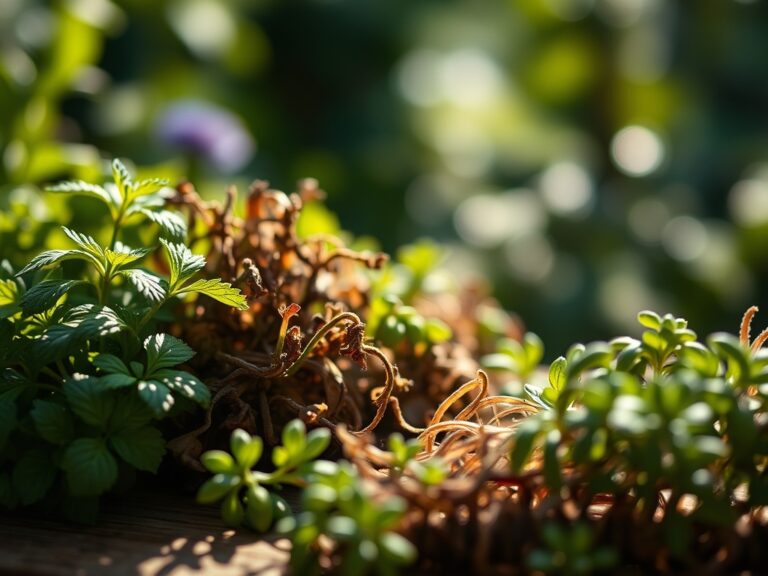
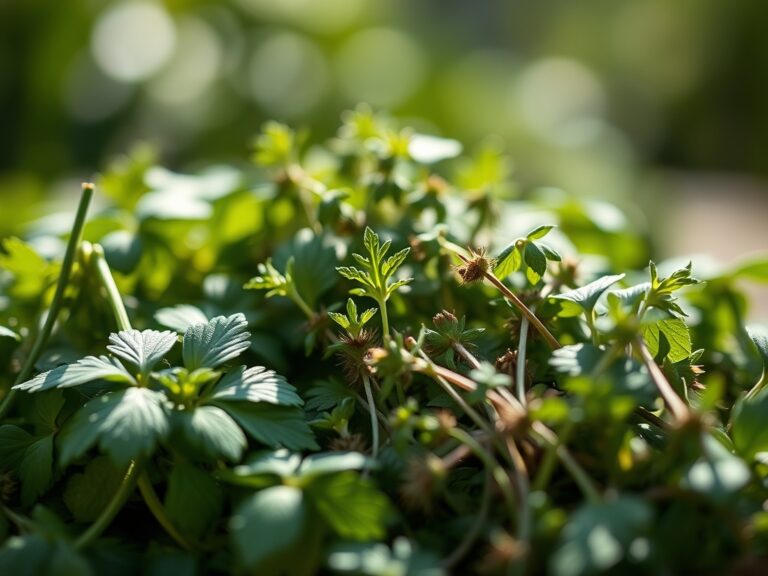
The scent of damp humus and decomposing organic matter signals a high microbial activity in the rhizosphere; this is the foundation of a productive landscape. When the turgor pressure in your perennials is at its peak during the early morning hours, the environment is primed for sensory integration. Selecting the best tuned chimes for gardens requires more than an aesthetic eye; it demands an understanding of how acoustic frequencies interact with the physical structure of a garden. Sound waves at specific decibels can influence the stomatal opening of certain plant species, potentially enhancing nutrient uptake. Integrating high quality aluminum or bamboo resonators creates a professional auditory layer that complements the structural integrity of your horticultural design.
The best tuned chimes for gardens are not merely ornaments; they are precision instruments. A well placed chime serves as a kinetic marker of wind velocity and direction, providing real time data on microclimates within your plot. In a space defined by rigid botanical science, these instruments offer a functional bridge between the physical growth of the plant and the atmospheric conditions of the site. Whether you are managing a high density orchard or a curated xeriscape, the resonance of a tuned chime adds a layer of sophistication that reflects a master level approach to landscape management.
Materials:
To support the structural installation of heavy chimes and the surrounding flora, the substrate must be a **friable loam** with a high **Cation Exchange Capacity (CEC)**. This ensures that the soil can hold and exchange essential cations like calcium, magnesium, and potassium. For optimal plant health surrounding your chime station, maintain a **soil pH between 6.2 and 6.8**.
Nutrient management should follow specific NPK ratios based on the plant life cycle. During the establishment of perennial supports, utilize a 10-10-10 balanced fertilizer to ensure steady root development. If the area features heavy flowering shrubs, transition to a 5-10-10 ratio to prioritize phosphorus for bloom production over nitrogen for vegetative growth. The physical texture of the soil should allow for immediate drainage; compacted clay will lead to anaerobic conditions and root rot, compromising the stability of any hanging structures.
Timing:
The installation of garden hardware and the planting of accompanying windbreaks must align with your local Hardiness Zone. In Zones 5 through 7, the primary window for structural work opens after the final spring frost, typically between April 15 and May 15. This timing coincides with the "Biological Clock" of most temperate species, where the transition from dormancy to the vegetative stage begins as soil temperatures consistently reach 55 degrees Fahrenheit.
Understanding the photoperiod is critical. As day length increases, plants move from vegetative growth to reproductive stages. Installing the best tuned chimes for gardens during this transition allows the gardener to observe how summer wind patterns interact with the developing canopy. Avoid heavy soil disturbance during the peak of summer heat to prevent moisture stress and excessive transpiration.
Phases:

Sowing and Site Preparation
Begin by clearing a diameter of 24 inches around the intended installation site. If planting climbers to grow near the chime stand, sow seeds at a depth of twice the seed diameter. Ensure the soil is moist but not saturated.
Pro-Tip: Proper site preparation encourages mycorrhizal symbiosis. These fungal networks extend the root system's reach, increasing the surface area for water and phosphorus absorption by up to 100 times.
Transplanting
When moving nursery stock to the chime area, ensure the root ball stays intact to prevent transplant shock. Dig a hole two times wider than the root ball but no deeper. This prevents the settling of the crown below the soil line, which causes stem rot.
Pro-Tip: Maintain the plant's original orientation to the sun to manage phototropism. Plants have already optimized their leaf angles for the light at the nursery; sudden rotation causes energy loss as the plant reorients its foliage.
Establishing
During the first 21 days, the plant focuses on root expansion. Provide consistent moisture to maintain turgor pressure. If using a chime stand, ensure it is anchored at least 18 inches deep to withstand high wind shear without disturbing the developing root zone.
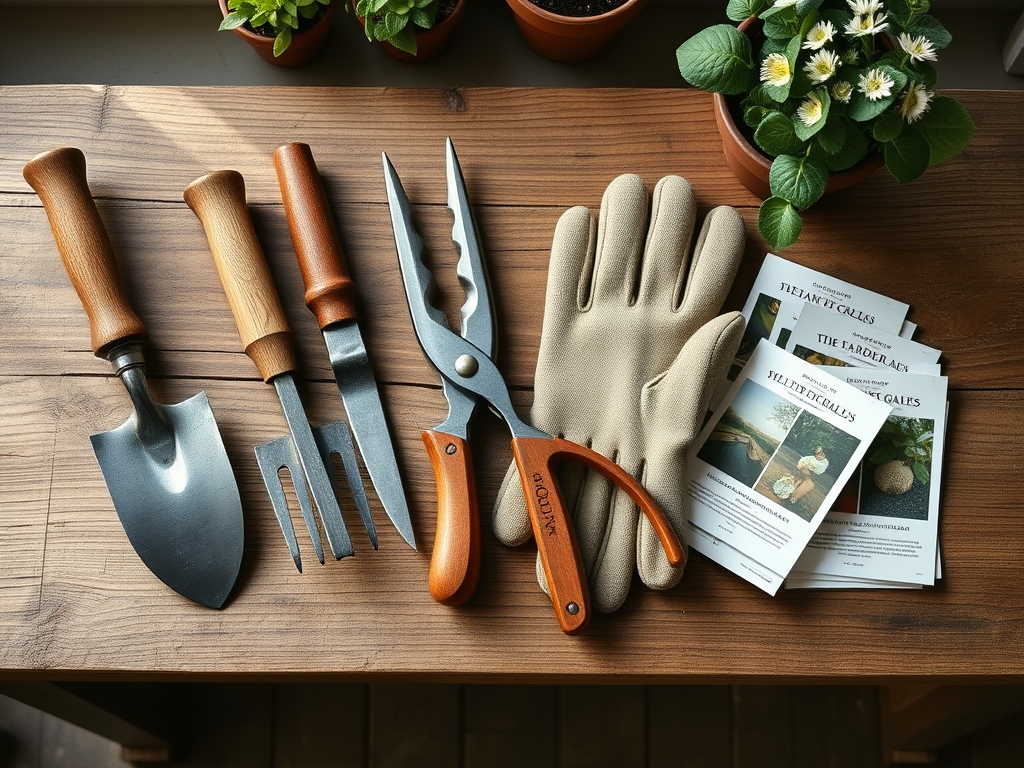
Pro-Tip: Use a hori-hori knife to prune any circling roots during transplanting. This disrupts auxin suppression at the root tips, stimulating the growth of lateral roots into the surrounding native soil.
The Clinic:
Physiological disorders often manifest as visual cues in the foliage.
- Symptom: Interveinal chlorosis on young leaves.
Solution: This indicates an Iron deficiency, often caused by high pH. Lower the pH using elemental sulfur to increase iron bioavailability. - Symptom: Marginal leaf burn or scorching.
Solution: This is a sign of Potassium deficiency or salt accumulation. Flush the soil with 2 inches of water and adjust your NPK application. - Symptom: Stunted growth with purple tinting on the underside of leaves.
Solution: This signifies Phosphorus deficiency. Apply a water soluble high phosphorus fertilizer to the root zone.
Fix-It Section: For general Nitrogen chlorosis (yellowing of older leaves), apply a quick release nitrogen source like blood meal. Ensure the soil temperature is above 50 degrees Fahrenheit for effective microbial conversion.
Maintenance:
Precision maintenance is the hallmark of a professional garden. Apply exactly 1.5 inches of water per week at the drip line. Use a soil moisture meter to verify that the moisture has penetrated 6 to 8 inches deep. Overwatering is as detrimental as drought, as it displaces oxygen in the soil pores.
Keep your bypass pruners sharp and sterilized with 70 percent isopropyl alcohol to prevent the spread of pathogens. Prune dead or crossing branches in late winter to maintain airflow around the chimes. If the chime hardware shows signs of oxidation, wipe it down with a light coat of silicone oil to maintain the acoustic purity of the tubes.
The Yield:
For gardens featuring harvestable botanicals near the chime station, timing is everything. Harvest herbs and flowers when the essential oil concentration is highest, which occurs just after the morning dew has evaporated but before the midday sun. Use a sharp hori-hori knife for clean cuts that minimize tissue damage.
Post harvest, immediately place stems in cool water to maintain vascular turgor. For long term storage of dried botanicals, hang them in a dark, well ventilated area with a humidity level below 50 percent to prevent fungal growth.
FAQ:
What is the best material for garden chimes?
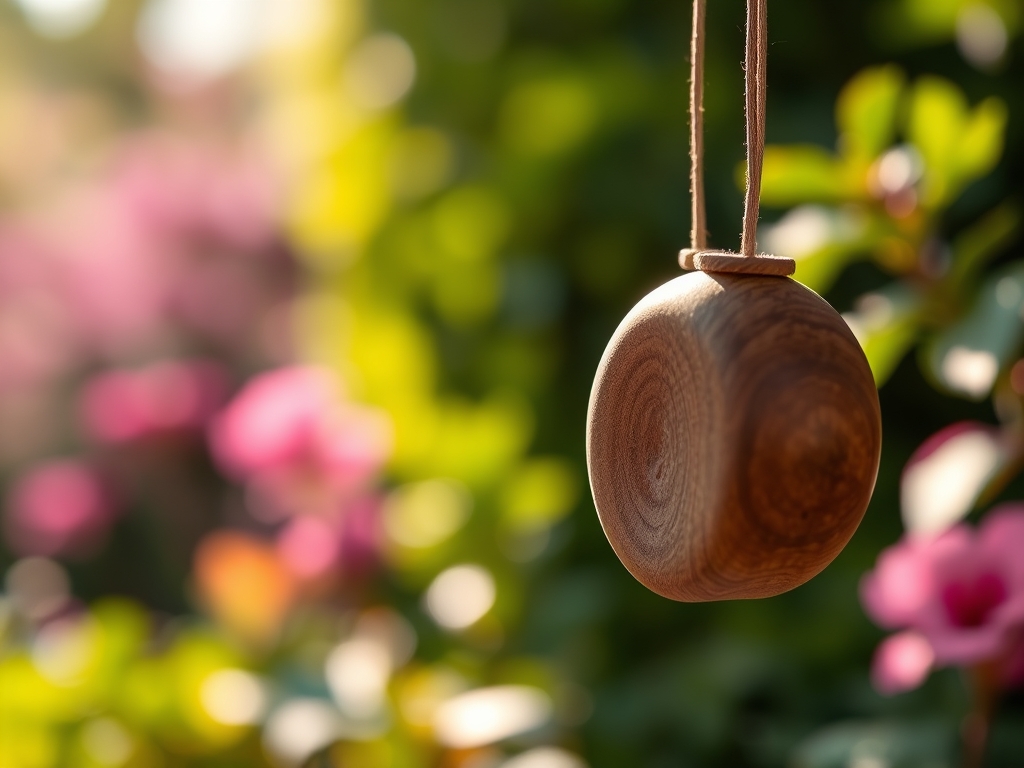
High grade aluminum is the professional choice. It offers superior weather resistance and precise tuning. Unlike wood, aluminum does not swell or contract significantly with humidity, ensuring the acoustic frequency remains constant across different seasons.
How do I prevent my chimes from tangling?
Ensure the chime is hung perfectly level using a spirit level. Use a high tensile strength braided nylon cord rather than monofilament. Maintain a clear radius of at least 12 inches from any overhanging tree branches or structures.
Can sound chimes affect plant growth?
Research suggests that specific sound frequencies can stimulate stomatal opening, which may increase gas exchange and transpiration. While not a replacement for nutrients, a consistent acoustic environment can be a supplementary factor in a highly optimized greenhouse or garden.
How do I clean oxidized metal chimes?
Use a non abrasive cloth and a mild solution of acetic acid (vinegar) and water. For stubborn oxidation on bronze or copper, a fine grade steel wool can be used sparingly. Always apply a UV resistant clear coat after cleaning.