6 Simple Steps to Plant a Herb Border
Crushing a leaf of Rosmarinus officinalis between your thumb and forefinger releases volatile oils that signal a plant in peak physiological health. This sensory feedback, combined with the smell of damp, aerobic soil, confirms that the rhizosphere is active and ready for colonization. To achieve this level of botanical vigor, you must follow disciplined steps to plant a herb border that prioritize soil physics and plant physiology over aesthetic whims. A successful border functions as a living machine; it requires high turgor pressure in the cellular walls and a balanced nutrient profile to withstand environmental stressors. You are not merely placing plants in the ground. You are engineering a micro-ecosystem where root architecture and microbial symbiosis dictate the longevity of the stand. By focusing on the chemical composition of the substrate and the specific photoperiod requirements of each species, you ensure that your perennial and annual herbs transition seamlessly from the nursery container to the open field without the setback of transplant shock or nutrient lockout.
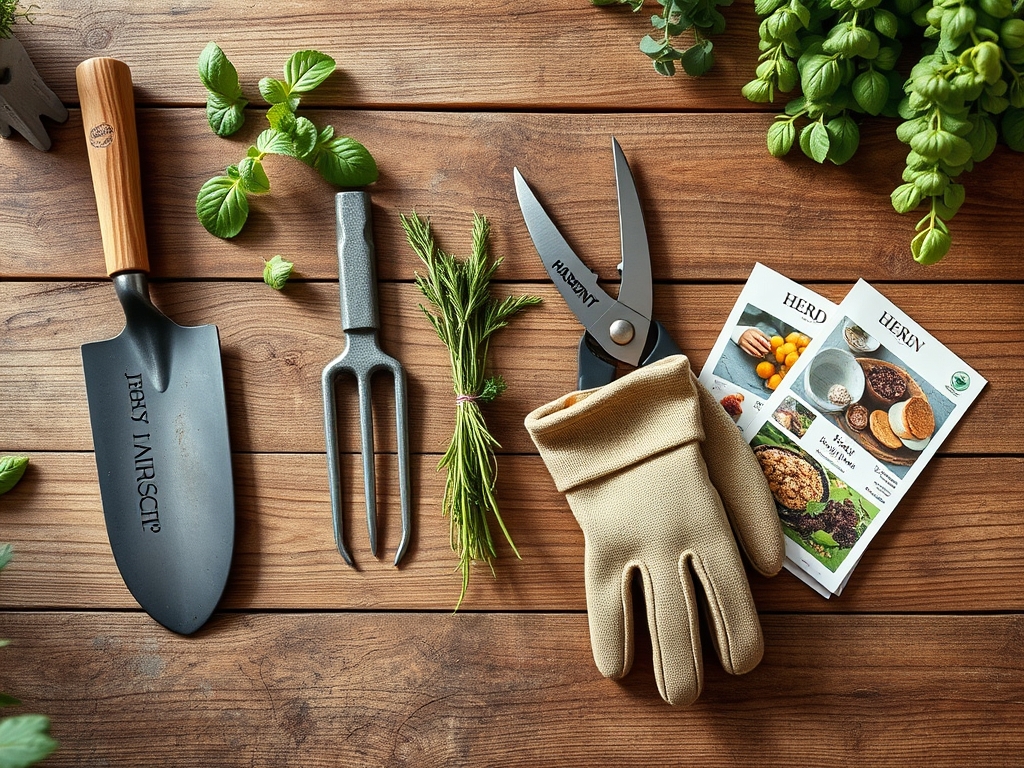
Materials:
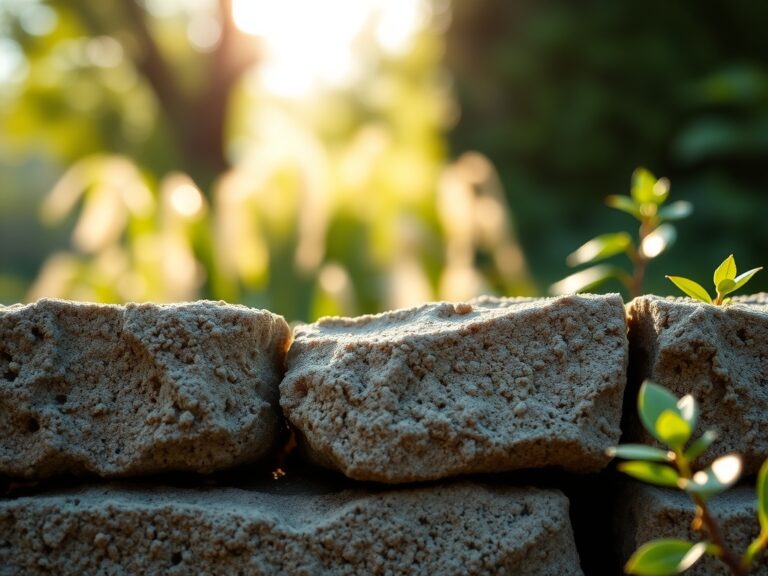
The foundation of a herb border is the substrate. Most Mediterranean herbs, such as Lavandula and Thymus, require a pH range of 6.5 to 7.5. If your soil is acidic, you must incorporate pelletized lime to raise the alkalinity. The ideal physical texture is a friable loam; this means the soil should crumble easily when squeezed, indicating a balance of sand, silt, and clay that prevents compaction.
For the initial planting phase, use a low-nitrogen fertilizer to prevent leggy growth. An NPK ratio of 5-10-10 is optimal. High phosphorus (the middle number) encourages robust root development and cellular expansion. Avoid high-nitrogen blends (like 20-10-10) during the establishment phase, as excessive nitrogen can dilute the concentration of essential oils in the foliage, reducing the herb's potency. Your soil should have a high Cation Exchange Capacity (CEC), which measures the soil's ability to hold onto essential nutrients like calcium, magnesium, and potassium. Incorporate well-rotted organic matter to increase the CEC if your soil is excessively sandy.
Timing:
Success depends on the Hardiness Zone and the local frost-date window. In Zones 7 through 9, planting can occur in early autumn or late spring. In colder Zones 3 through 6, you must wait until the soil temperature consistently reaches 60 degrees Fahrenheit (15.5 degrees Celsius). Planting too early into cold, anaerobic soil leads to root rot and fungal pathogens like Pythium.
Understanding the Biological Clock of your herbs is essential. Most herbs transition from the vegetative stage (leaf production) to the reproductive stage (flowering) based on the photoperiod, or the length of daylight. For example, Cilantro (Coriandrum sativum) is a "long-day" plant that will bolt and go to seed rapidly when daylight exceeds 12 hours and temperatures rise. To maximize leaf yield, plant during the shoulder seasons when day lengths are shorter and temperatures are moderate.
Phases:
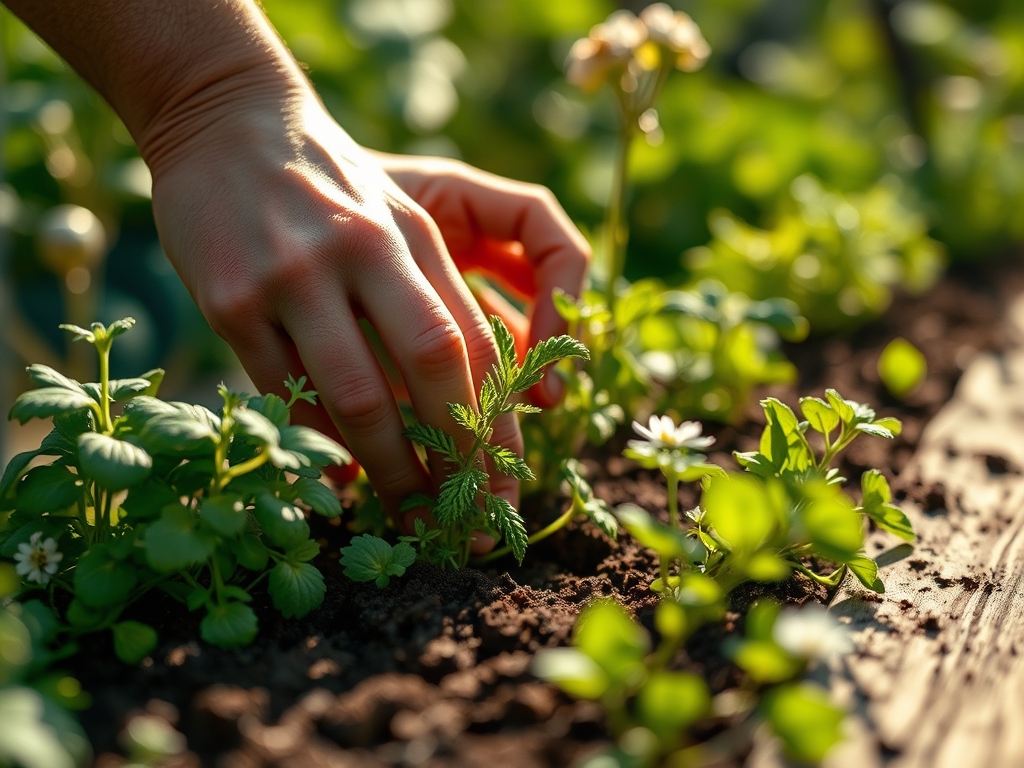
Sowing and Site Preparation
Clear the border of all perennial weeds using a hori-hori knife to ensure you remove the entire taproot. Dig the soil to a depth of 12 inches to break up any hardpan layers that might impede drainage. If sowing seeds directly, ensure the seedbed is level and fine-textured. Small seeds like Oregano require light for germination; do not bury them deeply.
Pro-Tip: Utilize the principle of Phototropism. Orient your border so that taller herbs like Bay Laurel do not shade out low-growing groundcovers like Creeping Thyme. Proper light exposure ensures uniform auxin distribution within the plant stems, preventing lopsided growth.
Transplanting
When moving a plant from a pot to the border, the hole must be twice as wide as the root ball but no deeper. If the plant is root-bound, gently score the root mass to encourage outward growth into the surrounding soil. Ensure the crown of the plant sits exactly at the soil line to prevent crown rot.
Pro-Tip: Inoculate the planting hole with mycorrhizal fungi. This creates a symbiotic relationship where the fungi extend the reach of the root system, increasing the plant's ability to uptake water and phosphorus in exchange for carbohydrates.
Establishing
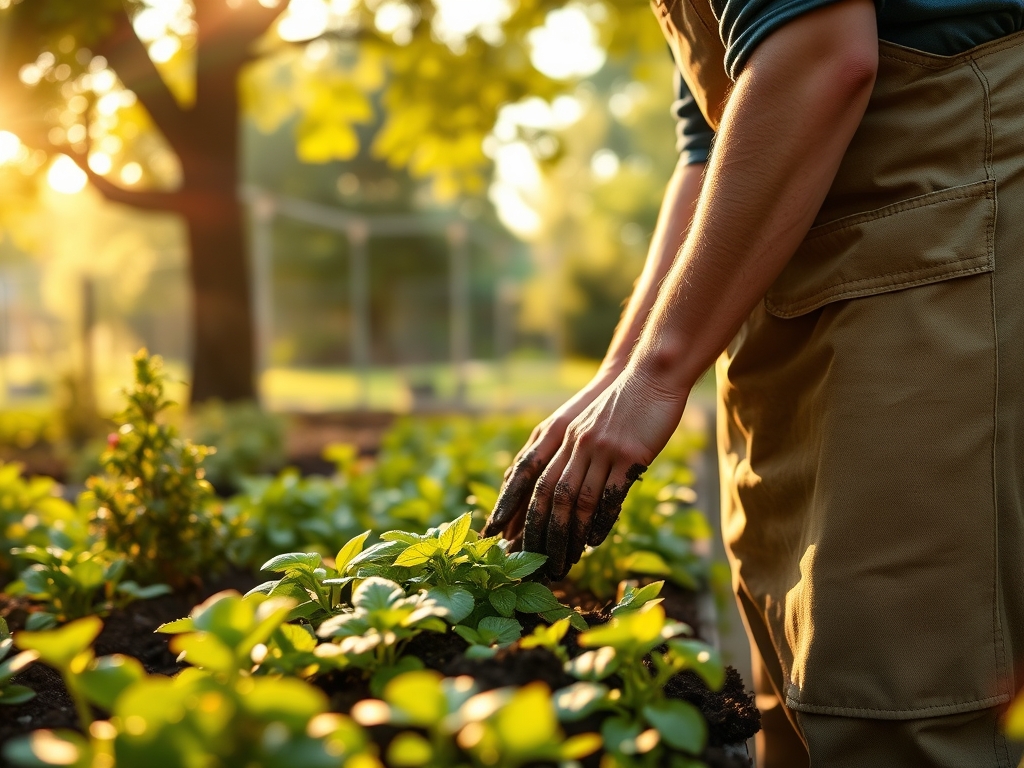
The first 14 to 21 days are critical for root establishment. During this window, the plant focuses on hydraulic conductance. Keep the soil consistently moist but never saturated. Once you see new terminal bud growth, the plant has successfully anchored its root system.
Pro-Tip: Practice Auxin Suppression by pinching off the leading terminal buds of young Basil or Mint. This removes the apical dominance, forcing the plant to redirect its energy to lateral buds, resulting in a bushier, more productive herb.
The Clinic:
Physiological disorders often mimic disease, but they are usually a result of environmental or nutritional imbalances.
- Symptom: Interveinal Chlorosis (yellowing between leaf veins while veins stay green).
Solution: This is typically a Magnesium deficiency. Apply Epsom salts (magnesium sulfate) at a rate of 1 tablespoon per gallon of water. - Symptom: Leaf Tip Burn or Necrosis.
Solution: Often caused by Calcium deficiency or inconsistent watering. Calcium is immobile in the plant; it requires steady transpiration to move from the roots to the leaves. Maintain consistent soil moisture. - Symptom: Purple or Reddish tinting on older leaves.
Solution: This indicates Phosphorus deficiency, often exacerbated by cold soil temperatures which inhibit phosphorus uptake. Mulch the area to increase soil temperature. - Symptom: General yellowing of lower leaves (Chlorosis).
Solution: Nitrogen deficiency. Apply a diluted fish emulsion or a balanced organic fertilizer to provide an immediate nitrogen boost.
Maintenance:
Precision is the hallmark of a master horticulturist. Provide 1.5 inches of water per week delivered at the drip line. Avoid overhead irrigation, which increases leaf wetness and invites powdery mildew. Use a soil moisture meter to check the moisture levels at a depth of 4 inches before watering.
Pruning is a surgical requirement. Use bypass pruners to make clean, 45-degree angle cuts just above a node. This prevents water from pooling on the cut surface and encourages rapid healing. Remove any dead or senescing (aging) foliage immediately to improve airflow through the canopy. If a plant becomes woody, a hard rejuvenation prune in early spring can stimulate new, succulent growth.
The Yield:
Harvesting is most effective in the early morning after the dew has evaporated but before the sun reaches its zenith. This is when the concentration of essential oils is at its highest. Use sharp shears to avoid tearing the vascular tissue. For leafy herbs like Parsley, harvest the outer leaves first, allowing the inner heart to continue producing.
Post-harvest handling is vital for maintaining day-one freshness. Immediately place the stems in a container of cool water or wrap them in a damp paper towel and refrigerate at 40 degrees Fahrenheit. This slows down the respiration rate and prevents the loss of turgor, keeping the herbs crisp and potent for use.
FAQ:
How often should I water my herb border?
Apply 1.5 inches of water weekly at the soil level. Use a moisture meter to ensure the root zone at 4 inches deep is damp but not saturated. Avoid overhead watering to prevent fungal pathogens on the foliage.
What is the best soil pH for herbs?
Most culinary herbs thrive in a pH range of 6.5 to 7.5. This slightly acidic to neutral range ensures maximum nutrient availability and supports a healthy community of beneficial soil microbes within the rhizosphere.
Can I plant different herbs together?
Group herbs by their water and light requirements. Place Mediterranean varieties like Rosemary and Sage in well-draining, sandy soil. Keep moisture-loving herbs like Mint and Chives in a separate section with higher organic matter and consistent irrigation.
Why are my herb leaves turning yellow?
Yellowing, or chlorosis, usually indicates a nitrogen deficiency or overwatering. If the yellowing is between the veins, it is likely a magnesium deficiency. Check soil drainage and apply a balanced 5-10-10 fertilizer or micronutrient spray.