7 Vital Steps to Lay a Brick Course
The scent of damp, disturbed earth signals the beginning of a structural shift in the garden. When the soil reaches a friable state, neither saturated nor desiccated, the conditions are optimal to execute the steps to lay a brick course. This process requires more than aesthetic placement; it demands an understanding of soil compaction and the weight-bearing capacity of the underlying substrate. A stable brick course acts as a thermal mass, absorbing solar radiation during the day and radiating it back into the rhizosphere at night. This micro-climate modification can extend the growing season by several weeks in marginal climates. Precision in the base layer prevents future heaving caused by the freeze-thaw cycle. Success depends on the interplay between the mineral density of the base and the structural integrity of the masonry. Every millimeter of deviation in the initial course compounds as the wall rises. Mastery of these steps ensures that the garden infrastructure supports the biological needs of the surrounding flora while providing a permanent frame for the landscape.
Materials:
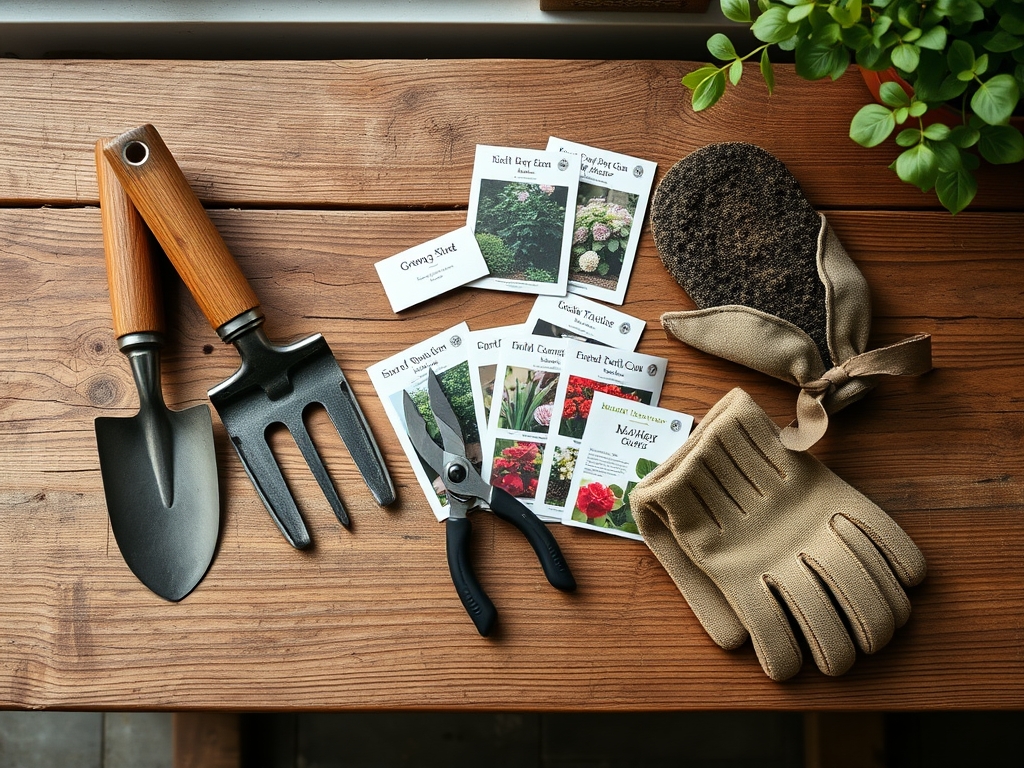
The foundation of any masonry project begins with the soil chemistry and physical structure. For a stable installation, the substrate must be a **friable loam** with high mineral content. Avoid areas with high organic matter, as decomposition leads to settling. Test the soil pH; a neutral range of **6.5 to 7.0** is ideal to prevent the chemical erosion of mortar over time. If the soil is overly acidic, the lime in the mortar may leach, weakening the bond.
To support the surrounding plant life, the backfill area should be amended with a specific NPK ratio of 5-10-10. This low-nitrogen formula encourages root development and structural strength rather than rapid, weak vegetative growth. The Cation Exchange Capacity (CEC) of the soil should be monitored; a higher CEC ensures that the soil retains the nutrients necessary for the plants bordering the brickwork. You will need sharp sand, Type S masonry lime, and a sub-base of crushed limestone (3/4-inch minus) to ensure proper drainage and load distribution.
Timing:
Timing is dictated by the USDA Hardiness Zones and the local frost-date window. In Zones 5 through 7, masonry work should only occur when the ambient temperature remains consistently above 45 degrees Fahrenheit (7.2 Celsius) for a 48-hour period. If the temperature drops below freezing during the curing process, the water within the mortar will expand, causing micro-fractures that compromise the structural integrity.
From a botanical perspective, the "Biological Clock" of your garden must be considered. Perform heavy masonry work during the dormant season or the early vegetative stage. Avoid construction during the reproductive stage (flowering), as the physical disturbance and potential dust can interfere with pollination and increase transpiration stress. The goal is to finish the installation before the spring "flush," allowing the soil to settle before the roots of nearby perennials begin their rapid expansion into the newly defined rhizosphere.
Phases:
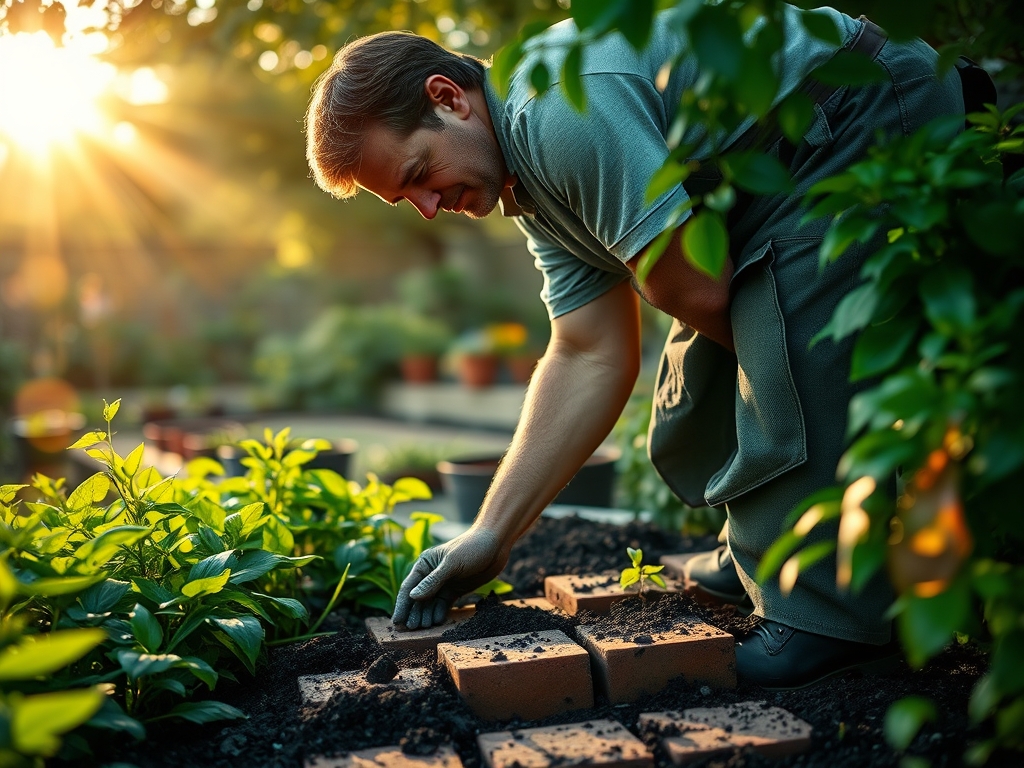
Sowing the Foundation
Excavate a trench to a depth of 8 inches, ensuring the bottom is level and compacted. Fill the first 4 inches with crushed stone. This layer facilitates drainage, preventing hydrostatic pressure from shifting the bricks.
Pro-Tip: Proper drainage prevents anaerobic conditions in the soil. When water pools behind a brick course, it displaces oxygen in the rhizosphere, leading to root rot and the death of beneficial aerobic bacteria.
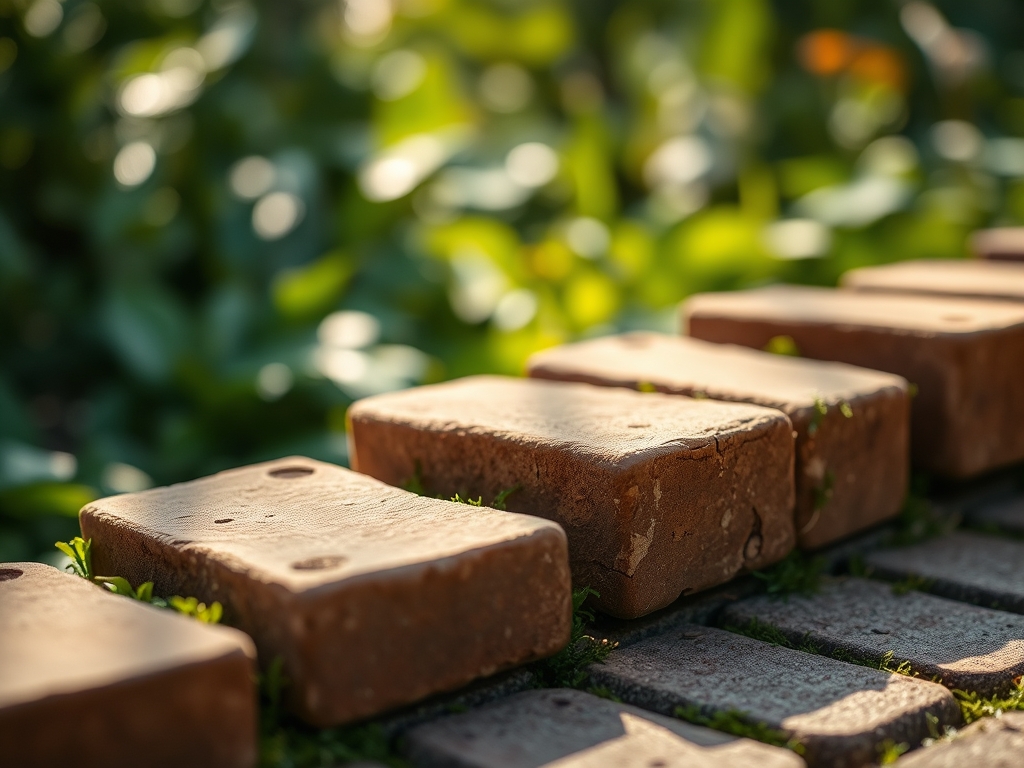
Transplanting the First Course
Apply a 1-inch layer of leveled sand over the stone. Lay the first course of bricks, leaving a 1/2-inch gap between each for mortar or sand. Use a spirit level to ensure every brick is perfectly horizontal.
Pro-Tip: Maintaining a level course prevents auxin suppression in nearby plants. If a wall leans and creates uneven shading, the plants will exhibit phototropism, bending toward the light and causing an uneven distribution of growth hormones (auxins) in the stem.
Establishing the Bond
Apply mortar to the joints, pressing it firmly to eliminate air pockets. Use a jointer tool to create a concave finish, which sheds water effectively. Allow the course to cure for at least 24 hours before applying any lateral pressure or backfilling with soil.
Pro-Tip: Curing time is essential for mycorrhizal symbiosis. If you backfill too quickly with unsterilized soil, the chemical heat from the curing mortar can kill the beneficial fungi that help plants absorb phosphorus and water.
The Clinic:
Physiological disorders in the garden often manifest near new hardscaping due to changes in soil moisture and pH.
-
Symptom: Interveinal Chlorosis. Yellowing leaves with green veins on nearby plants.
-
Solution: This often indicates an iron deficiency caused by high pH levels from mortar runoff. Apply chelated iron to the soil to lower the pH and restore nutrient availability.
-
Symptom: Leaf Scorch. Brown, crispy edges on foliage near the bricks.
-
Solution: Bricks act as heat sinks. Increase irrigation frequency to combat the higher evapotranspiration rates caused by the radiant heat of the masonry.
-
Symptom: Stunted Growth. Plants near the brick course are significantly smaller than those further away.
-
Solution: This is likely soil compaction. Use a garden fork to aerate the soil 12 inches away from the brick edge to restore oxygen flow to the roots.
-
Fix-It for Nitrogen Chlorosis: If the entire leaf turns pale yellow, apply a quick-release fertilizer with an NPK of 10-5-5 to jumpstart chlorophyll production.
Maintenance:
A brick course requires consistent monitoring of the surrounding environment. Use a soil moisture meter twice weekly to ensure the area remains at optimal hydration. Plants adjacent to the brickwork generally require 1.5 inches of water per week, delivered directly at the drip line to avoid wetting the foliage.
Keep a hori-hori knife sharpened for removing invasive weeds that attempt to colonize the mortar joints. If roots begin to penetrate the masonry, use bypass pruners to perform a clean cut, preventing the tearing of vascular tissue. Check the bricks for efflorescence, a white powdery salt deposit. This indicates excessive moisture moving through the brick; adjust your irrigation timing to ensure the masonry has time to dry completely between watering cycles.
The Yield:
When using a brick course to frame an edible garden, the harvest timing is critical. For leafy greens like kale or Swiss chard, harvest in the early morning when turgor pressure is at its peak. This ensures the cell walls are fully hydrated, providing a crisp texture.
Use a sharp blade to cut the plant, leaving at least 2 inches of the crown intact to allow for secondary growth. For flowers, harvest just as the buds show color but before full anthesis. To maintain "day-one" freshness, immediately submerge the stems in 40-degree Fahrenheit water to slow the rate of senescence, the biological aging process. The thermal stability provided by the brick course often results in higher sugar content in fruits like strawberries, as the consistent warmth facilitates more efficient carbohydrate translocation.
FAQ:
How deep should the base for a brick course be?
Excavate to a depth of 8 to 10 inches. This allows for 4 inches of compacted sub-base and 1 inch of leveling sand. Proper depth prevents frost heaving and ensures long-term structural stability in varying soil types.
Can I lay bricks directly on soil?
No. Placing bricks on raw soil leads to uneven settling and moisture wicking. Soil lacks the compressive strength required to support masonry. Always use a compacted mineral base to ensure drainage and a level finish.
What mortar mix is best for garden bricks?
Use a Type N or Type S masonry mortar. These mixes provide the necessary flexibility and strength for outdoor exposure. Ensure the mix is hydrated to a "peanut butter" consistency for optimal adhesion and workability during installation.
How do bricks affect soil pH?
New mortar contains lime, which is highly alkaline. Rainwater can leach this lime into the surrounding soil, raising the pH. Monitor nearby acid-loving plants for nutrient lockout and amend with sulfur if the pH rises above 7.5.